
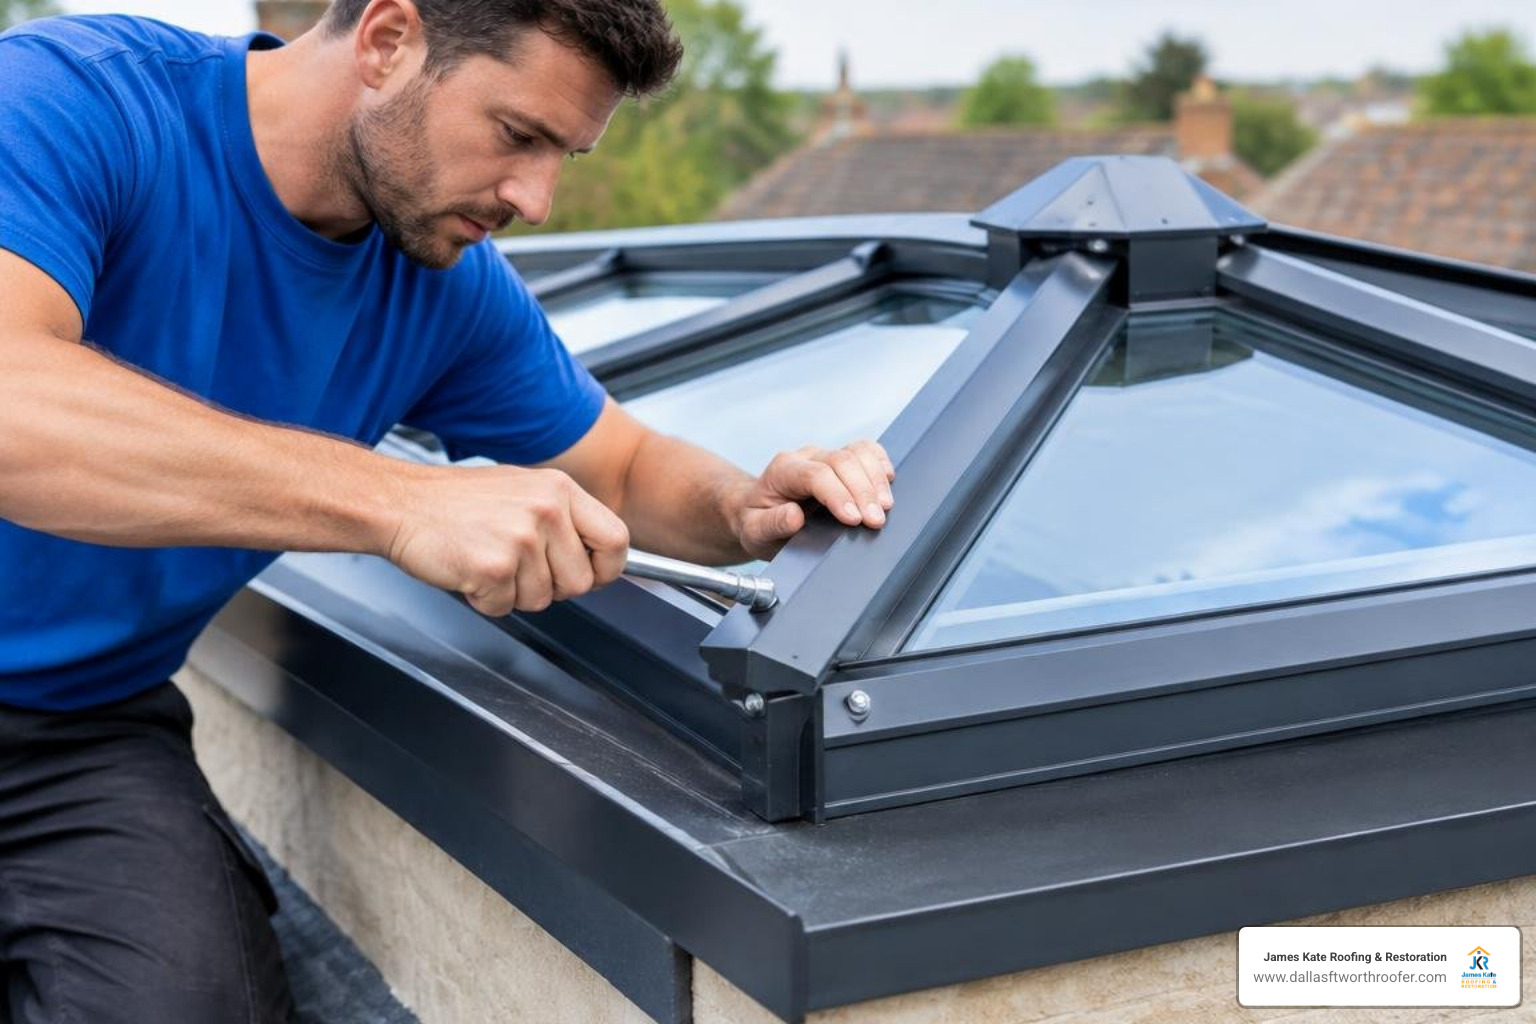
Korniche Roof Lantern Installation Starts With a Square, Sealed Base
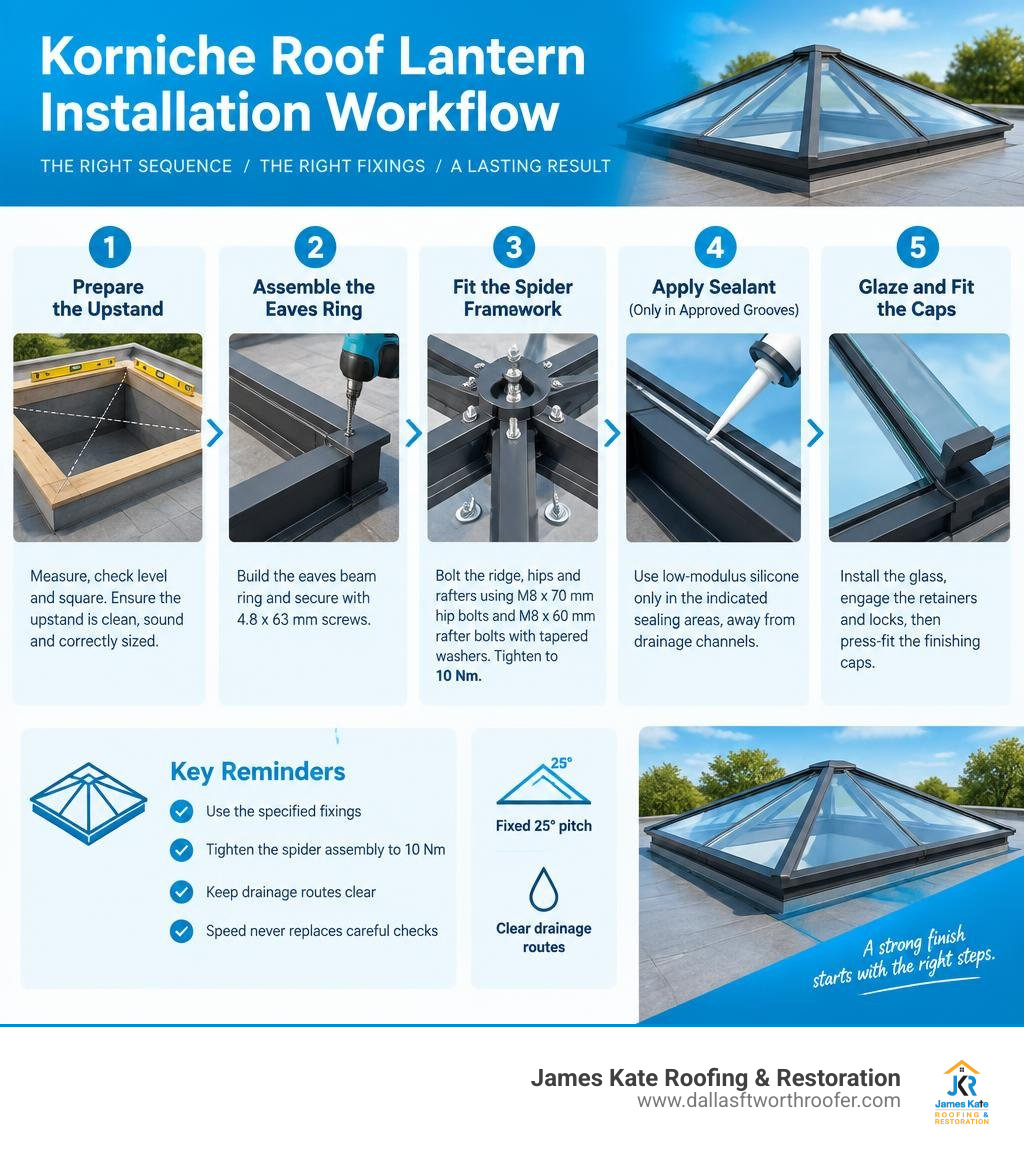
A successful Korniche roof lantern installation follows a strict order: prepare a level, square upstand; assemble and fix the eaves ring; bolt the ridge, hips, and rafters to the central boss; seal only the approved grooves; then glaze and fit the caps. Use the specified fixings and tighten the spider assembly to 10 Nm. Most importantly, keep drainage routes clear – excess sealant in the wrong place can turn a fast installation into a leak risk.
Before starting, confirm the upstand is clean, structurally sound, and sized to support the lantern. Korniche systems use a fixed 25-degree pitch and are designed for quick assembly, but speed should never replace careful checks for level, squareness, correct bolt placement, and full seal contact.
The key sequence is:
- Measure the upstand, including diagonals, and check it is level.
- Build the eaves beam ring and secure it with the specified 4.8 x 63 mm screws.
- Assemble the spider framework using M8 x 70 mm hip bolts and M8 x 60 mm rafter bolts with tapered washers.
- Apply low-modulus silicone only in the indicated sealing areas, away from drainage channels.
- Install the glass, engage the retainers and locks, then press-fit the finishing caps.
I am Dustin Eatman, owner of James Kate Roofing & solar. My roofing work across the Dallas-Fort Worth area has taught me that a dependable Korniche roof lantern installation depends on precise flashing, drainage, structural support, and manufacturer-approved details from the first measurement through final inspection.
Basic korniche roof lantern installation vocab:
Essential Tools and Preparation for Korniche Roof Lantern Installation
Getting a roof lantern project right the first time comes down to site prep and having the correct tooling within arm’s reach. While traditional glazed structures often demand an endless assortment of specialty gear, the Korniche system is engineered for efficiency. However, speed only works when you have the exact toolkit ready to avoid damaging factory-coated finishes or cross-threading precision fasteners. When evaluating flat roofs vs pitched roofs, flat deck openings fitted with an elevated upstand provide the ideal platform for these systems.
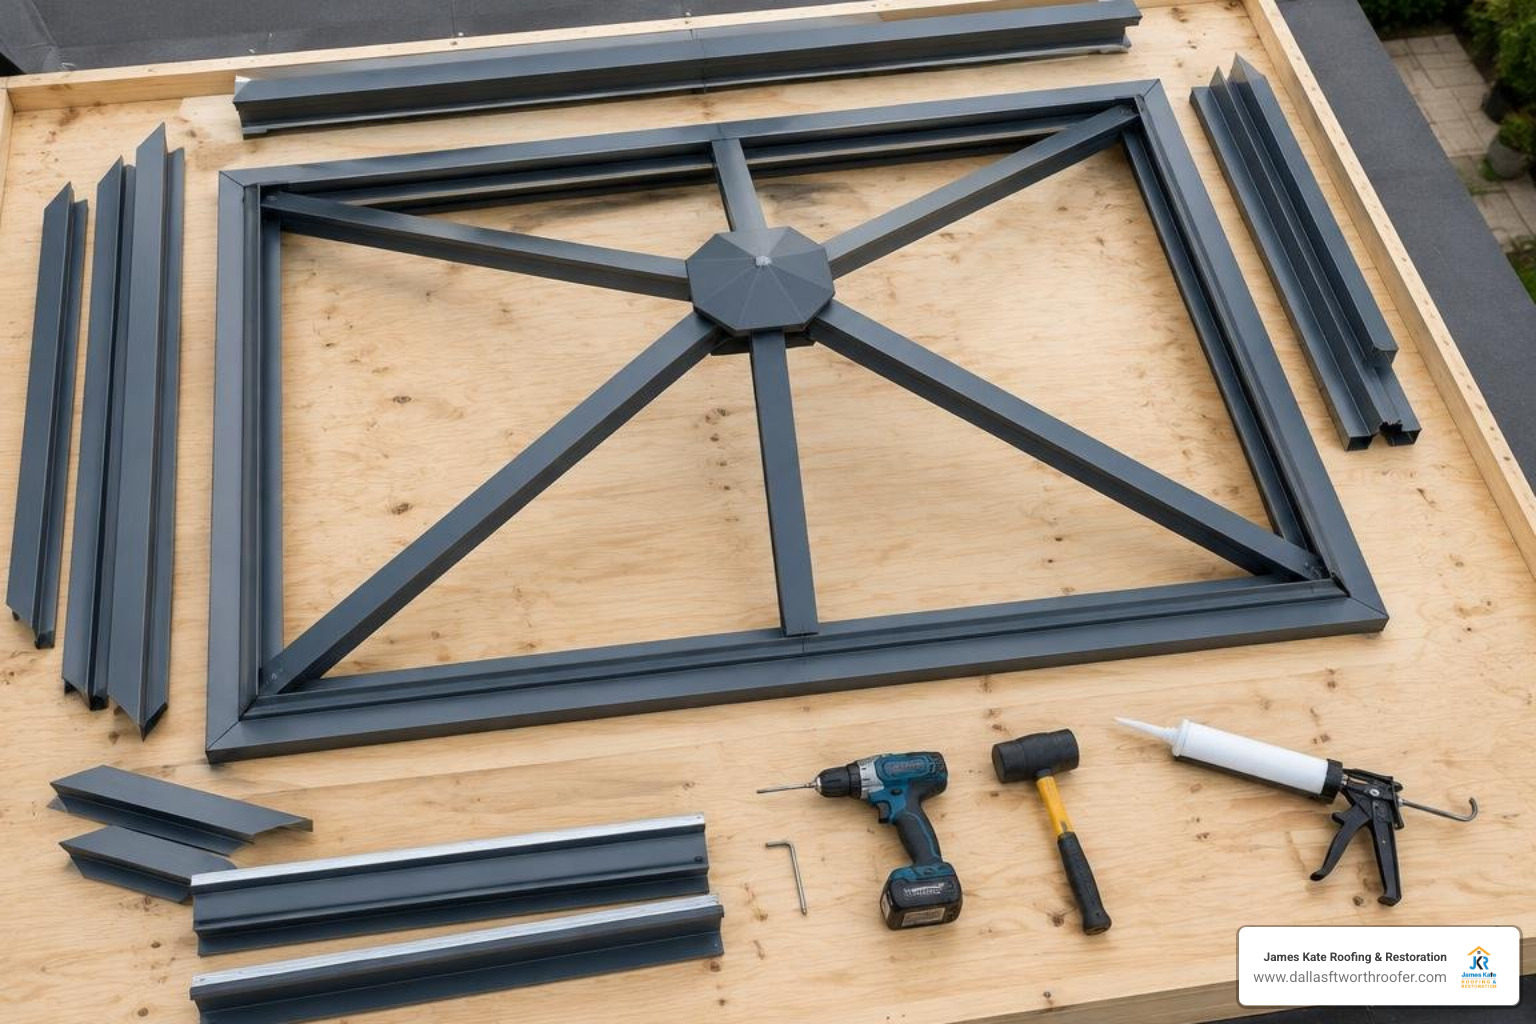
Before climbing the ladder, ensure your crew has the following essentials:
- Cordless Screwdriver / Drill: Fitted with a torque-limiting clutch.
- 5 mm Hex Bit & T40 Security PZ2 Bit: Essential for seating the frame fixings without stripping the heads.
- Soft Mallet (White Rubber): For gently seating top caps and glazing retainers without scratching powder coatings.
- De-glazing Tool / Glass Suction Lifters: For safe handling and microscopic adjustments of heavy double-glazed units.
- High-Quality Low-Modulus Silicone Sealant: Flexible neutral-cure sealant that accommodates thermal expansion.
- Wire Cutters / Snips: For safely trimming corner temporary tie-wraps.
- Safety Blade: To unpack protected aluminum profiles without gouging the visible face.
Preparing the Roof Upstand and Frame Base
The entire architectural integrity of your lantern rests on the quality of the timber curb or upstand. For the system to seat, drain, and seal correctly, the finished upstand must provide a minimum height of 150 mm from the roof surface and a minimum width of 69 mm.
The top bearing face must be completely flat, level across all four sides, and cleared of any roofing debris, protruding nails, or standing water. Understanding different types of flat roof material options—whether single-ply TPO, modified bitumen, or built-up roofing—ensures your membrane wraps up the sides of the curb seamlessly before the lantern eaves beam is positioned.
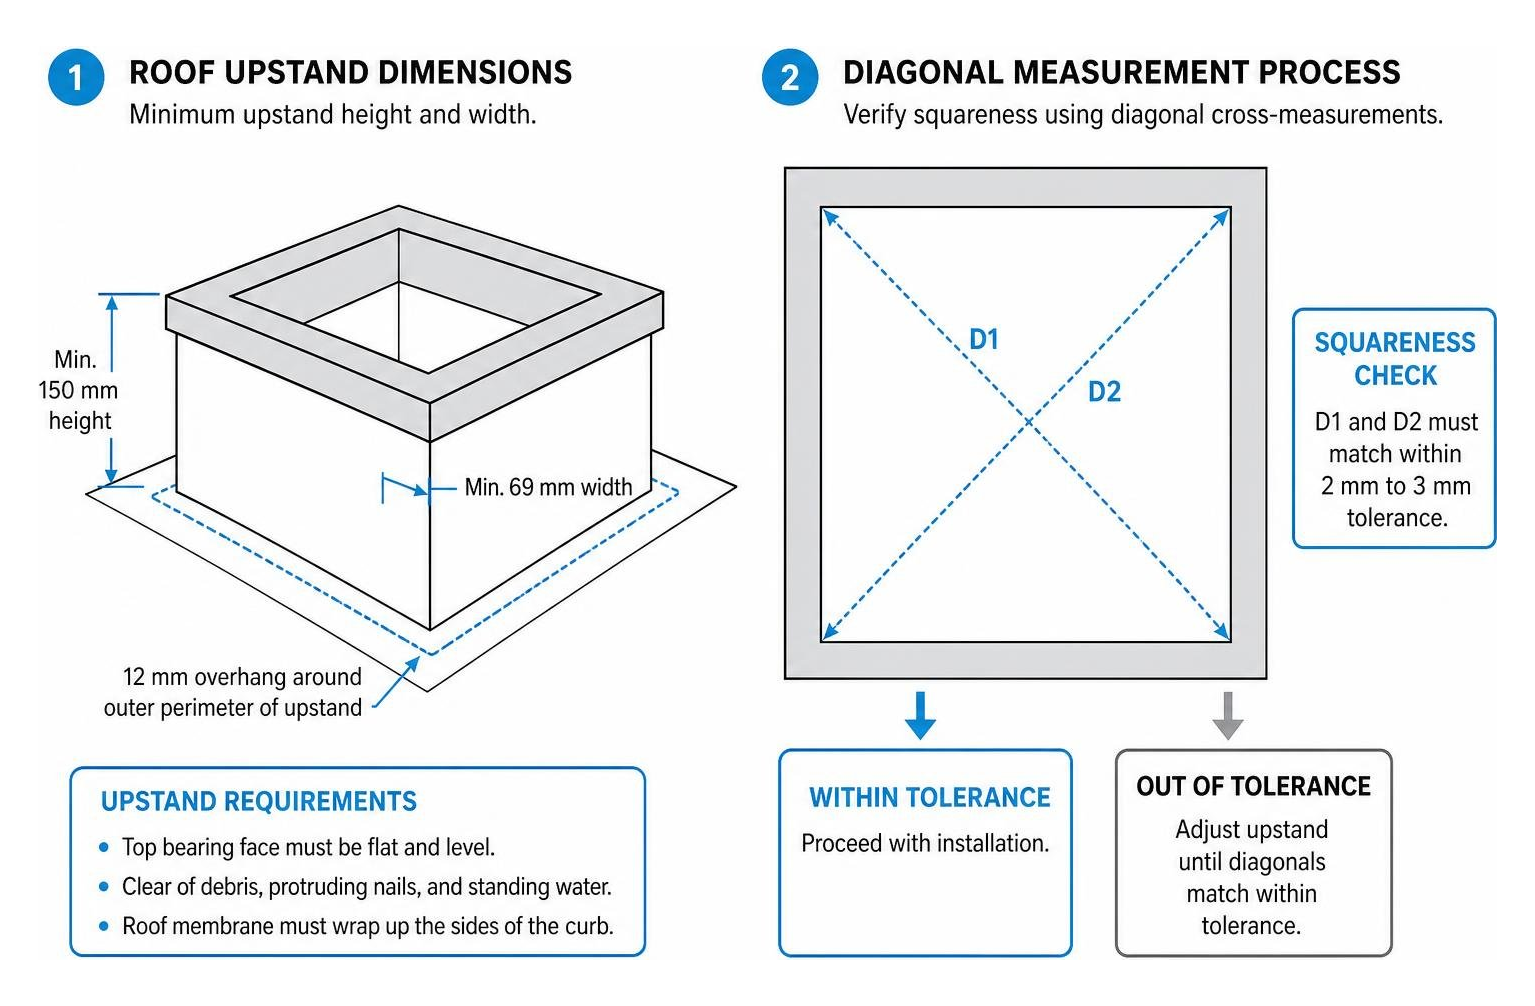
Always verify squareness by taking diagonal cross-measurements from corner to corner. The two diagonal dimensions must match within a 2 mm to 3 mm tolerance. The eaves beam is manufactured to accommodate an engineered 12 mm overhang around the outer perimeter of the finished upstand, ensuring water sheds away from the mounting interface.
Fastener Specs and Torque Requirements
Precision engineering requires specific torque settings. Over-tightening aluminum frame fasteners can crush the internal thermal breaks, while under-tightening compromises structural resistance against wind loads.
Always use the supplied tapered washers under every bolt head to distribute clamping loads evenly across the aluminum slots.
| Component Connection | Fastener Type | Size / Dimensions | Recommended Torque |
|---|---|---|---|
| Hip to Boss / Ridge | High-Tensile Hex Bolt | M8 x 70 mm | 10 Nm |
| Rafter to Ridge / Eaves | High-Tensile Hex Bolt | M8 x 60 mm | 10 Nm |
| Jack Rafters (Optional) | Structural Hex Bolt | M8 x 60 mm | 10 Nm |
| Eaves Beam to Upstand | Timber Fixing Screws | 4.8 x 63 mm | Firm (Do not overdrive) |
| Corner Brackets | Pre-fitted Screws | Standard Supplied | Hand tight / Snug |
Step-by-Step Korniche Roof Lantern Installation Process
Once the curb is prepped and verified, the structural assembly proceeds smoothly. By relying on a modular frame logic, the entire skeleton fits together like a fine mechanical puzzle.
Assembling the Eaves Ring Beam and Spider Framework for Korniche Roof Lantern Installation
Begin by constructing the outer eaves ring beam directly on a clean surface or atop the upstand. Slide the width eaves beams into the length eaves beams using the pre-machined corner brackets. Korniche packages often utilize temporary tie-wraps at the corners—use these to draw the corner miters tight and square while checking alignment.
Refer directly to the official Korniche Roof Lantern technical documentation for specific component part numbers. Once the eaves ring is square, place load-bearing eaves packers beneath each fixing location if necessary to maintain a level base, and secure the eaves beam into the curb using the supplied 4.8 x 63 mm screws through the pre-drilled holes.
Next, build the spider framework:
- Mount the Ridge and Boss: Connect the central aluminum ridge to the end boss components.
- Attach Hip Spars: Offer up the four corner hip rafters to the boss. Insert the M8 x 70 mm bolts along with their tapered washers.
- Engage the Spar Tensioning System: Thread the fasteners loosely by hand first. Never cross-thread. If resistance is met, back out and realign.
- Install Standard Rafters: For larger custom frames (which can span up to 6m x 4m), insert intermediate rafters into the designated eaves slots using M8 x 60 mm bolts.
- Final Torque: Using a calibrated torque wrench or clutch-controlled driver, torque all spider assembly bolts to 10 Nm. The proprietary pre-tensioning system draws the joints closed, eliminating unsightly gaps and maximizing frame rigidity.
Glazing and Weatherproofing: Precision Steps in Korniche Roof Lantern Installation
With the structural spider bolted and locked at its fixed 25-degree pitch, it is time for the glass units. All units are high-performance 28 mm double-glazed panels featuring argon gas fill and warm-edge spacer bars to prevent thermal bridging.
Detailed step instructions can also be cross-referenced in The Ultimate Korniche Roof Lantern Installation Guide.
- Inspect Glass Panels: Check that the anti-glare or tinted coated surface faces outward toward the sky.
- Slide into Retainers: Position the bottom edge of the glass unit into the specialized glazing retainer at the eaves beam.
- Engage the Glass Lock: Push the glass firmly into position against the rafter thermal gaskets. The integral glass lock mechanism will engage, preventing the unit from sliding down the 25-degree slope during fitting.
- Check Gasket Seating: Verify that the factory-fitted TPE weather seals run smoothly and continuously beneath each pane without bunching or rolling over.
Fitting the Boss, Ridge, and Hip Top Caps
The final aesthetic and weather-tight closure involves clipping the powder-coated aluminum top caps onto the frame:
- Ridge and Boss Top Caps: Position the central boss end caps over the spider hub, ensuring internal foam seals compress evenly.
- Hip and Rafter Caps: Align each hip and rafter top cap over its structural spar.
- Mallet Pressure Fit: Using your soft white mallet, tap along the center line of each top cap. You will feel and hear the high-retention internal clips snap securely onto the aluminum base profiles.
- Fit Outer End Caps: Fasten the protective outer end caps at the eaves ends to give the eaves line a clean, finished appearance.
Critical Weatherproofing Rules and Common Mistakes to Avoid
Even an award-winning lantern design will fail if sealant is improperly placed. Water management inside modern architectural glazing relies on deliberate internal drainage and weeping routes.
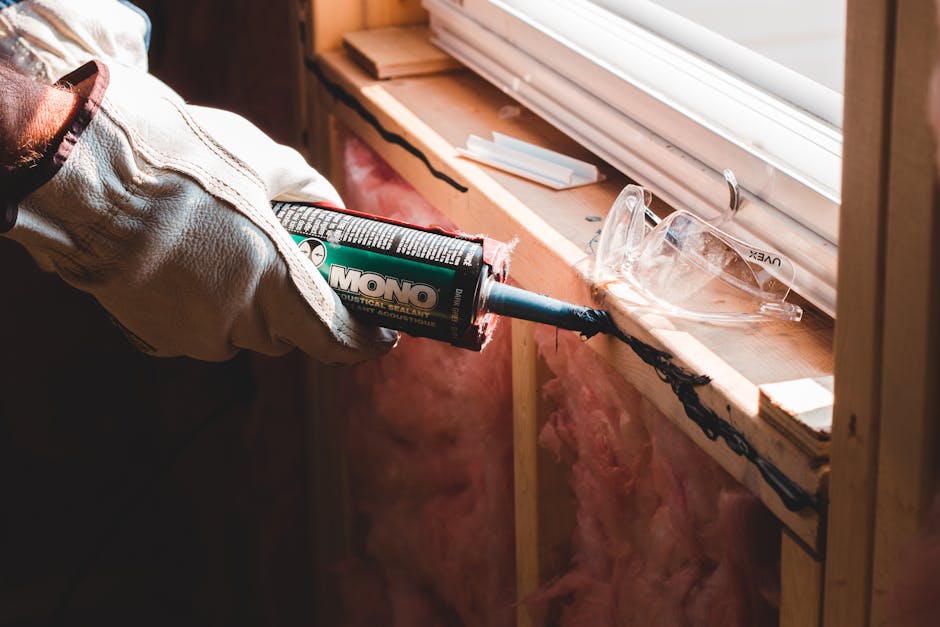
Keep these rules top of mind:
- Seal Only the Base Seal Groove: Run a continuous bead of low-modulus silicone along the designated underside seal groove of the eaves beam.
- Never Block Internal Weep Channels: Applying silicone indiscriminately along the interior upstand face or filling weep holes traps condensation and wind-driven moisture inside the rafter bars.
- Avoid Over-Tightening: Over-torquing bolts past the 10 Nm mark distorts thermal gaskets, creating micro-gaps that allow moisture intrusion during heavy Texas downpours.
- Preserve Manufacturer Warranties: Korniche provides a 10-year product warranty. Altering structural parts or drilling unapproved mounting holes voids this protection. If you ever experience issues with older roof openings, review our ultimate guide to skylight repair and leak prevention for diagnostic insights.
Frequently Asked Questions about Korniche Roof Lanterns
How long does a Korniche roof lantern installation typically take?
For an experienced two-person crew working on a pre-built, perfectly square upstand, structural assembly and glazing typically takes between 45 minutes to 2 hours for standard residential sizes (such as 2m x 1m or 2.5m x 2.5m). Larger configurations (up to 6m x 4m) take roughly half a day, including final cap placement and cleanup.
What are the minimum upstand dimensions required for installation?
The mounting curb must stand at least 150 mm high above the finished roof deck surface and measure at least 69 mm wide. This height ensures proper clearance above pooling rainwater or snow, and provides sufficient bearing area for the eaves beam and its 12 mm perimeter overhang.
How do you prevent leaks during a roof lantern installation?
Preventing leaks requires three elements: an accurately leveled upstand, strict adherence to the 10 Nm spider bolt torque to keep weather seals compressed, and precise sealant placement only where instructed by the manufacturer. If you are uncertain about the condition of your flat roof decking or curb integrity, schedule a professional roof inspection and estimate prior to installation.
Conclusion
A Korniche roof lantern brings daylight, clean architectural sightlines, and outstanding thermal efficiency into any living space. Achieving that flawless result comes down to honoring the engineering: building a square, level upstand, respecting the 10 Nm torque specifications, seating the high-performance glazing retainers cleanly, and leaving drainage channels unobstructed.
At James Kate Roofing & solar, our team delivers high-caliber craftsmanship rooted in integrity, honesty, and manufacturer-certified standards across Mansfield, Arlington, Midlothian, and surrounding communities. Whether you need full roof replacement and installation services or specialized architectural glazing on a flat roof addition, we have you covered.
Contact our Grand Prairie roofing specialists today to discuss your next residential or commercial project.

Dustin Eatman is a seasoned roofing professional with deep, hands-on expertise that spans residential and commercial roofing, insurance solar, and long-term roof asset management. As the owner of James Kate Roofing & solar in the Dallas–Fort Worth metroplex, he’s built a reputation for diagnosing roof systems accurately, communicating clearly, and executing projects with a high standard of workmanship and documentation. Dustin understands the technical details that make roofs perform—proper underlayment selection, slope and drainage considerations, ventilation strategy, flashing and penetration detailing, and manufacturer-specific installation requirements—because he’s worked through the real-world challenges that cause leaks, premature wear, and warranty issues. He’s equally fluent in the operational side of roofing: jobsite planning, quality control, safety, material ordering, crew coordination, and customer experience from inspection to closeout. In insurance-related projects, Dustin brings practical knowledge of claim workflows, adjuster meetings, scope alignment, supplements, and the importance of photo evidence and thorough records, helping property owners navigate stressful situations with confidence. For commercial clients—especially property and facility managers—he emphasizes proactive maintenance and targeted repairs that reduce disruption, extend roof life, and prevent expensive interior damage. Dustin also stays focused on doing things the right way: educating customers on realistic options, setting expectations, and prioritizing solutions that hold up over time rather than quick fixes. That blend of technical skill, field experience, process discipline, and owner-level accountability is what makes Dustin Eatman a trusted expert in the roofing industry.