
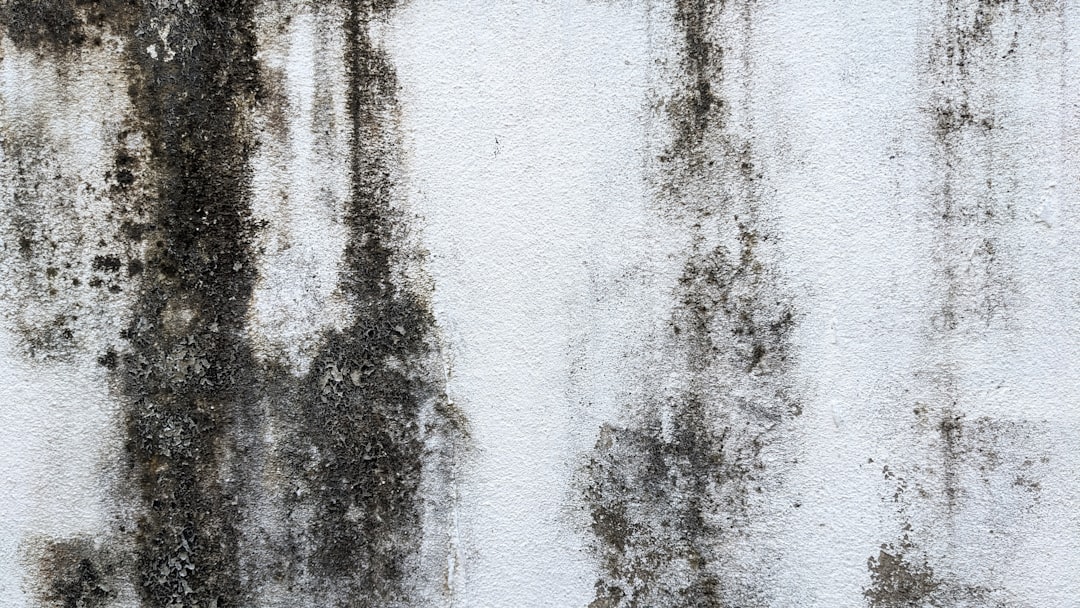
What Is Mold and Mildew Mitigation — and Why It Matters in Your Home
Mold and mildew mitigation is the process of reducing indoor mold growth back to safe, natural levels by controlling moisture and removing contaminated materials. Here’s a quick overview of what it involves:
- Fix the moisture source — leaks, humidity, or flooding
- Protect yourself — N-95 respirator, gloves, and goggles
- Contain the area — seal it off to stop spores from spreading
- Clean hard surfaces — scrub with detergent and water
- Dry everything completely — within 24–48 hours to prevent regrowth
Mold is fast. Spores can begin growing in as little as 48 hours after water intrudes into a home. If wet materials are dried within that window, mold usually won’t take hold at all.
The tricky part? You can never fully eliminate mold spores — they exist naturally everywhere, indoors and out. The goal isn’t total eradication. It’s getting mold levels back to normal and making sure the conditions for growth are gone for good.
That’s exactly what this guide walks you through.
I’m Dustin Eatman, owner of James Kate Roofing & solar in the Dallas–Fort Worth area, and I’ve worked hands-on with moisture intrusion, water damage, and mold and mildew mitigation across countless residential and commercial properties in the DFW region. I’ll share what actually works — from first response to long-term prevention — so you can protect your home with confidence.
Understanding Mold and Mildew Mitigation vs. Removal
A lot of homeowners search for “mold removal,” but that term can be misleading. The better phrase is mitigation or remediation.
Here is the simple difference:
- Mold removal suggests getting rid of all mold spores
- Mold remediation or mitigation means reducing mold growth to normal levels and correcting the moisture problem that allowed it to grow
According to the EPA, mold spores are a normal part of indoor and outdoor air. That means complete removal is not realistic. What matters is stopping active growth, removing damaged materials when needed, cleaning what can be saved, and drying the structure thoroughly. If you want the EPA’s homeowner guide, see A Brief Guide to Mold, Moisture and Your Home | US EPA.
That distinction matters because it changes the goal. We are not fighting every spore in North Texas. We are fighting the moisture problem that turned a normal background condition into a real issue.
Common moisture sources we see around Mansfield, Arlington, Granbury, Grand Prairie, and Midlothian include:
- Roof leaks
- Plumbing leaks
- Appliance overflows
- Poor ventilation in bathrooms and laundry areas
- High indoor humidity
- Storm-related water intrusion
If the moisture source is not fixed, mold usually comes back. It may even come back wearing a smug little mustache.
Professional Mold and Mildew Mitigation Criteria
For small, isolated areas, homeowners can often handle cleanup themselves. EPA guidance says that if the moldy area is less than about 10 square feet, roughly a 3-foot by 3-foot patch, DIY cleanup is usually reasonable.
Professional mitigation becomes more important when the problem involves:
- More than 10 square feet of visible growth
- Contaminated HVAC components
- Ongoing water intrusion
- Sewage or Category 3 water exposure
- Hidden mold inside walls or ceilings
- Occupants with asthma, COPD, allergies, or immune suppression
- Repeated regrowth after cleanup
A professional mitigation job typically includes:
- Inspection and moisture mapping
- Source identification
- Containment with plastic barriers
- Air filtration, often with HEPA equipment
- Removal of unsalvageable materials
- Cleaning of salvageable surfaces
- Structural drying
- Final verification that the area is dry and clean
If you need a broader overview of repair and recovery work after mitigation, see our More info about solar services.
Safety Protocols and Material Assessment
Before anyone starts scrubbing, safety comes first. Mold cleanup is not just a “grab a sponge and hope for the best” kind of project.
The CDC advises using proper protective gear because mold exposure can irritate the eyes, skin, nose, throat, and lungs. Some people are at higher risk, especially those with:
- Asthma
- Allergies
- COPD or other lung disease
- Immune suppression
For those individuals, it is often better not to do the cleanup at all. The CDC’s safety page is here: Mold Clean Up Guidelines and Recommendations | CDC.
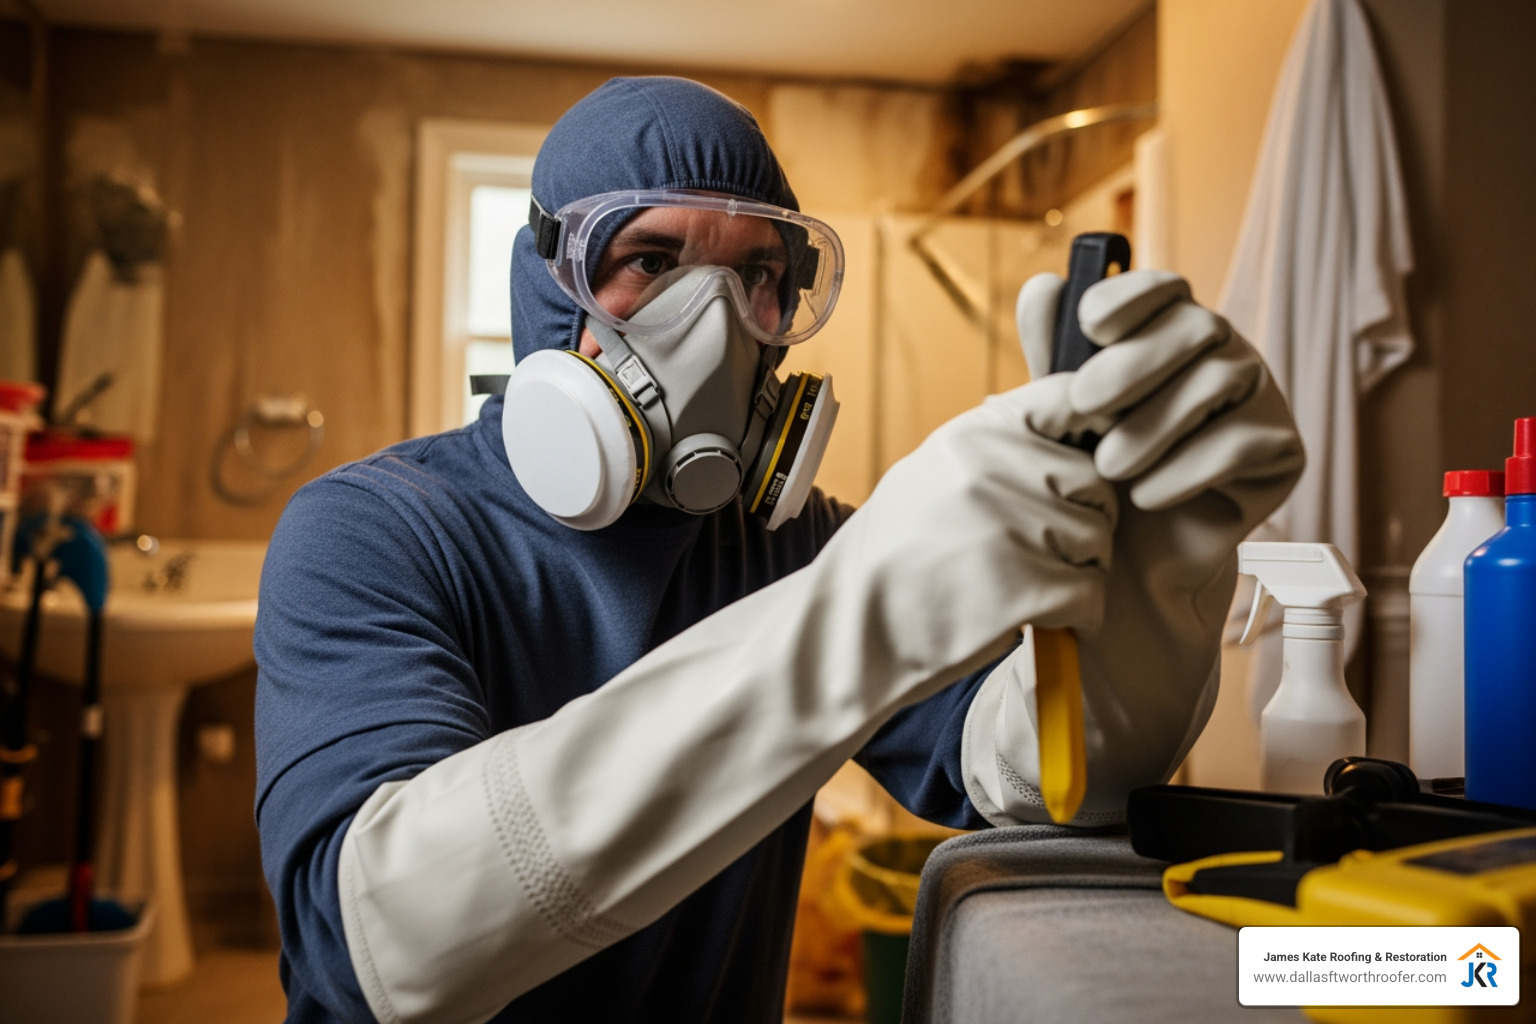
Recommended personal protective equipment for small cleanup jobs includes:
- An NIOSH-approved N-95 respirator
- Long gloves that protect the forearms
- Goggles without ventilation holes
- Old clothing that can be washed right away
A few important safety rules:
- Do not mix bleach with ammonia or other cleaners
- Ventilate the area when using cleaning products
- Keep children and pets away from the work zone
- Avoid dry brushing large mold patches, which can spread spores
- Bag debris before carrying it through the house
Discarding vs. Cleaning Affected Materials
One of the biggest questions homeowners ask is what can be saved and what has to go.
The short version is this:
- Non-porous or semi-porous materials can often be cleaned
- Porous materials that stay wet or show heavy growth often need to be discarded
Why? Mold can grow below the surface of absorbent materials, making complete cleaning unreliable.
Here is a practical guide:
| Material | Usually Cleanable? | Notes |
|---|---|---|
| Tile, glass, metal | Yes | Scrub with detergent and water, then dry completely |
| Finished wood | Often | Clean if structurally sound and lightly affected |
| Plastic | Yes | Non-porous surfaces usually respond well to cleaning |
| Drywall | Sometimes | Small surface growth may be addressable, but soft, swollen, or deeply contaminated drywall is often removed |
| Ceiling tiles | No | Typically too porous to clean reliably |
| Carpet and pad | Often no | Usually discarded if moldy or wet too long |
| Insulation | No | Wet fibrous insulation generally needs replacement |
| Upholstered furniture | Depends | Light, recent exposure may be salvageable; heavy contamination usually is not |
| Paper goods, cardboard | No | Very porous and usually not worth saving |
As a rule of thumb, if an item is porous and cannot be dried quickly, disposal is often the safer option. That same logic applies after appliance leaks too, which we cover in The Ultimate Guide to Cleaning Up After Appliance Leaks.
Do not paint or caulk over moldy material. That only hides the problem for a while. Mold loves a cover-up almost as much as a politician does.
The 5-Step Cleanup Guide
If the affected area is small, the water source is resolved, and no one in the home is high-risk, you can often handle the cleanup yourself.
The EPA and other public health guidance agree on the basics: clean hard surfaces, discard unsalvageable porous items, and dry everything fast. For a broader emergency response framework, see our Water Damage solar Survival Guide.
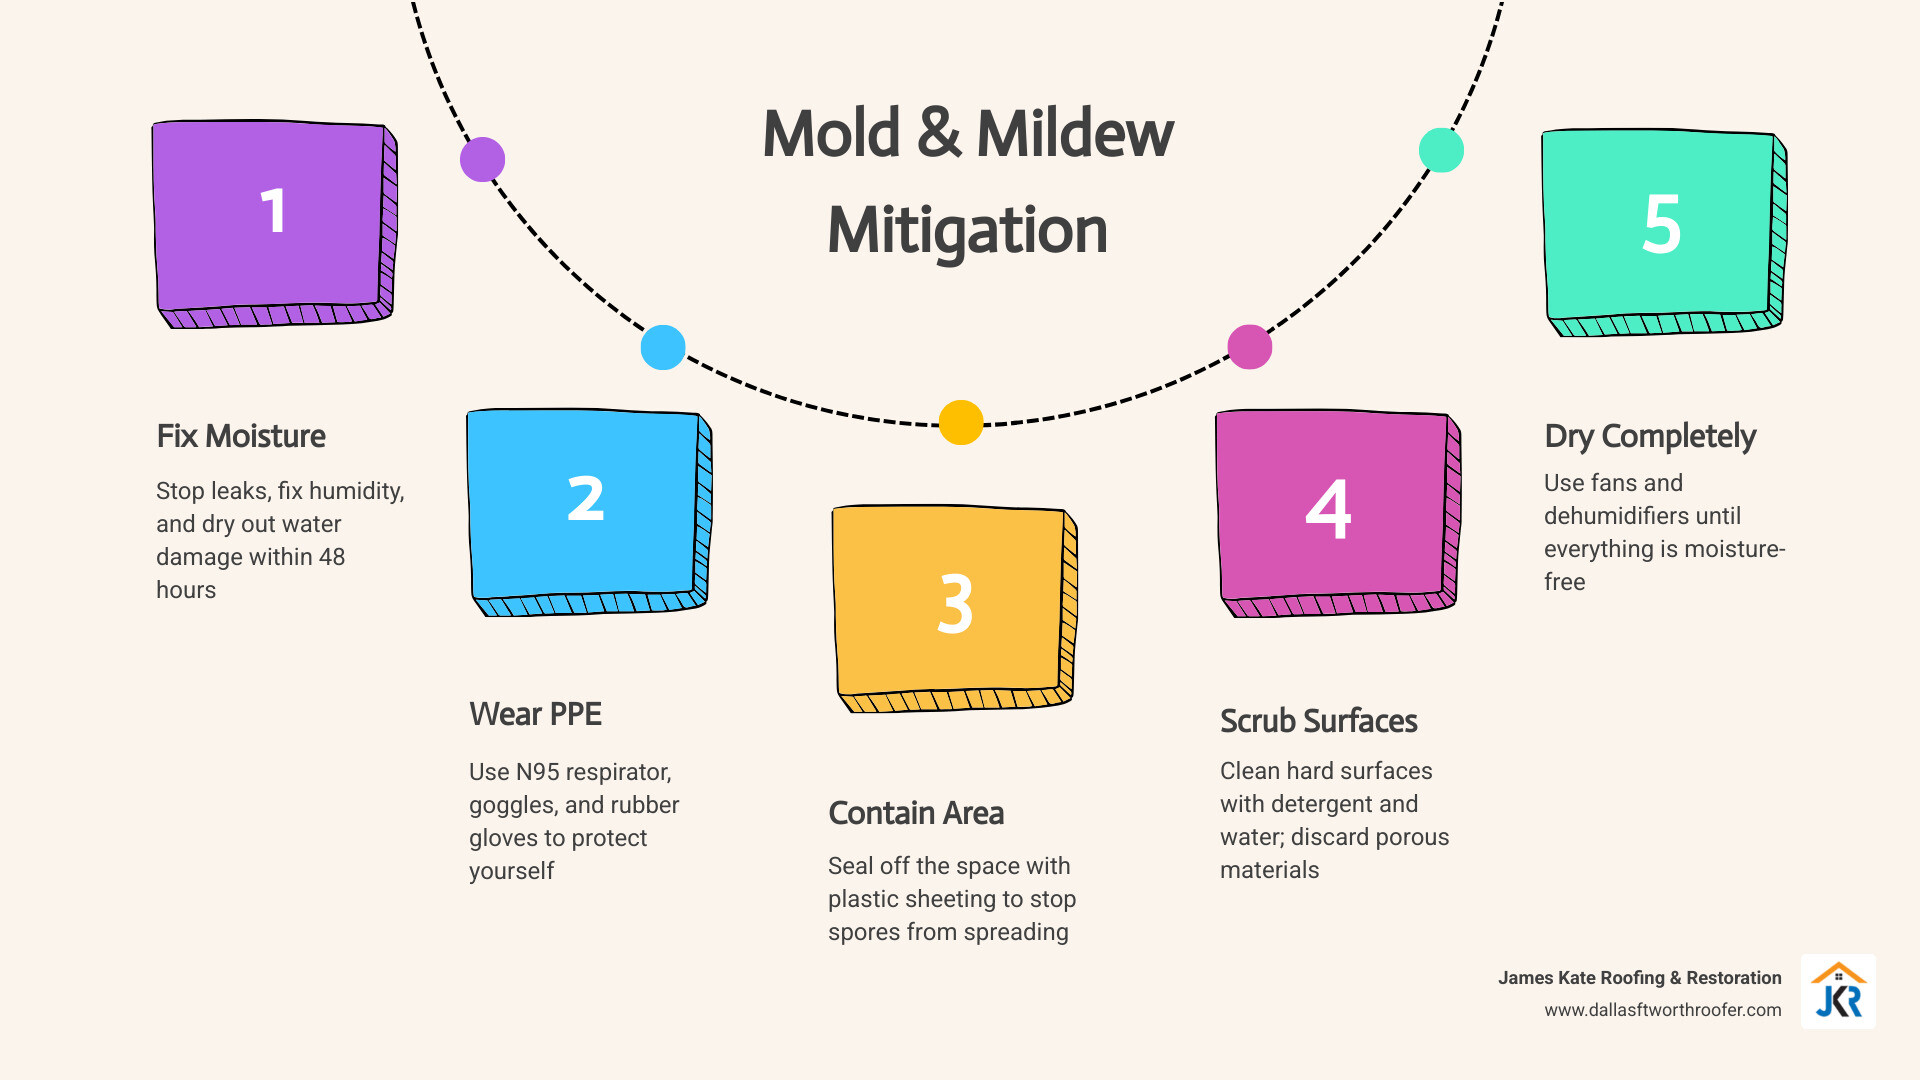
The 5-Step Mold and Mildew Mitigation Process
1. Fix the moisture source first
This is the most important step in mold control. If you skip it, cleanup is temporary.
Look for:
- Roof leaks
- Plumbing drips
- Overflowing appliances
- Window or wall leaks
- Condensation from poor ventilation
- High indoor humidity
Remember the key timing: if wet materials are dried within 24 to 48 hours, mold often does not develop. But once water stands for even 24 hours, common molds can start taking hold.
If the source involves contaminated water, skip DIY and get professional help. Our article on Black Water Blues: Understanding and Remediating Category 3 Water Damage explains why.
2. Put on proper PPE
Before disturbing mold, gear up.
Use:
- N-95 respirator
- Gloves
- Sealed goggles
- Clothing you can wash immediately after
If you start coughing, wheezing, or feeling irritated, stop. Cleanup should solve a problem, not create a new one.
3. Contain the area
For a small job, containment can be simple but still helpful.
- Close doors to the affected room if possible
- Use plastic sheeting to isolate the work area
- Turn off fans that blow spores into other rooms
- Avoid running HVAC if you suspect contamination is entering the system
- Place debris directly into sturdy trash bags
The goal is to keep spores from hitchhiking to cleaner parts of the home.
4. Scrub hard surfaces with detergent and water
For hard, non-porous surfaces, the standard recommendation is straightforward:
- Use detergent or soap and water
- Scrub until visible growth is removed
- Wipe away residue
- Dry the surface completely
What about bleach? It is not usually necessary for routine cleanup, especially when plain cleaning and drying will do the job. The focus should be physical removal, not just trying to “kill” mold. Dead mold can still trigger allergic reactions, so it still needs to be removed.
Do not soak porous materials in hopes of saving them. Wet drywall, ceiling tiles, insulation, carpet pad, and similar materials often need to be cut out and discarded if they are moldy.
5. Dry everything completely
This step is where success or failure usually gets decided.
Use:
- Fans
- Dehumidifiers
- Open windows when outdoor conditions allow
- Air movers if available
Dry the cleaned area and surrounding materials thoroughly. Check again over the next 2 to 3 days for any signs of renewed moisture or regrowth.
A job is not complete just because the stain looks lighter. If the material is still damp, the mold may simply be planning a sequel.
Long-Term Prevention and Moisture Control
The best mold cleanup is the one you never have to do twice.
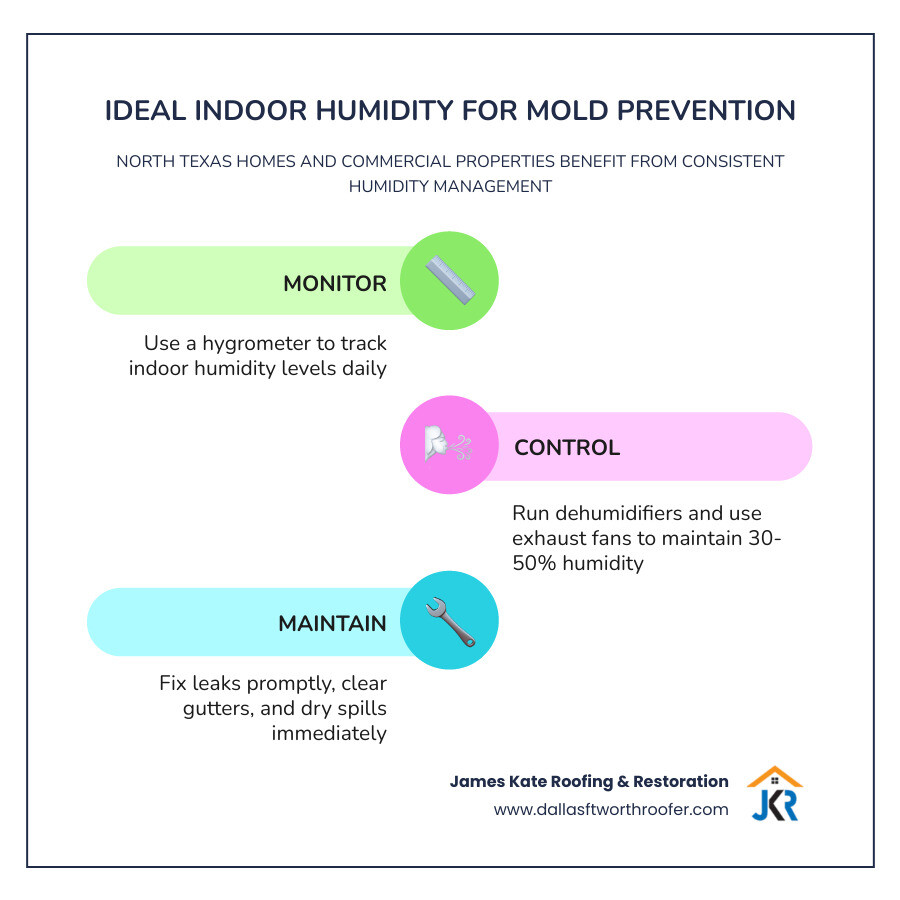
Prevention is mostly about moisture management. EPA guidance recommends keeping indoor humidity below 60%, with an ideal range of 30% to 50%.
Practical prevention steps for North Texas homes and commercial properties include:
- Use a hygrometer to monitor humidity
- Run dehumidifiers in persistently damp areas
- Use exhaust fans during showers and cooking
- Vent clothes dryers to the outside
- Fix roof and plumbing leaks promptly
- Keep gutters and downspouts clear
- Make sure water drains away from the building
- Replace damaged sealants around windows and penetrations
- Dry spills and wet materials immediately
- Avoid carpeting areas that are regularly damp
If you manage a business property, our guide on Commercial Water Damage: Swift Action for Business Recovery covers broader response planning.
Prevention also means watching for early warning signs:
- Musty odors
- Repeated spotting on walls or ceilings
- Condensation on windows or pipes
- Peeling paint
- Water stains
A small stain today is often a bigger invoice tomorrow.
Frequently Asked Questions about Mold Mitigation
Is mold testing necessary before cleanup?
Usually, no.
The EPA and CDC generally do not recommend routine mold testing for most residential situations. If you can see mold or smell a musty odor, that is usually enough information to act. Testing often does not change the cleanup plan because the solution is still the same:
- Fix the moisture problem
- Remove moldy materials when needed
- Clean what can be cleaned
- Dry the area thoroughly
Testing may be more useful in special cases, such as disputed real estate conditions, legal documentation needs, or suspected hidden contamination with no visible source. But for most homeowners, visible growth plus moisture evidence is enough.
There are also no federal indoor standards for “acceptable” mold spore counts, which limits how helpful testing can be.
Should I use bleach to kill mold?
Sometimes, but not as your first or only strategy.
For most small household jobs, cleaning with detergent and water is the main recommendation. Bleach or other biocides are often unnecessary, especially on porous materials where the moisture itself can create more problems.
If bleach is used on a suitable non-porous surface:
- Use ventilation
- Never mix it with ammonia or other cleaners
- Follow label directions
- Some CDC guidance notes a dilution of no more than 1 cup of bleach per gallon of water
Important caveat: bleach does not fix the moisture source, does not reliably solve mold inside porous materials, and does not remove allergens by itself. If mold is on absorbent materials, replacement is often the smarter move.
Ozone generators are also not recommended for mold problems. They can irritate lungs and do not address the root cause.
When is the mitigation process officially finished?
A mold mitigation job is finished when all of the following are true:
- The moisture source has been fixed
- No visible mold remains
- Musty odors are gone
- Removed materials have been properly discarded
- Cleaned materials are dry
- Occupants are not experiencing ongoing mold-related complaints
- The area does not show regrowth after follow-up checks
In professional settings, this may also involve moisture readings and post-remediation verification. In simple homeowner cleanup, it means the area is clean, dry, and staying that way.
If mold returns, treat that as a moisture investigation issue first, not just a cleaning issue.
Conclusion
Mold and mildew mitigation is really about three things: acting fast, cleaning smart, and controlling moisture for the long haul. If the affected area is small and the source is easy to fix, DIY cleanup can be a reasonable option. But if the mold is widespread, tied to contaminated water, inside HVAC components, or affecting high-risk occupants, professional help is the safer path.
At James Kate Roofing & solar, we help property owners across the DFW area with water mitigation, fire mitigation, mold mitigation, and build-back construction after mitigation is complete. As a family-owned company, we believe in honesty, integrity, and treating people the way we would want our own families treated.
If you need a solar partner after water intrusion or recurring mold issues, learn more in From Fire to Flood: How to Choose Your Emergency Remediation Partner.
And if the real problem started with roof leaks, storm damage, or hidden moisture entry, that is where we can help connect the dots before mold gets a second chance.

Dustin Eatman is a seasoned roofing professional with deep, hands-on expertise that spans residential and commercial roofing, insurance solar, and long-term roof asset management. As the owner of James Kate Roofing & solar in the Dallas–Fort Worth metroplex, he’s built a reputation for diagnosing roof systems accurately, communicating clearly, and executing projects with a high standard of workmanship and documentation. Dustin understands the technical details that make roofs perform—proper underlayment selection, slope and drainage considerations, ventilation strategy, flashing and penetration detailing, and manufacturer-specific installation requirements—because he’s worked through the real-world challenges that cause leaks, premature wear, and warranty issues. He’s equally fluent in the operational side of roofing: jobsite planning, quality control, safety, material ordering, crew coordination, and customer experience from inspection to closeout. In insurance-related projects, Dustin brings practical knowledge of claim workflows, adjuster meetings, scope alignment, supplements, and the importance of photo evidence and thorough records, helping property owners navigate stressful situations with confidence. For commercial clients—especially property and facility managers—he emphasizes proactive maintenance and targeted repairs that reduce disruption, extend roof life, and prevent expensive interior damage. Dustin also stays focused on doing things the right way: educating customers on realistic options, setting expectations, and prioritizing solutions that hold up over time rather than quick fixes. That blend of technical skill, field experience, process discipline, and owner-level accountability is what makes Dustin Eatman a trusted expert in the roofing industry.