
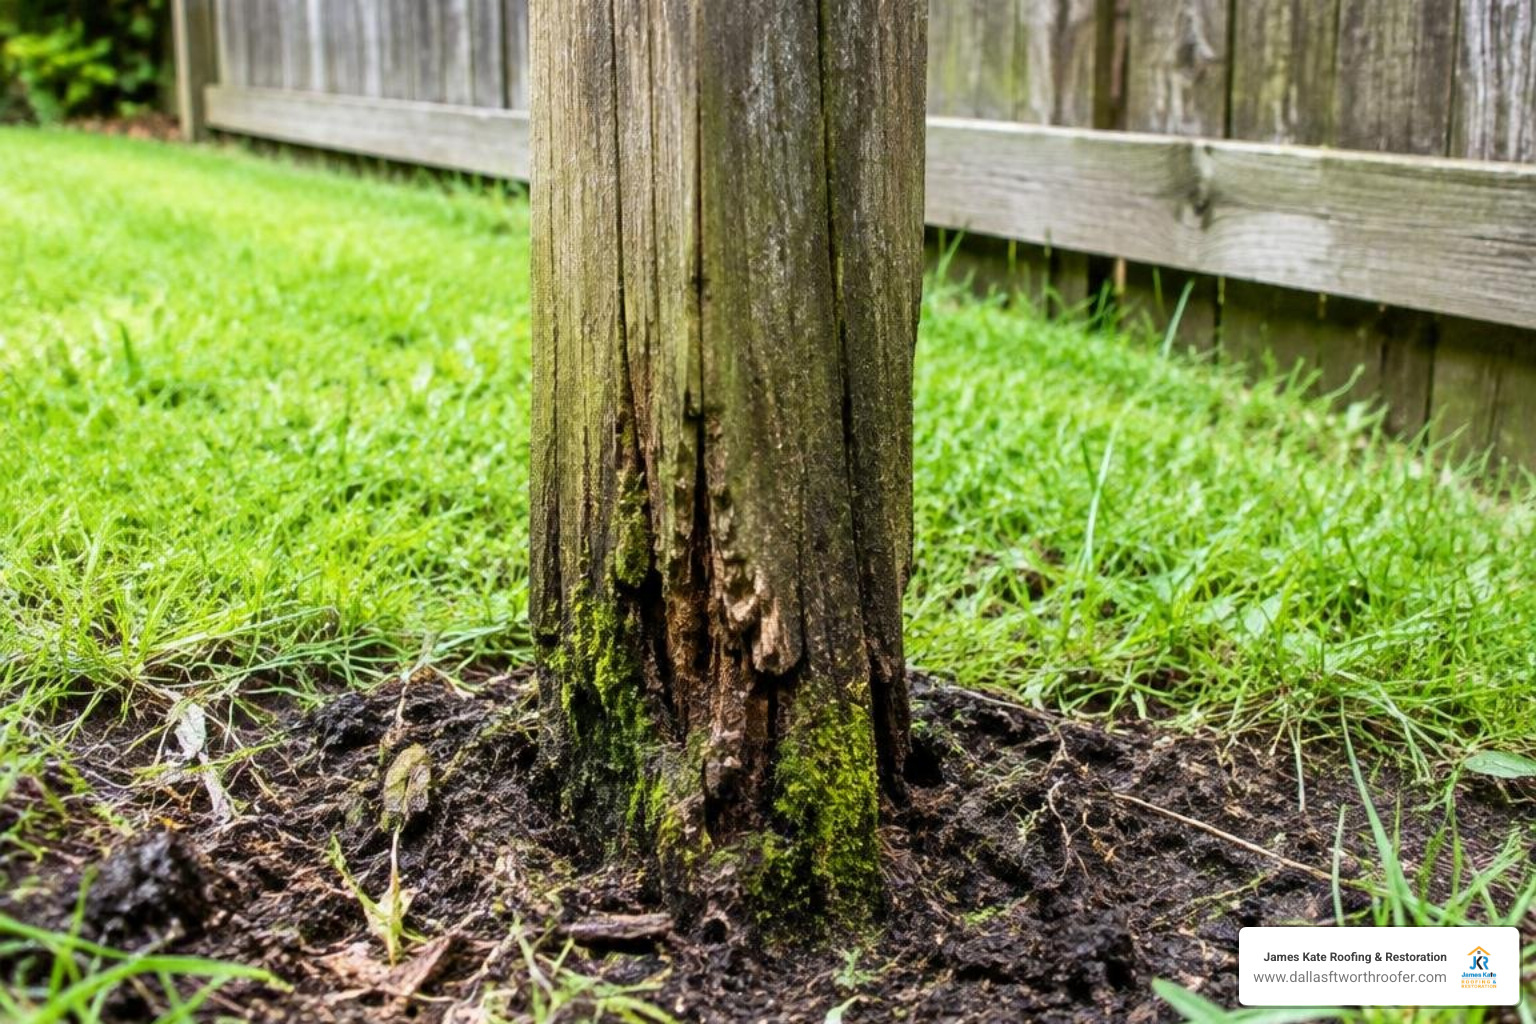
Understanding Bitumen Paint for Fence Posts and Ground-Line Decay
Bitumen paint for fence posts extends the life of outdoor timber by sealing the wood pores and creating a thick, waterproof barrier that blocks the moisture fungi need to survive. Applied to the below-ground portion and the soil-transition zone, it helps prevent the ground-line decay that commonly causes posts to soften and fail within a few years.
When timber sits in the ground, it faces a harsh biological environment. Many people assume wood rots deepest in the earth where the soil is coldest and wettest. In reality, subterranean timber decay happens almost entirely within the top few inches of the soil line.
Wood-decay fungi and microorganisms require three distinct ingredients to thrive:
- Continuous moisture
- Subterranean organic wood fibers
- Adequate ambient oxygen
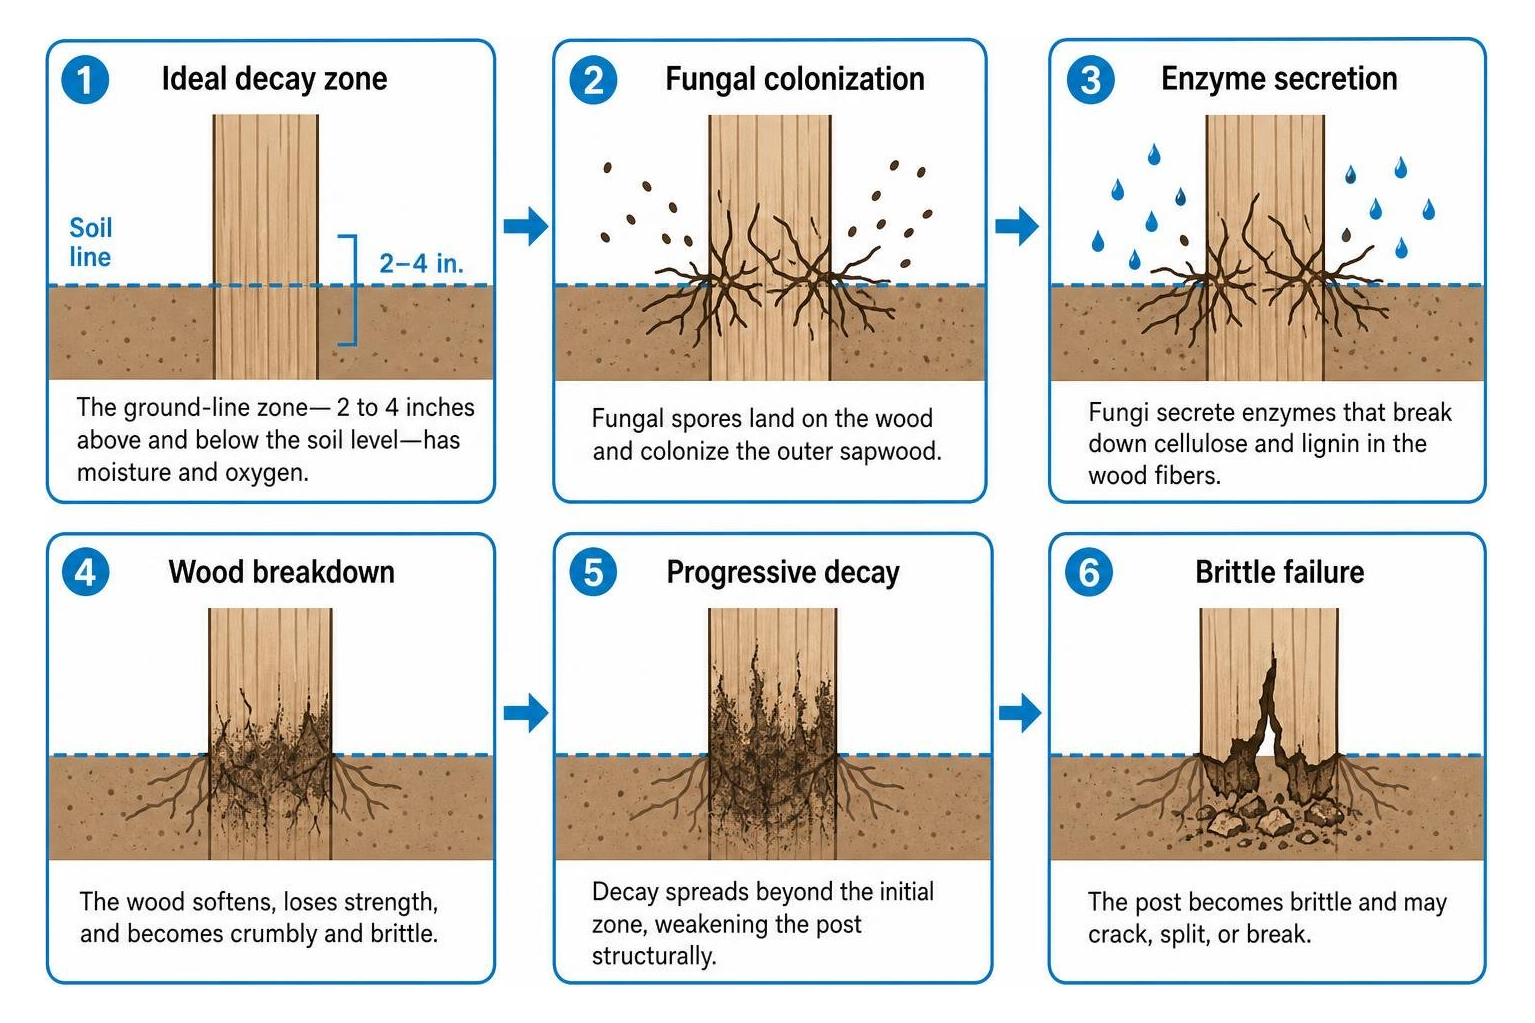
Deep underground, moisture is plentiful, but soil compaction starves fungal spores of sufficient oxygen. High above the dirt, plenty of oxygen circulates, but the sun and wind dry out the timber surface. The ground-line zone—extending roughly 2 to 4 inches above and below the soil level—serves as the ideal transition zone where abundant oxygen and damp earth meet. Without physical protection, fungi colonize the outer sapwood, secreting enzymes that digest cellulose and lignin, quickly turning a structural 4×4 into brittle sponge.
This vulnerability is why bitumen paint remains a proven protective measure. Formulated from refined hydrocarbon pitch dissolved in volatile petroleum spirits or suspended in water-based emulsions, bitumen forms a thick, waterproof outer shield. Deep-penetrating bituminous solutions seep into the porous wood grain and micro-fissures, curing into a dense, odorless, taint-free black membrane.
According to technical specifications on bitumen emulsions, modern bituminous coatings provide water repellency while resisting dilute acids, soil salts, and alkalis. By sealing the surface pores, the cured film cuts off moisture intake, starving wood-destroying bacteria and fungi of the damp conditions they need to break down the timber.
Comparing Wood Preservation Methods: Bitumen vs. Pressure-Treated, Spikes, and Concrete
Securing outdoor fence posts against rot involves balancing initial cost, physical effort, and expected service life. Homeowners across North Texas often debate whether they should buy pressure-treated lumber, drive metal spikes, pour solid concrete footings, or apply a dedicated bituminous barrier.
| Preservation Method | Expected Service Life | Relative Initial Cost | Moisture Barrier Efficiency | Ease of Post Replacement |
|---|---|---|---|---|
| Untreated Timber | 3 to 4 Years | Very Low | None (readily absorbs soil moisture) | Very Easy |
| Bitumen Paint (Applied to Posts) | 10 to 15+ Years | Low | High (seamless physical barrier) | Easy |
| Pressure-Treated (Tanalised) Wood | 20+ Years | Moderate | Moderate (chemical protection throughout) | Easy |
| Bitumen + Pressure-Treated Timber | 25+ Years | Moderate to High | Maximum (internal chemical + external seal) | Easy |
| Metal Post Spikes (Metposts) | 15 to 20 Years | Moderate | High (keeps wood out of direct soil contact) | Very Easy |
| Concrete Collar Footings (Untreated) | 4 to 8 Years | Moderate | Poor (traps runoff against timber collar) | Difficult |
Untreated softwood posts installed directly into wet, acidic soil can rot in as little as 3 to 4 years. Pressure-treated posts (often called tanalised timber) use copper-based preservatives driven deep into the wood fibers under pressure. While pressure-treated wood can last over 20 years in damp ground, modern chemical treatment regulations mean DIY ground-contact lumber may benefit from supplemental protection.
Applying bitumen paint directly over pressure-treated posts combines chemical defense with a physical waterproof shield. In comparison, metal post spikes keep the wood elevated entirely above the dirt, though they can shift or loosen under heavy wind loads.
Setting untreated posts directly in solid concrete can backfire if drainage is overlooked. Concrete is naturally porous and acts like a hard sponge, pulling moisture from surrounding soil. If the concrete is finished flat or sunken at the top, it creates a cup that funnels rainwater straight into the base of the wood. Using effective exterior waterproofing solutions on structural components ensures that standing water runs off instead of seeping into raw materials.
Step-by-Step Guide: How to Apply Bitumen Paint for Maximum Timber Protection
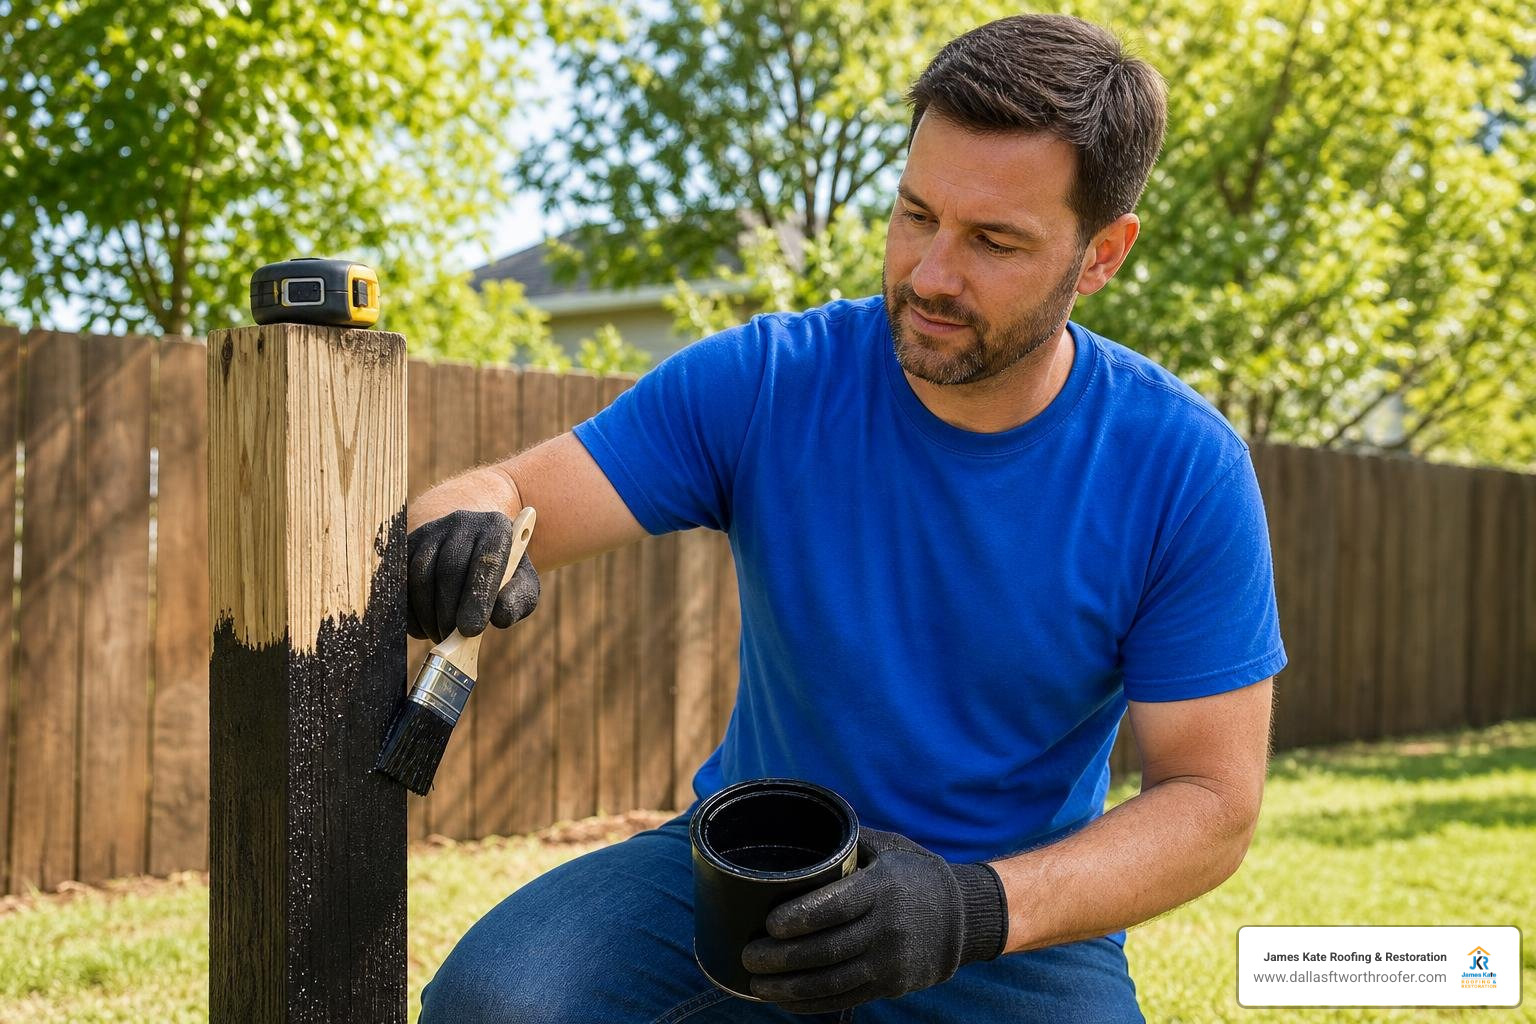
Applying bitumen paint requires thorough preparation to ensure the coating bonds cleanly to the wood fibers. A rushed, uneven coat can leave microscopic gaps where soil moisture penetrates and gets trapped behind the surface film.
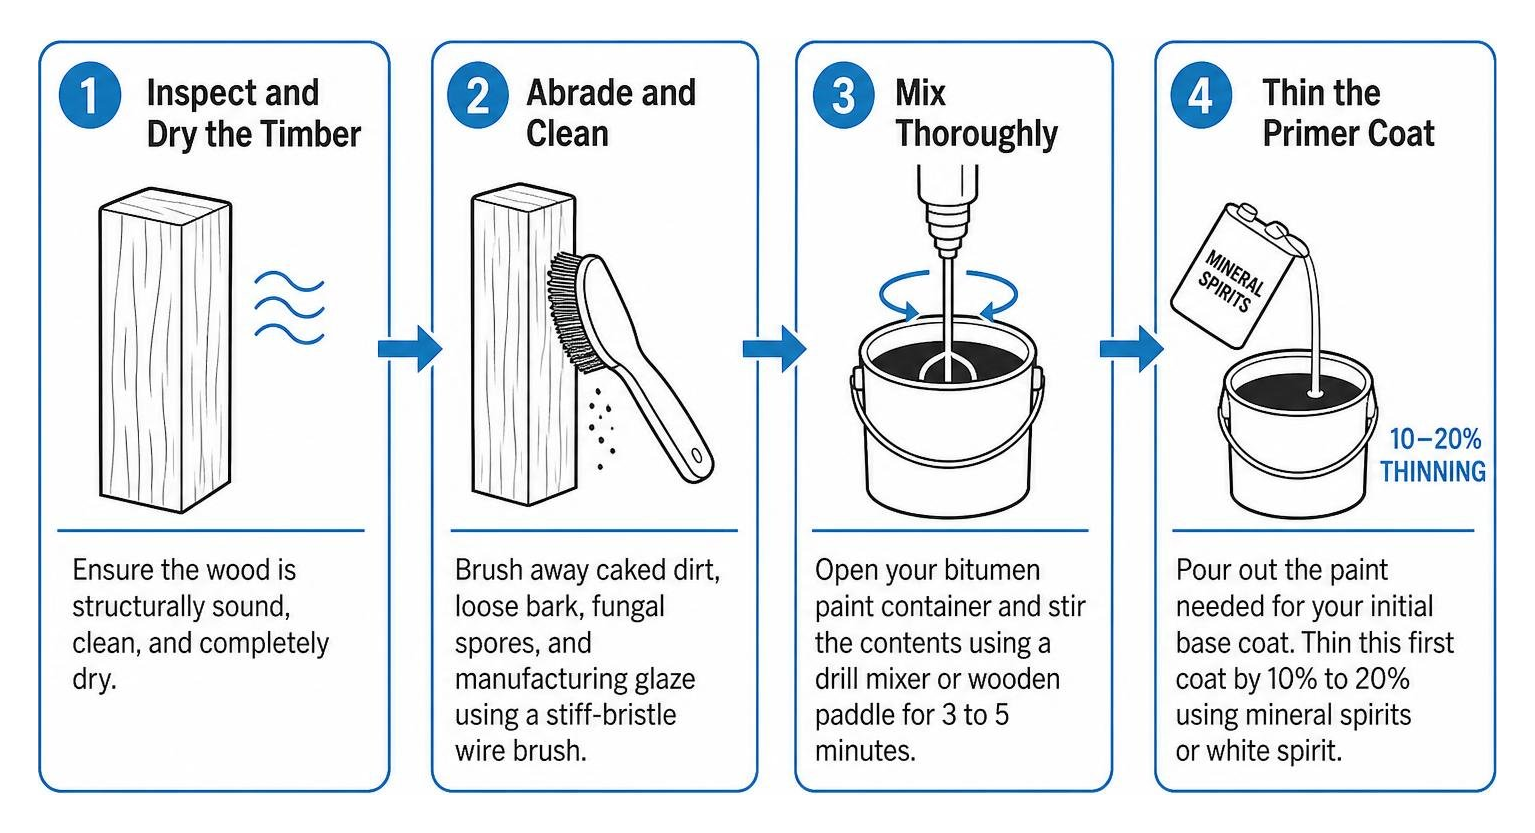
Surface Preparation and Thinning Bitumen Paint for Fence Posts
- Inspect and Dry the Timber: Ensure the wood is structurally sound, clean, and completely dry. Coating wet lumber traps internal sap and moisture, accelerating dry rot beneath the cured film.
- Abrade and Clean: Brush away caked dirt, loose bark, fungal spores, and manufacturing glaze using a stiff-bristle wire brush.
- Mix Thoroughly: Open your bitumen paint container and stir the contents using a drill mixer or wooden paddle for 3 to 5 minutes to redisperse settled pigments and binders.
- Thin the Primer Coat: Pour out the paint needed for your initial base coat into a separate work bucket. Thin this first coat by 10% to 20% using mineral spirits or white spirit. This reduced viscosity lowers surface tension, allowing the solution to soak deep into the grain and dry pores rather than sitting strictly on top.
- Apply the Base Coat: Using an exterior brush or specialized dip trough, apply a generous layer of the thinned mixture across the subterranean section.
Application Below Ground Level and Optimal Coverage
- Target the Critical Zone: Measure the depth of your post holes. If your post sits 24 inches (600 mm) underground, coat the bottom 24 inches plus an additional 4 inches (100 mm) above the anticipated ground level. This creates a minimum 400 mm (16-inch) to 700 mm continuous shield covering the entire underground length and the exposed soil-transition zone.
- Saturate the End-Grain: The bottom cross-cut end-grain acts like a cluster of open drinking straws, pulling groundwater up through capillary action. Soak the bottom cut thoroughly or dip the base directly into the coating for several minutes.
- Observe Coverage Rates: Standard spirit-based bitumen paint yields a coverage rate of roughly 8 to 10 square meters per liter, while thicker emulsion stains like BitPost Brush On yield approximately 2 to 4 square meters per liter depending on timber porosity.
- Apply the Topcoat: Allow the thinned primer coat to dry for 12 to 24 hours, then apply an undiluted second topcoat to establish a durable, pinhole-free outer membrane.
Drying Times, Multi-Substrate Compatibility, and Property Safety
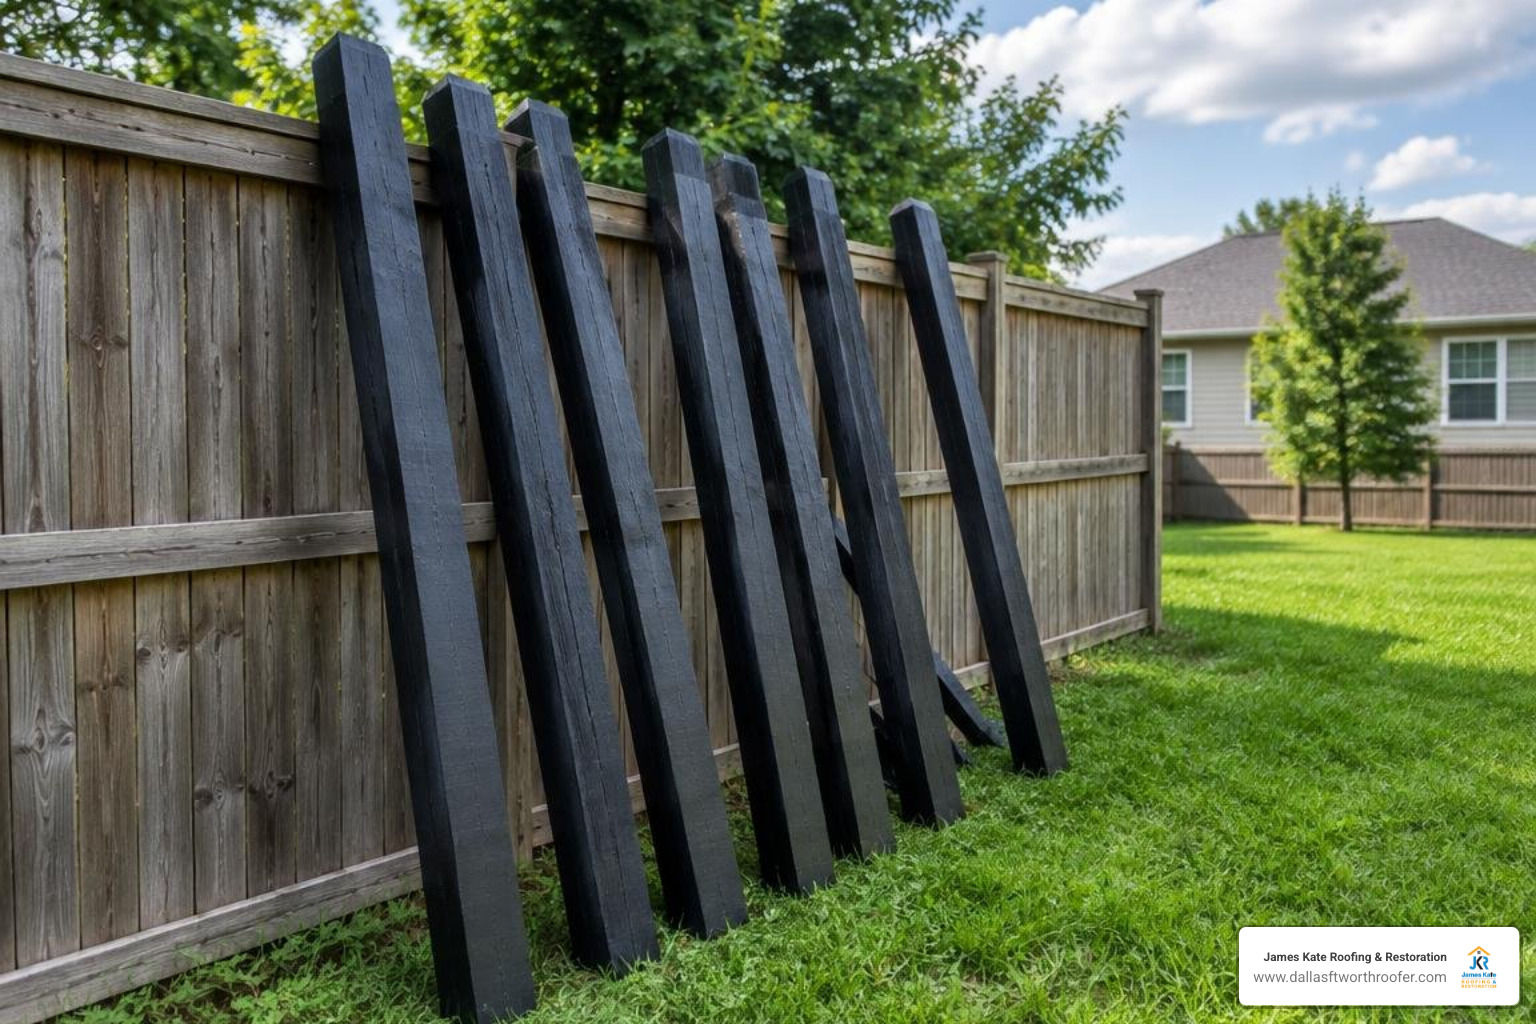
Weather conditions directly dictate how quickly bituminous coatings cure. In warm, dry weather with low humidity, solvent-based bitumen paint is typically touch-dry in 2 to 4 hours. However, applying a second coat requires waiting 12 to 24 hours to prevent wrinkling the base layer. Full protective curing—where all solvent carriers evaporate and the hydrocarbon matrix reaches peak hardness—takes approximately 7 full days. Do not pack damp soil, backfill gravel, or tamp sharp aggregates against the painted post until the membrane has thoroughly cured.
Taking care of supporting infrastructure parallels the ultimate guide to roof maintenance: extending the life of your investment—routine attention and appropriate coatings preserve the foundation of your property.
Multi-Surface Protection: Wood, Metal, and Concrete Applications
Bitumen coatings bond well across multiple exterior materials beyond standard lumber:
- Ferrous and Non-Ferrous Metals: Bitumen coats steel pipe posts, metal gate frames, and structural iron brackets to seal out moisture and stop rust. Before applying bitumen to bare or lightly rusted steel, remove loose scale and apply an anti-corrosive zinc phosphate primer to ensure lasting adhesion. Avoid applying over raw, unprimed galvanized sheet metal or bare aluminum.
- Concrete and Masonry Posts: Pre-cast concrete fence posts, masonry retaining pillars, and stone footings benefit from a bituminous vapor barrier. Concrete exposed to wet soil can slowly wick water into internal steel rebar, causing spalling. A two-coat bitumen application on subterranean concrete blocks moisture absorption and extends its working life.
Safe Handling and Environmental Safety for Bitumen Paint for Fence Posts
Working with solvent-borne bitumen products requires standard outdoor safety precautions:
- Ventilation and PPE: Apply coatings outdoors or in well-ventilated areas. Wear chemical-resistant nitrile gloves, safety glasses, and organic vapor respirators when applying solvent-thinned paint to avoid breathing fumes.
- Flammability: Keep open flames, sparks, and heat sources away from open containers during mixing and solvent application.
- Livestock and Pets: Once fully cured, bituminous stains are non-toxic, odorless, and taint-free. Many agricultural operations use bitumen timber stains because the natural tar taste deters horses from chewing rails while discouraging red mites in poultry coops.
- Garden Bed Safety: When building raised vegetable planters or staking edible crops, allow the bitumen paint to cure completely for 7 days before bringing it into contact with soil. Once cured, the stable hydrocarbon matrix will not leach into adjacent soil or damage plant root systems.
Frequently Asked Questions About Fence Post Preservation
How long does a bitumen-treated fence post last compared to untreated timber?
An untreated softwood post set directly in moist, biologically active soil typically rots within 3 to 4 years. A pressure-treated post coated with a dedicated bitumen barrier and set with proper base gravel drainage routinely reaches 15 to 25+ years of active service life.
Can bitumen paint be used around horses, chickens, and garden beds?
Yes, provided the paint cures fully before animals make contact or planting begins. Once dried (typically 7 days), the coating produces no volatile off-gassing and forms a stable barrier. The bitter taste deters horses from chewing timber, and the protective surface helps suppress mite harborage in chicken coops.
What is the recommended re-coating schedule for outdoor posts?
Subterranean timber cannot be recoated without excavating the post. However, above-ground post-and-rail fencing treated with bituminous timber stains should receive an inspection every 3 to 5 years. In high-sun exposure zones, applying a fresh topcoat every 5 to 8 years keeps the timber waterproof and looking uniform.
Conclusion
Outdoor posts face constant exposure to changing weather and moist soil. Protecting the vulnerable ground-line zone with bitumen paint stops fungal growth, seals out standing water, and prevents premature structural rot. Combining pressure-treated timber with a thinned bituminous primer coat and a solid topcoat significantly extends the lifespan of your boundary fences, garden structures, and gate posts.
When updating your property’s exterior barriers, applying the right industrial coatings makes all the difference. For durable metal surfaces, choosing a quality paint for corrugated metal roofs keeps panels rust-free for decades. If you have questions about protecting exterior building materials, roofing structures, or outbuilding waterproofing across Arlington, Mansfield, or Grand Prairie, reach out to our team at James Kate Roofing & solar for clear, professional advice.

Dustin Eatman is a seasoned roofing professional with deep, hands-on expertise that spans residential and commercial roofing, insurance solar, and long-term roof asset management. As the owner of James Kate Roofing & solar in the Dallas–Fort Worth metroplex, he’s built a reputation for diagnosing roof systems accurately, communicating clearly, and executing projects with a high standard of workmanship and documentation. Dustin understands the technical details that make roofs perform—proper underlayment selection, slope and drainage considerations, ventilation strategy, flashing and penetration detailing, and manufacturer-specific installation requirements—because he’s worked through the real-world challenges that cause leaks, premature wear, and warranty issues. He’s equally fluent in the operational side of roofing: jobsite planning, quality control, safety, material ordering, crew coordination, and customer experience from inspection to closeout. In insurance-related projects, Dustin brings practical knowledge of claim workflows, adjuster meetings, scope alignment, supplements, and the importance of photo evidence and thorough records, helping property owners navigate stressful situations with confidence. For commercial clients—especially property and facility managers—he emphasizes proactive maintenance and targeted repairs that reduce disruption, extend roof life, and prevent expensive interior damage. Dustin also stays focused on doing things the right way: educating customers on realistic options, setting expectations, and prioritizing solutions that hold up over time rather than quick fixes. That blend of technical skill, field experience, process discipline, and owner-level accountability is what makes Dustin Eatman a trusted expert in the roofing industry.