
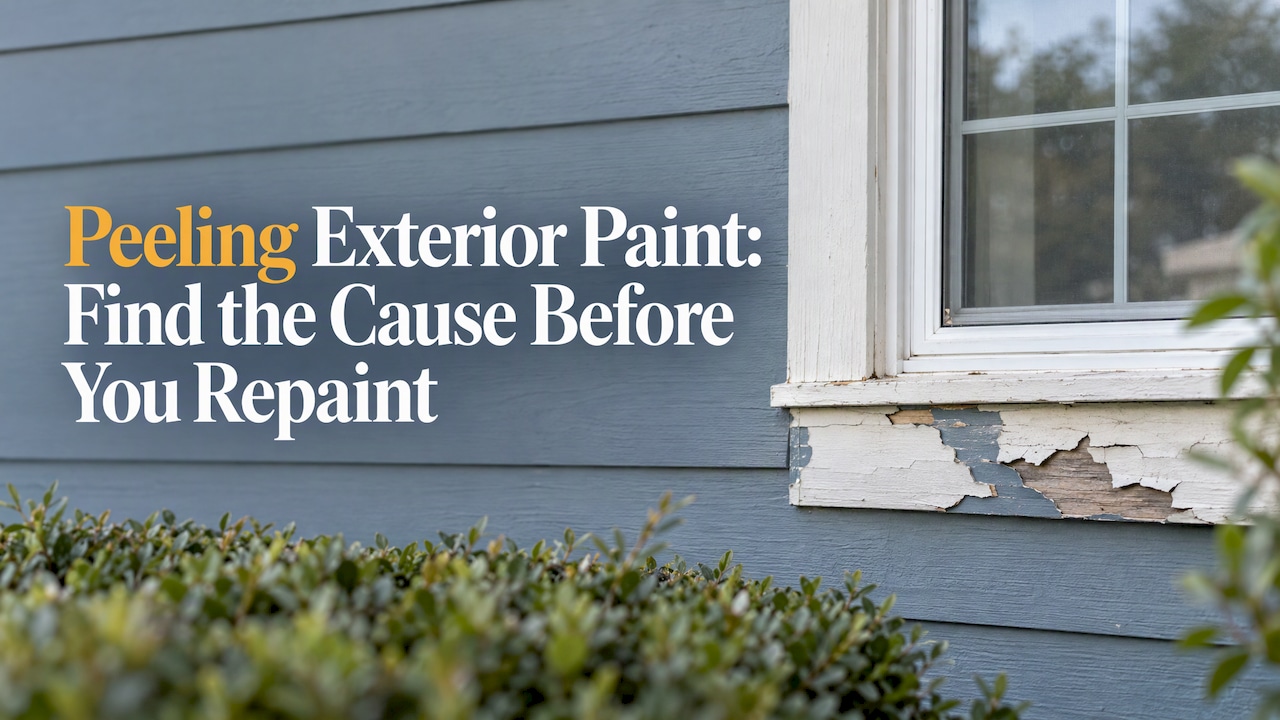
Peeling exterior paint is almost always a sign that water is getting behind the paint film, and new paint over the same problem will fail the same way. Scraping and repainting fixes how the wall looks. Tracing the moisture to its source fixes the wall. On many North Texas homes that source sits above the paint line: a failed flashing, a clogged gutter or a slow roof leak. We inspect roofs for a living, so that is where we start.
TL;DR
- Paint peels when moisture reaches the wall, swells the surface and breaks the bond. Poor prep and mismatched coats cause it too.
- Before repainting, check the roof edge, flashing, gutters, caulk joints and attic side of the wall for the water source.
- Remove all loose paint, feather the edges, clean, repair rot, caulk and prime. Then apply two topcoats within the recommended recoat window.
- If your home was built before 1978, the old paint may contain lead. A Lead-Safe Certified firm should do the scraping and sanding.
- A free roof inspection and estimate tells you whether the roof is feeding the problem before you spend money on paint.
Table of Contents
- Why exterior paint peels
- How to trace the water source
- Should you paint over peeling paint?
- Before you scrape: check for lead
- How to prepare and repaint the surface
- Keeping paint from peeling again
- Get the roof checked before you repaint
- Perspective
- FAQ
- Sources
Why exterior paint peels
Paint is a thin film stuck to a surface. Anything that breaks that bond lets the film lift, crack and fall away. There are four common causes, and most failing walls involve more than one.
| Cause | What you see | Where to look |
|---|---|---|
| Moisture behind the paint | Blisters, bubbles, peeling in sheets, often in the same area each year | Below roof edges, under windows, near downspouts, at corners |
| Poor surface preparation | Paint lifting in patches over dirty, chalky or glossy surfaces | Wherever the previous paint job skipped scraping or cleaning |
| Incompatible paint layers | Whole coats peeling off the layer underneath | Walls repainted with a different paint type than before |
| Recoat timing | Top coat peeling away from primer or the first coat | Walls painted over several weeks or months |
Moisture is the leading suspect
Exterior paint peels when a dry painted surface gets wet, causing the material underneath to swell and the paint film to loosen. That is why the pattern matters more than the peeling itself. Paint that peels on one wall, under one window or below one stretch of roofline points to a local water source. Paint that peels evenly across a sun-baked wall points more toward age or preparation.
The U.S. Department of Energy describes a house as a system of interdependent parts, and notes that air leaks can carry water vapor into walls, where it may condense and cause paint to peel. Water does not care whether it came from the roof, the gutter or the bathroom fan. It ends up in the same wall.

Preparation and paint compatibility
The National Park Service explains that incompatible paint types can cause intercoat peeling: oil paint over latex may peel, and latex over old, chalking oil paint may not adhere. This Old House lists insufficient scraping, incorrect sanding and moisture problems among the preparation failures that lead to peeling and blistering.
Recoat timing
This one is easy to overlook. The U.S. Forest Service’s Wood Handbook warns that waiting more than two weeks between coats can leave a soap-like surface film that weakens adhesion of the next layer. A job spread over a rainy month can fail for this reason alone.
How to trace the water source
Fine Homebuilding recommends starting with a moisture inventory: a visual inspection of the whole house for water sources, including flashings and gutters. The article suggests simulating rain with a garden hose, or inspecting during a downpour, and considering condensation when no leak turns up. Here is how that works in practice, from the top down.
- Roofline and fascia. Look at the paint just under the eaves. Peeling that follows the roof edge often means water is running behind the gutter or wicking under the shingle edge. Our guide to how gutters and roofing work together shows how that happens.
- Gutters and downspouts. Clogged gutters overflow down the siding. Look for stains, sagging sections and paint that peels in a vertical stripe under a joint or downspout.
- Flashing. Flashing is the metal that seals the joints where the roof meets a wall, chimney, vent or dormer. When it fails, water runs down the wall behind the siding. Peeling directly below a roof-to-wall joint is a classic sign. We cover this in handling flashing issues.
- Windows, doors and trim joints. Caulk shrinks and cracks. Gaps at corners, trim and openings let water in and the paint peels around them first.
- The attic and interior side. Stains on the ceiling or a damp smell near an exterior wall suggest a slow roof leak. Our page on how to identify roof leaks lists what to look for, and three unsuspected causes of a roof leak covers the ones people miss.
- Condensation. If nothing leaks, moisture may be coming from inside. Air leaks and poor ventilation can push water vapor into a wall cavity where it condenses.
The hose test is worth doing in sections. Start low and work upward, wetting one area for several minutes at a time, with a second person watching the attic or interior wall. Starting high first soaks everything below and hides which spot actually leaks.
Where a roofer sees what a painter cannot
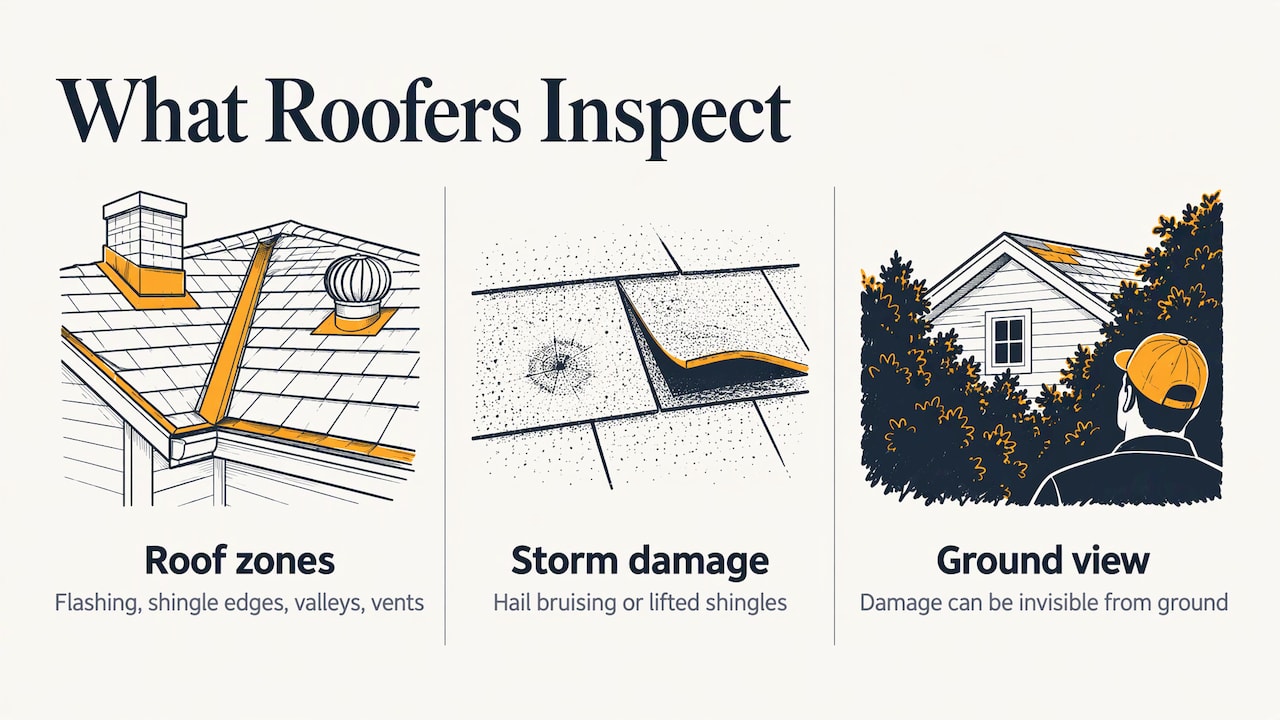
A painter looks at the wall. A roofer looks at where the water came from. Climbing a roof to examine flashing, shingle edges, valleys and vents takes the right gear and training, and a fall from a roof is a far worse outcome than a peeling wall. A roof inspection from a contractor who works on roofs every day also turns up damage that is invisible from the ground, such as hail bruising or lifted shingles after a storm. If recent weather could be involved, our roof damage assessment guide explains how to check, document and decide.
Should you paint over peeling paint?
No. Remove every bit of loose, peeling or bubbling paint before repainting, as This Old House advises. Paint applied over a loose layer is only as strong as that layer, and it will lift with it.
There is a second rule that matters more: fix the moisture first. The National Park Service’s guidance is blunt that there is no sense repainting before moisture problems are dealt with, because the new paint will simply fail. A repaint costs real money, and our breakdown of what exterior house painting costs shows how much is at stake. Spending that on a surface that is still getting wet is the most expensive way to repaint.
What about “sealing” flaking paint so it stays put? Paint that is already loose has nothing solid to hold onto. Coatings sold to bridge or lock down flaking areas will not fix a bond failure caused by water. Our comparison of waterproofing paint options explains what these products can and cannot do on a sound surface.
Before you scrape: check for lead
If your home was built before 1978, the existing layers may contain lead. The EPA’s guidance says that if you think the paint contains lead, do not try to remove it yourself. Hire an EPA- or state-approved Lead-Safe Certified renovation firm. For renovation projects in pre-1978 homes, contractors must contain the work area, avoid methods that generate large amounts of lead-contaminated dust, and clean up and dispose of waste properly.
Dry scraping and power sanding create exactly that dust. Pregnant women and young children are the people most at risk from it, so settle this before anyone picks up a scraper.
How to prepare and repaint the surface
Once the water source is fixed, and lead is ruled out or handled by a certified firm, preparation decides how long the new paint lasts. The steps below follow This Old House’s exterior painting guidance.
- Scrape. Remove all loose, peeling or bubbling paint with a scraper. Keep going until the remaining paint is firmly stuck. Where it goes wrong: stopping at the obvious flakes and leaving paint that is merely loose. It will peel next season.
- Sand the edges. Sand where paint meets bare wood so the transition is smooth. Otherwise the edge of each patch shows through the new coats as a ridge, and it is the first place for water to creep under.
- Clean. Wash off dirt, chalk and mildew and let the wall dry completely. Painting over a damp or dirty surface is one of the most common reasons for repeat failure.
- Repair. Replace or repair soft or rotted wood. Rot means water has been there a while, so go back to your source check if you find it.
- Caulk. Seal gaps at joints, corners and openings with quality exterior caulk. Worn caulk is a leading entry point for water.
- Prime. Prime bare wood and repaired spots with an exterior primer suited to the surface. Staining from extractives in replacement wood calls for a stain-blocking primer, and two coats in severe cases.
- Topcoat on schedule. Apply the first topcoat within two weeks of priming and the second within two weeks of the first. If the gap runs longer, scrub the surface first to remove the film.
The Forest Service recommends a total dry film thickness of 0.10 to 0.13 mm (4 to 5 mils) across primer and two topcoats. A single thin coat cannot reach that, which is one reason cheap one-coat repaints fail early.
Matching the new paint to the old matters too. If you do not know what is on the wall, a small test patch and a conversation about compatibility before the full job is cheap insurance against intercoat peeling.
Keeping paint from peeling again
Prevention is mostly the same list as the diagnosis, done on a schedule.
- Clean gutters before and after the heavy storm season, and make sure downspouts carry water away from the foundation and walls.
- Re-caulk joints, corners and openings when the caulk cracks or pulls away.
- Have the roof and flashing looked at after hail or high wind, even if you see no leak. Damage often shows up first as stains on a wall or ceiling.
- Keep bathroom and kitchen exhaust fans venting outdoors so indoor humidity does not push into the walls.
- Follow the recoat window every time you paint, and avoid starting a job right before a stretch of wet weather.
After a storm, our guides on spotting roof damage after a storm and what to do when a roof suffers storm damage tell you what to check and in what order.
If you are thinking about selling, peeling paint, stained trim and a leak history all weigh on a buyer’s view of the house. Reading about roof damage and home sales shows how much condition affects the process, and fixing the source of moisture first protects the value of any repaint.
Get the roof checked before you repaint
If your peeling paint sits under the roofline, below a flashing joint, or near a downspout, the roof is a prime suspect. We offer free inspections and estimates, and our roof inspection and estimate covers the places water enters: shingle edges, flashing, vents and the gutter line. James Kate Roofing & solar is a GAF Master Elite® contractor, and our storm-damage assessments and roof leak diagnosis and repair are built to answer one question: is water coming from your roof?

If the roof is the source, we can repair it. Gutters, siding and paint are part of what we do as well, so the leak and the wall can be fixed in the right order. For a quick first look, our instant roofing quote tool checks your roof against historical weather data to show whether severe storms may have affected it. If the roof needs replacing, residential replacements carry a transferable 15-year workmanship warranty. You can start on our roofing services page or from our home page.
Perspective
When a homeowner calls about peeling paint, we start by asking where it is peeling, not what color it was. Paint on a wall tells a story about water. If the peeling hugs the roofline or sits under a roof-to-wall joint, the roof system is usually part of the answer, and no amount of scraping and priming will change that.
We build our work around diagnosis first. A roof inspection that looks at flashing, shingle edges, vents and gutters, backed by what the weather history shows for your address, lets you decide with facts. That is why we offer free inspections and estimates: the right repair is the one that matches the cause, and you should know the cause before you commit to a repaint or a repair.
A house works as one system, and a wall that keeps peeling is the house telling you something. Our job is to read it correctly, explain it in plain language, and fix what needs fixing. When a roof does need to be replaced, a manufacturer-certified crew and a transferable 15-year workmanship warranty on residential replacements mean the work is built to last and the warranty stays with the home.
Dustin Eatman
FAQ
Can you paint over flaking exterior paint?
Not if you want it to last. Flaking paint has lost its bond, so any new coat will lift with it. Scrape off everything loose, sand the edges smooth, clean the wall and prime bare spots before repainting. If water caused the flaking, repair the leak first or the new paint will fail.
Why does my exterior paint keep peeling in the same spot?
Repeat peeling in one place usually means a steady water source nearby. Common culprits are a failed flashing, an overflowing gutter, cracked caulk or a slow roof leak. Walk the area above the peeling, then check inside the wall’s attic or ceiling side. A roof inspection can confirm whether the roof is involved.
How long should I wait between coats of exterior paint?
The U.S. Forest Service advises applying the first topcoat within two weeks of priming and the second within two weeks of the first. Longer gaps can leave a soap-like film that prevents the next coat from bonding. If the gap runs over, scrub the surface before painting.
Is it safe to scrape old paint on an older house?
If the home was built before 1978, assume the paint may contain lead until it is tested. The EPA says not to remove suspected lead paint yourself. A Lead-Safe Certified renovation firm contains the work area, avoids dust-heavy methods and disposes of waste properly.
Could storm damage be causing my peeling paint?
Yes. Hail and wind can damage shingles, flashing and gutters, which lets water run into walls. The paint may peel months later, long after the storm. If peeling appeared after a rough storm season, a hail and wind damage inspection can show whether the roof took the hit.
Sources
- Your House is a System: How To’s for the Handy Homeowner (U.S. Department of Energy)
- Preservation Briefs 10: Exterior Paint Problems on Historic Woodwork (National Park Service)
- How to Safely Paint Your Home’s Exterior (This Old House)
- Wood Handbook, Chapter 15: Finishing of Wood (U.S. Forest Service)
- Peeling Paint Mystery (Fine Homebuilding)
- Protect Your Family from Lead in Your Home (U.S. EPA)
Recommended
- Exterior House Painting Cost: What You’ll Pay in 2026
- A Practical Guide to Comparing Waterproofing Paint Options
- Why Bitumen Paint Doubles the Life of Outdoor Timber Posts
- Top Paint for Corrugated Roof Options: Protect Your Metal in Style

Dustin Eatman is a seasoned roofing professional with deep, hands-on expertise that spans residential and commercial roofing, insurance solar, and long-term roof asset management. As the owner of James Kate Roofing & solar in the Dallas–Fort Worth metroplex, he’s built a reputation for diagnosing roof systems accurately, communicating clearly, and executing projects with a high standard of workmanship and documentation. Dustin understands the technical details that make roofs perform—proper underlayment selection, slope and drainage considerations, ventilation strategy, flashing and penetration detailing, and manufacturer-specific installation requirements—because he’s worked through the real-world challenges that cause leaks, premature wear, and warranty issues. He’s equally fluent in the operational side of roofing: jobsite planning, quality control, safety, material ordering, crew coordination, and customer experience from inspection to closeout. In insurance-related projects, Dustin brings practical knowledge of claim workflows, adjuster meetings, scope alignment, supplements, and the importance of photo evidence and thorough records, helping property owners navigate stressful situations with confidence. For commercial clients—especially property and facility managers—he emphasizes proactive maintenance and targeted repairs that reduce disruption, extend roof life, and prevent expensive interior damage. Dustin also stays focused on doing things the right way: educating customers on realistic options, setting expectations, and prioritizing solutions that hold up over time rather than quick fixes. That blend of technical skill, field experience, process discipline, and owner-level accountability is what makes Dustin Eatman a trusted expert in the roofing industry.