
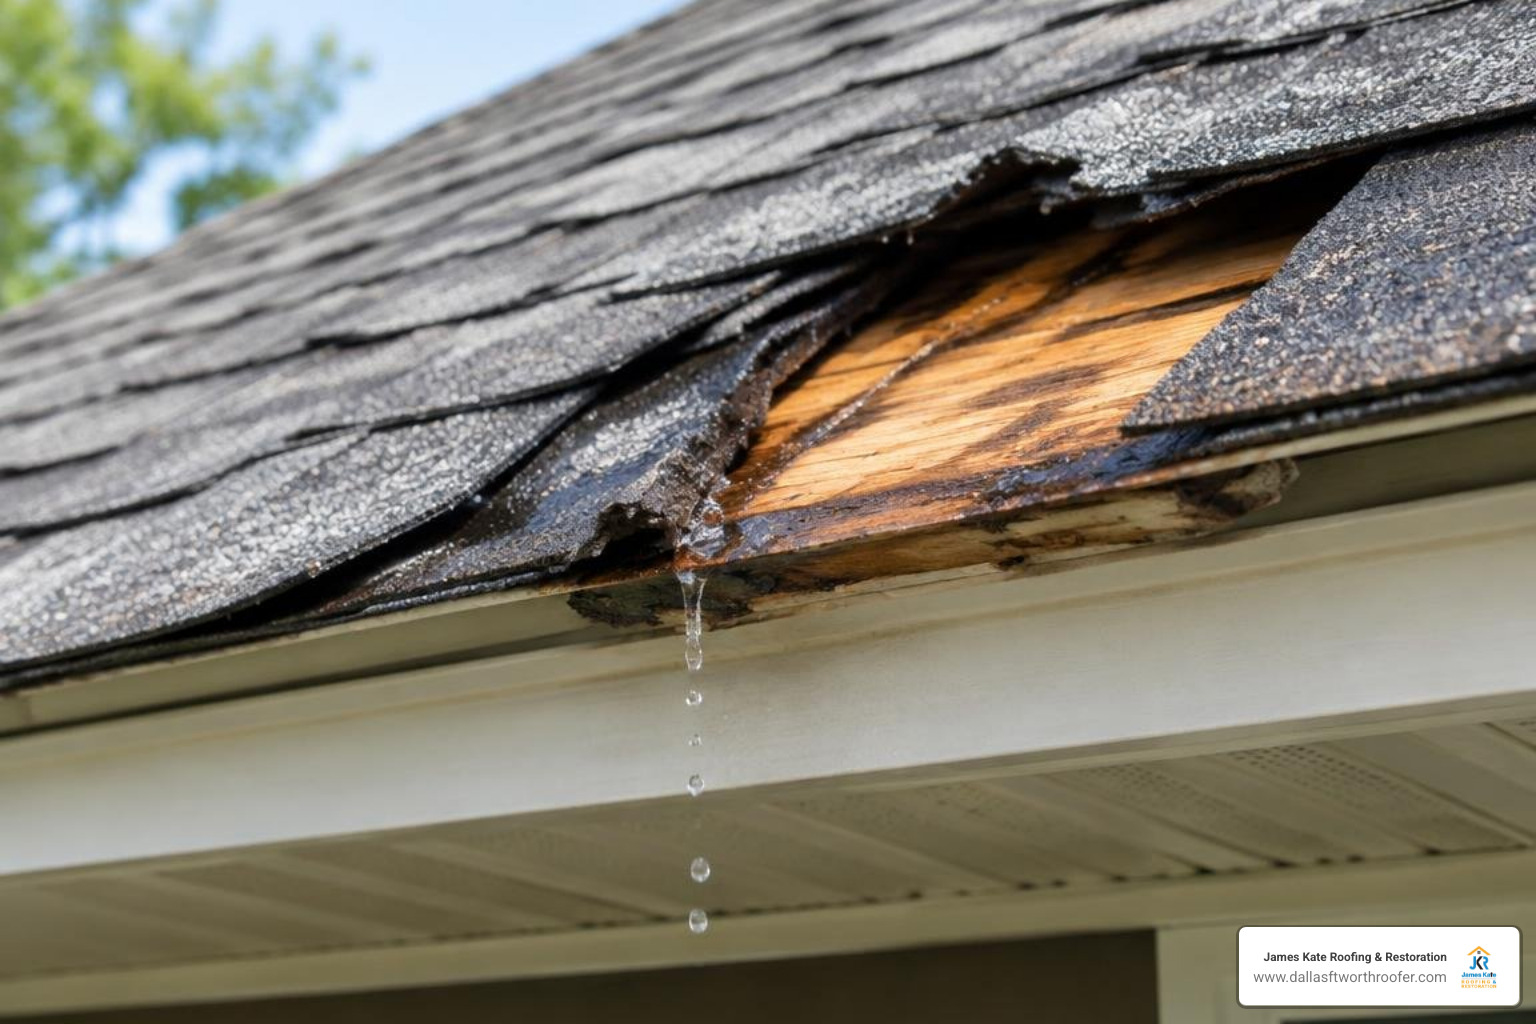
Stop a Small Roof Leak Before It Spreads
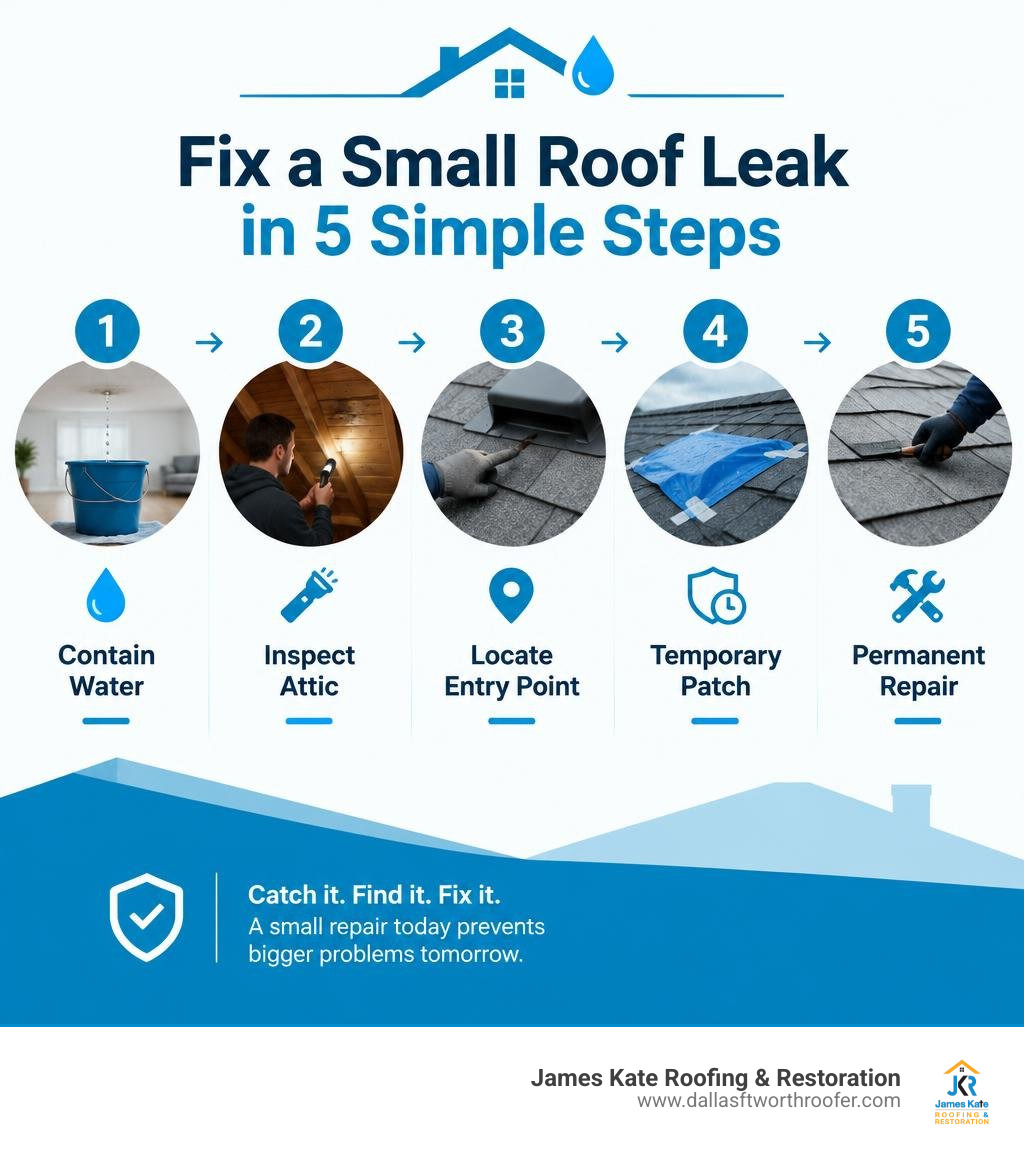
To fix a small roof leak, catch the water inside first, find the entry point from the attic, then repair the failed roof component from the exterior on a dry day. Do not climb onto a wet, steep, or damaged roof.
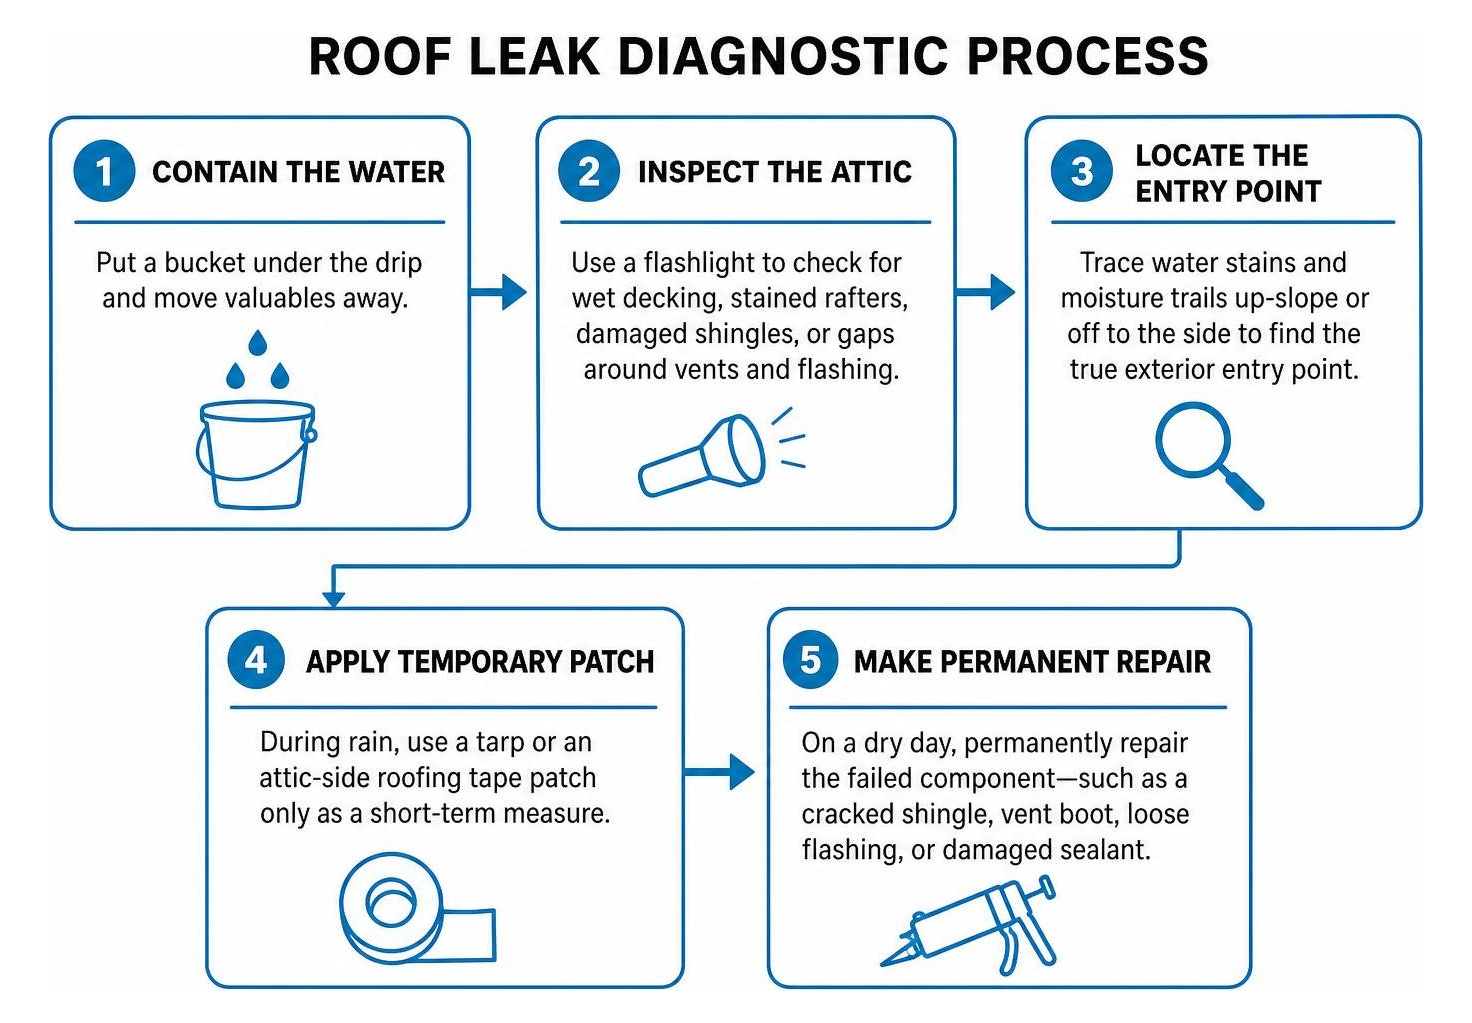
- Put a bucket under the drip and move valuables away.
- Check the attic with a flashlight for wet decking, stained rafters, damaged shingles, or gaps around vents and flashing.
- Use a tarp or an attic-side roofing tape patch only as a short-term measure during rain.
- Permanently replace the cracked shingle, failed vent boot, loose flashing, or damaged sealant that let water in.
A ceiling drip is often not directly below the leak. Water can travel along rafters before it reaches the ceiling. Act quickly: damp building materials can support mold growth within 24 to 48 hours, and a small repair can become costly interior damage if it is ignored.
I am Dustin Eatman, a roofing professional with hands-on experience diagnosing leaks, repairing roof penetrations, and documenting storm-related damage across residential and commercial roofs. In this guide, I will help you fix small roof leak problems safely while knowing when a lasting repair calls for a professional.
Fix small roof leak vocab explained:
Pinpointing the Source: How to Find Minor Roof Leaks
Water is an opportunistic traveler. When rain breaches your outer roof covering, it rarely drops straight down through the drywall. Instead, surface tension pulls it along the underside of your plywood or OSB roof decking, down the slope of a rafter truss, across ceiling joists, and finally onto the back of your drywall ceiling. By the time a wet spot blooms above your living room sofa, the actual exterior entry point could be five, ten, or even fifteen feet up-slope or off to the side.
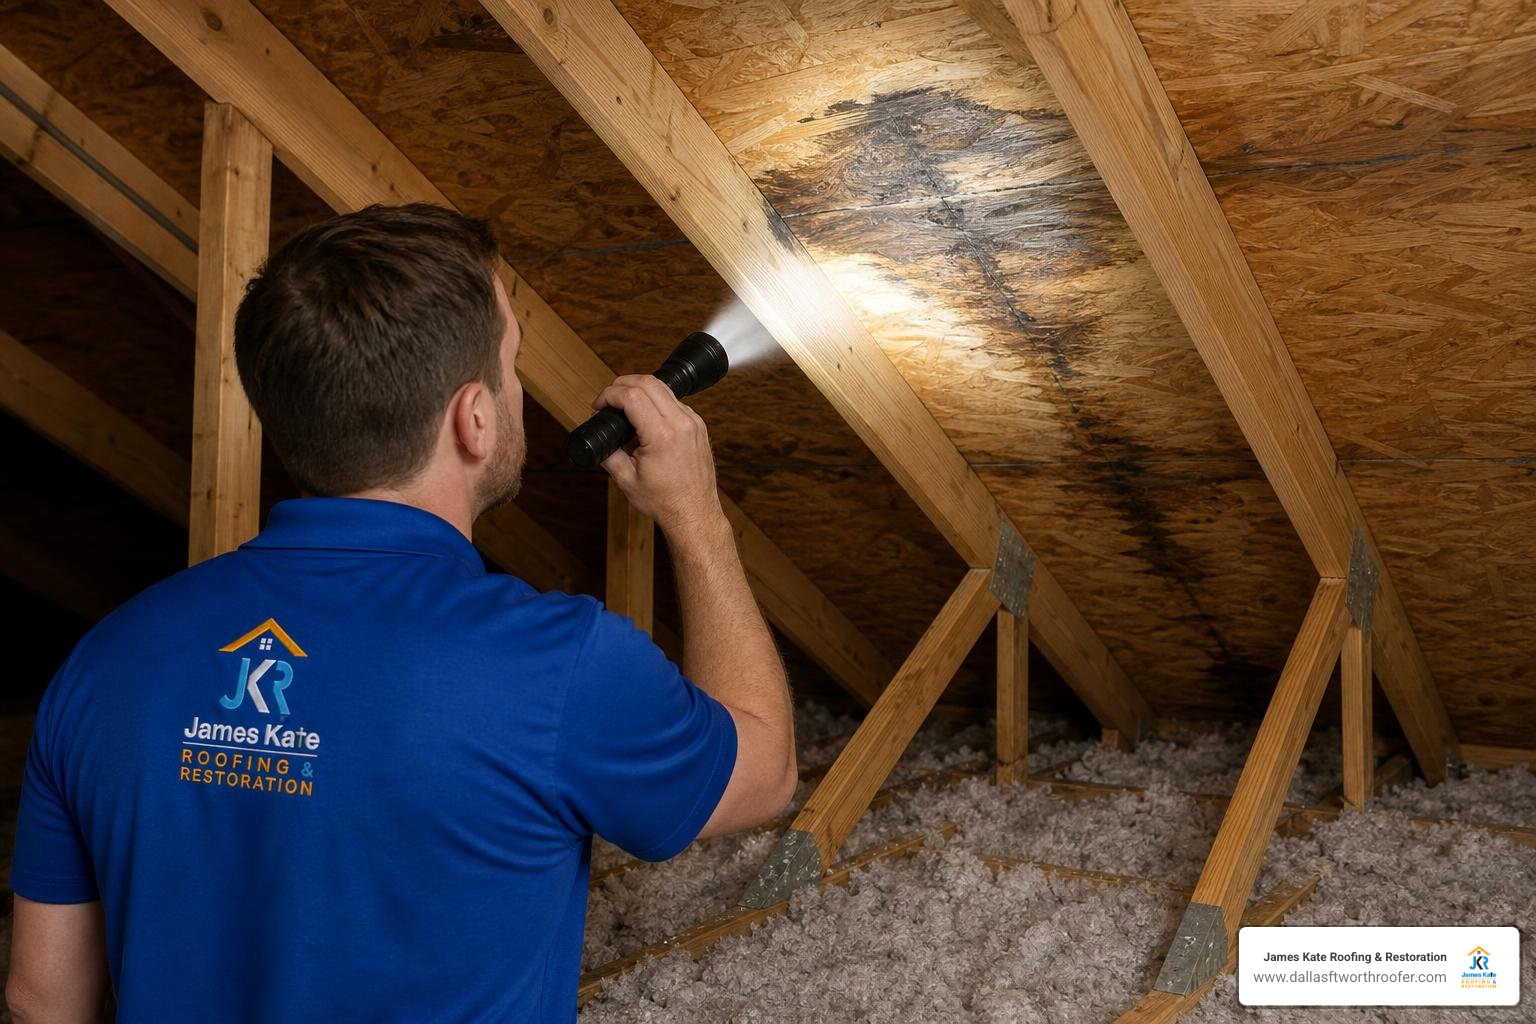
To find the true breach, grab a high-lumen flashlight and head into the attic while the rain is falling or immediately after it stops. Walk only on secure joists or laid subflooring—never step directly onto the drywall ceiling between joists. Look above the damp drywall mark and begin identifying roof leak pathways by scanning the rafters and plywood for dark water stains, white efflorescence rings, or glistening moisture trails. Trace these wet paths upward to their highest point on the roof deck.
If you are hunting for a leak on a clear, dry afternoon, enlist a helper and use the garden hose isolation method:
- One person stays in the dark attic with a flashlight focused on the suspected underside framing.
- The person on the roof takes a garden hose on a low-pressure setting and runs water over the lowest section of the roof slope near the suspected area.
- Isolate each penetration (a pipe boot, a valley, a vent) for at least 5 to 10 minutes before moving higher up the roof.
- When the attic observer shouts that water has begun to drip, you have isolated the exact exterior leak source.
Once the general area is narrowed down from inside, inspect the exterior roof surface above that spot. Check closely for cracked shingles, lifted fasteners, rusted valley metal, or deteriorated sealant beads.
Common Culprits Behind Small Leaks
Minor leaks usually stem from localized component failures rather than the total breakdown of the roof system. The most frequent triggers include:
- Missing or Broken Shingles: High winds tear tabs away, while hail impacts can fracture the asphalt mat, letting driven rain strike bare underlayment.
- Failing Step Flashing: Flashing failures cause 40 to 50 percent of residential roof leaks. Step flashing channels water away from sidewalls, dormers, and chimneys. When these thin metal pieces rust or slip loose, water slips behind the siding.
- Degraded Plumbing Vent Boots: The rubber neoprene collar around a plumbing vent stack endures intense ultraviolet radiation. Within 10 to 15 years, the rubber dries out, splits, and leaves an open gap around the pipe.
- Nail Pops and Backed-Out Fasteners: Daily thermal expansion causes roofing nails to push upward beneath the shingle above them, puncturing the asphalt layer and creating a direct channel for moisture.
For a broader breakdown of common exterior trouble spots, check out this Forbes guide to roof repair alongside our analysis of the common causes of roof leaks.
Emergency Measures During Active Rain
When a storm is pounding overhead, your primary objective is limiting interior destruction. Never venture onto an exterior roof surface during active rainfall, high winds, or lightning storms. Asphalt granules become extremely slick when wet, turning even modest slopes into severe fall hazards.
Instead, execute these interior emergency containment steps:
- Relieve Ceiling Pressure: If you notice a sagging, water-filled blister in your ceiling paint or drywall, place a five-gallon bucket underneath and pierce the center of the bulge with a screwdriver or small drill bit. It may feel counterintuitive to poke a hole in your ceiling, but draining the pooled water in a controlled stream prevents the entire drywall panel from soaking through and collapsing under heavy weight.
- Collect and Divert: Place plastic buckets or storage bins beneath active interior drips. Place an old towel or rag in the bottom of the bucket to muffle the loud tapping sound of falling drops.
- Apply a Stopgap Patch in the Attic: From inside the attic, you can temporarily press heavy-duty self-adhesive roofing tape, butyl mastic tape, or a thick dab of wet-surface roofing cement against the underside of the leaking deck seam to redirect the water away from sensitive framing.
Knowing what to do when your roof is actively leaking gives you the breathing room needed to organize a proper, permanent repair once the storm clears.
Step-by-Step Instructions to Fix Small Roof Leak Points
Once the storm has passed and the roof surface is completely dry, you can address the physical breach outside. Before you start, gather the right equipment so you do not find yourself running up and down the ladder mid-job.
Essential DIY Repair Toolkit:
- Flat pry bar (shingle ripper or wonder bar)
- 1¼-inch galvanized roofing nails
- Polyurethane roofing sealant or asphalt roofing cement
- Standard caulking gun
- Utility knife with hook blades
- Replacement asphalt shingles
- Heavy-duty work gloves and rubber-soled work shoes
- Properly secured ladder and an OSHA-compliant fall protection harness (for steep pitches)
Reviewing essential roof patch materials ensures you pick sealants that remain flexible under extreme weather rather than brittle caulks that fail after one season.
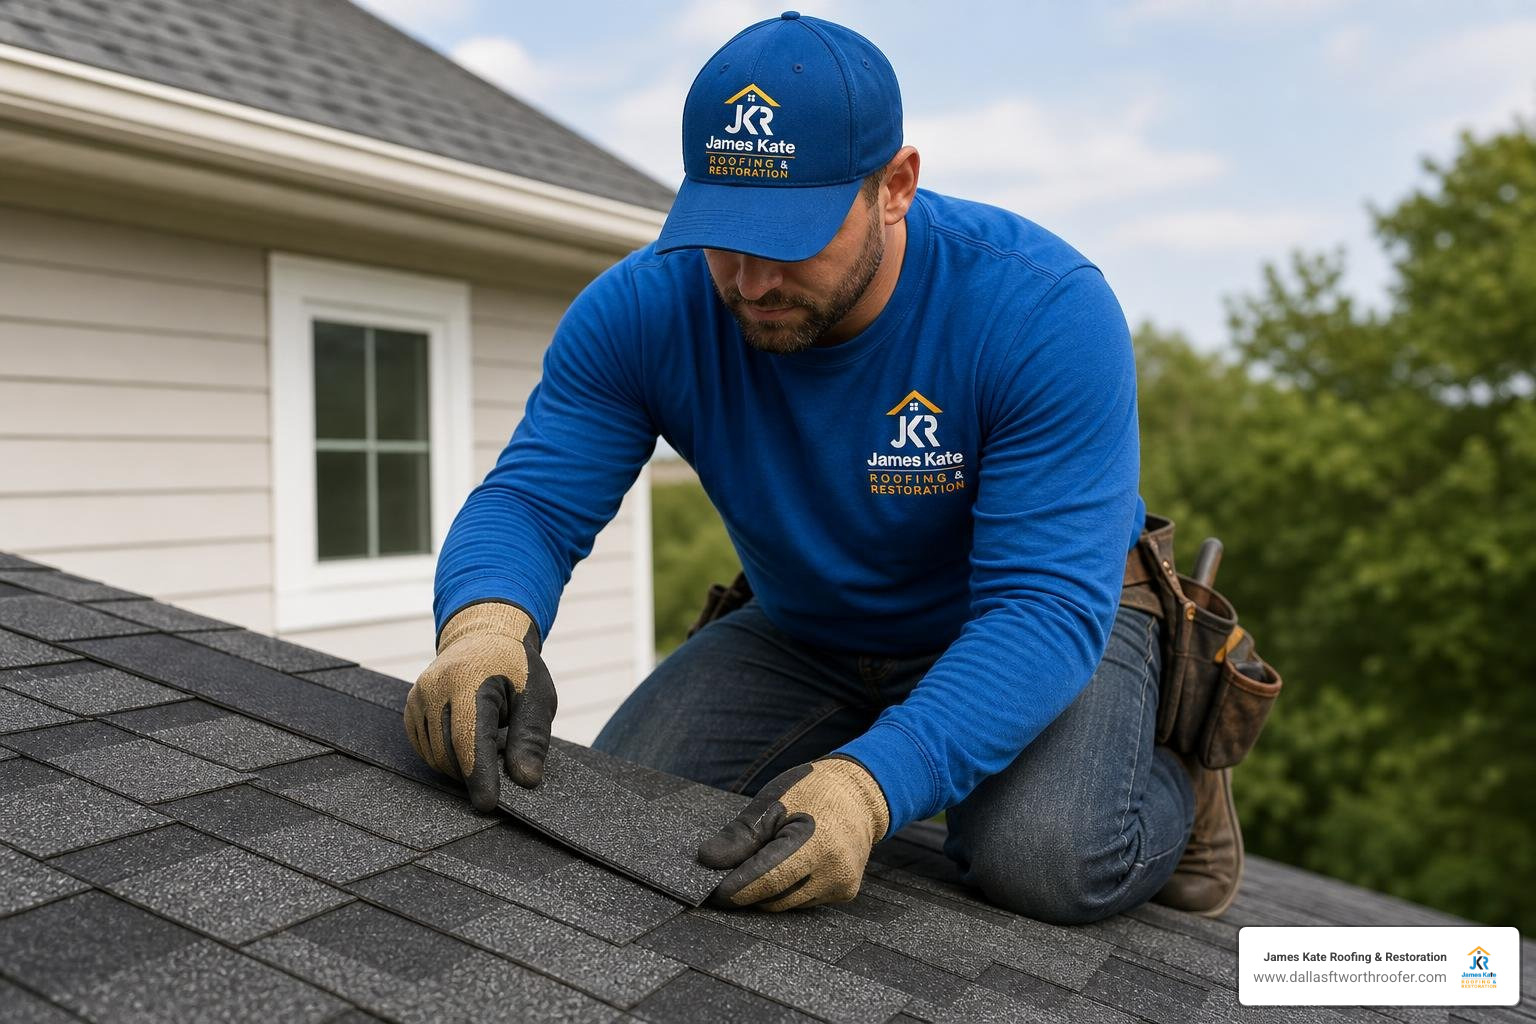
How to Fix Small Roof Leak Damage on Shingles
Replacing a single damaged, torn, or unsealed asphalt shingle is straightforward on walkable slopes when done carefully.
- Break the Adhesive Seal: Slide the flat end of your pry bar beneath the tabs of the damaged shingle, as well as the tabs of the shingles directly above it. Gently pry upward to break the factory sealant strip without ripping the surrounding asphalt mats.
- Extract the Nails: Lift the shingle tabs to expose the nail heads. Shingles are fastened through their nailing strip and also caught by the nails securing the course above them. Slide your pry bar under each nail head, leverage against the bar, and pop the nails loose. Pull the nails completely out so they do not puncture your new shingle.
- Slide the Damaged Shingle Out: Once all fasteners (usually four to eight per strip) are removed, slide the damaged shingle free from the field.
- Position the Replacement: Slide the fresh shingle into the open slot. Align its bottom edge flush with the adjacent shingle exposures.
- Secure with New Fasteners: Drive four 1¼-inch galvanized roofing nails into the designated nail line just below the sealant strip, keeping them flush (do not overdrive or crush the fiberglass mat).
- Hand-Seal the Tabs: Lift each overlying shingle tab and place a quarter-sized dab of polyurethane roofing cement beneath the corners. Press the shingles firmly down to bond them to the new shingle.
Understanding these temporary and permanent asphalt repair techniques helps you preserve the wind-resistance rating of the entire slope.
Fix Small Roof Leak Problems Around Vent Pipes and Flashings
Plumbing vent pipes stick straight out of roof decking, creating an easy pathway for leaks if the flashing collar degrades. When the rubber seal on a pipe boot splits, water runs down the exterior of the PVC pipe right into your ceiling structure.

- Remove Surrounding Fasteners: Use your pry bar to gently break the shingle seals surrounding the upper and side portions of the existing metal flashing base. Extract the exposed roofing nails holding the metal flange against the roof deck.
- Slide Off the Failed Boot: Carefully lift the overlapping upper shingles and pull the old metal-and-rubber boot up and off the pipe stack.
- Install the New Boot Assembly: Slide a brand new pipe flashing boot over the pipe. Ensure the bottom half of the metal base overlaps the top of the lower shingle course, while the top half and sides slide underneath the upper shingles.
- Fasten the Base: Drive galvanized roofing nails into the top corners and along the pre-drilled flange holes, keeping all fasteners concealed beneath the upper shingles.
- Seal Exposed Seams: Apply a smooth, continuous bead of high-grade polyurethane sealant along the edges where the metal flange meets the shingle underlayment, and cover any exposed nail heads.
For complex wall intersections where step flashing has rusted through, replace each individual L-shaped metal sheet step by step, tucking each piece under the shingle above it and behind the exterior wall siding. Consult current industry benchmarks on 2026 roof leak repair to confirm standard installation practices.
Temporary Patches vs. Permanent Repairs
Homeowners often ask whether spreading a tub of black roofing tar over a wet spot counts as a finished repair. There is a fundamental difference between a temporary patch and a true structural component replacement.
A patch—such as an emergency blue tarp, silicone caulk, or rubberized aerosol spray—is designed strictly to shed water until weather conditions allow for proper exterior carpentry. A properly secured roof tarp lasts between 30 and 90 days before ultraviolet rays and wind degrade the polyethylene weave.
A permanent repair restores the shingle-and-flashing drainage plane, ensuring water flows over overlapping barriers by gravity without depending solely on liquid adhesives.
| Factor | Temporary Patch (Tarp / Mastic) | Permanent Component Repair |
|---|---|---|
| Average Lifespan | 30 days to 18 months | 10 to 20+ years (matches roof life) |
| Material Cost | $15 – $50 | $30 – $120 (DIY) / $300 – $850 (Pro) |
| Weather Resistance | Low to Moderate (degrades in heat/UV) | High (withstands wind-driven rain & hail) |
| Decking Protection | May trap condensation underneath | Fully sheds moisture away from wood deck |
| Skill Required | Beginner | Intermediate to Advanced |
Reviewing our detailed breakdown of small roof leak repair costs shows that while pro repairs range from $300 to $850 for typical flashing or shingle fixes, handling them quickly prevents thousands of dollars in hidden structural damage.
Routine Maintenance to Prevent Future Roof Penetrations
Proactive roof maintenance is far cheaper than repairing structural rot or replacing soaked attic insulation. Incorporate these preventative checks into your regular home maintenance routine:
- Keep Gutters Clean: Clogged gutters fill with standing water during heavy downpours. This pooled water can back up beneath the drip edge metal and rot the bottom edge of your roof decking. Clean gutters at least twice a year.
- Trim Overhanging Branches: Trees brushing against your roof scrub away protective shingle granules and drop leaves that trap moisture. Keep limbs trimmed back at least six to ten feet from the roofline.
- Inspect Flashing Sealants Annually: Check the exterior caulking around chimney counter-flashing, dormers, and skylights. If sealant looks dry, chalky, or cracked, scrape away the old material and apply fresh polyurethane roofing sealant.
- Perform Post-Storm Inspections: After severe wind or hail, walk your property with a pair of binoculars to check the roof for lifted shingles, misaligned ridge caps, or dented metal vents.
Explore our practical tips to prevent roof leaks and consult our complete roof repair guide for 2026 to keep your roof system in peak shape year-round.
Frequently Asked Questions About Minor Roof Repairs
Can you fix a small roof leak from inside the attic?
You can temporarily stop an active drip from inside the attic using waterproof butyl tape or wet-surface mastic applied directly to the underside of the decking. However, this is strictly a stopgap measure. Trapping water inside the roofing sandwich will rot the plywood decking and rafters over time. A permanent repair must always be executed from the outside to keep water from penetrating the decking in the first place.
Does homeowners insurance cover minor roof leak repairs?
Homeowners insurance policies generally cover sudden, accidental physical damage—such as a tree limb falling on the roof or shingles blown off by severe winds. However, standard policies explicitly exclude coverage for gradual wear, poor maintenance, or aging materials (like an old rubber pipe boot cracking from sun exposure). If the cost to fix a minor shingle or flashing leak is $300 to $600, it is usually lower than your policy’s deductible anyway.
When should you call a professional roofer instead of DIYing?
You should call a licensed roofing contractor if:
- The roof slope is steep (a pitch steeper than 6:12 requires specialized safety harnesses and roof brackets).
- The leak has persisted for weeks, causing soft or rotted decking that cannot safely hold fasteners or foot traffic.
- The leak originates in complex structural valleys or around large masonry chimneys.
- You have multiple active leak spots across different roof slopes.
Conclusion
Small roof leaks demand swift, decisive action. What starts as a slow drip through a cracked pipe boot or single missing shingle can quickly compromise roof decking, soak ceiling insulation, and turn a simple fix into an expensive home repair project. By locating the leak source, utilizing temporary containment measures, and installing permanent replacement materials on a dry day, you can protect your home’s structural integrity for years to come.
When repairs involve steep slopes, complex metal flashings, or widespread storm damage, our team at James Kate Roofing & solar is here to help. Serving homeowners across Mansfield, TX, Arlington, TX, Granbury, TX, Grand Prairie, TX, and Midlothian, TX, we bring GAF President’s Club-recognized craftsmanship, integrity, and up to 25-year workmanship warranties to every job. Schedule a professional roof inspection today to ensure your home stays dry, secure, and fully protected against whatever the weather brings next.

Dustin Eatman is a seasoned roofing professional with deep, hands-on expertise that spans residential and commercial roofing, insurance solar, and long-term roof asset management. As the owner of James Kate Roofing & solar in the Dallas–Fort Worth metroplex, he’s built a reputation for diagnosing roof systems accurately, communicating clearly, and executing projects with a high standard of workmanship and documentation. Dustin understands the technical details that make roofs perform—proper underlayment selection, slope and drainage considerations, ventilation strategy, flashing and penetration detailing, and manufacturer-specific installation requirements—because he’s worked through the real-world challenges that cause leaks, premature wear, and warranty issues. He’s equally fluent in the operational side of roofing: jobsite planning, quality control, safety, material ordering, crew coordination, and customer experience from inspection to closeout. In insurance-related projects, Dustin brings practical knowledge of claim workflows, adjuster meetings, scope alignment, supplements, and the importance of photo evidence and thorough records, helping property owners navigate stressful situations with confidence. For commercial clients—especially property and facility managers—he emphasizes proactive maintenance and targeted repairs that reduce disruption, extend roof life, and prevent expensive interior damage. Dustin also stays focused on doing things the right way: educating customers on realistic options, setting expectations, and prioritizing solutions that hold up over time rather than quick fixes. That blend of technical skill, field experience, process discipline, and owner-level accountability is what makes Dustin Eatman a trusted expert in the roofing industry.