
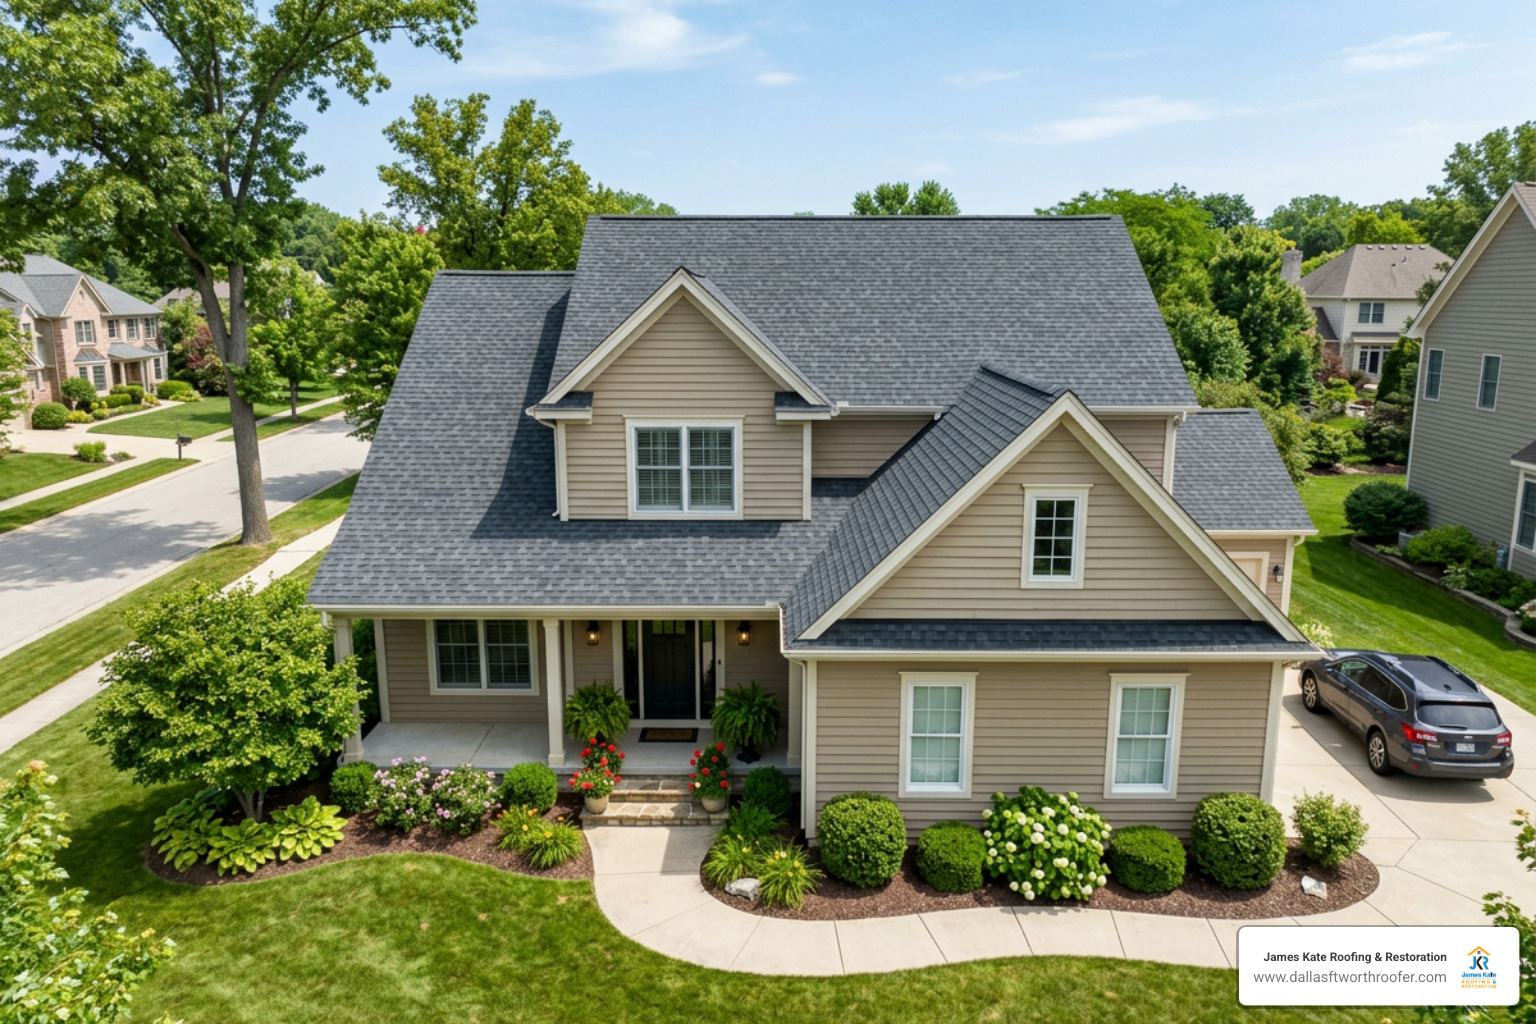
What You Need to Know About Roof Installation
Roof installation is one of the largest home improvement investments you’ll make — and one of the most important.
Here’s a quick overview of what it involves:
| Step | What Happens |
|---|---|
| 1. Tear-Off | Old shingles and materials are removed down to the deck |
| 2. Deck Prep | Decking is inspected and damaged sections are replaced |
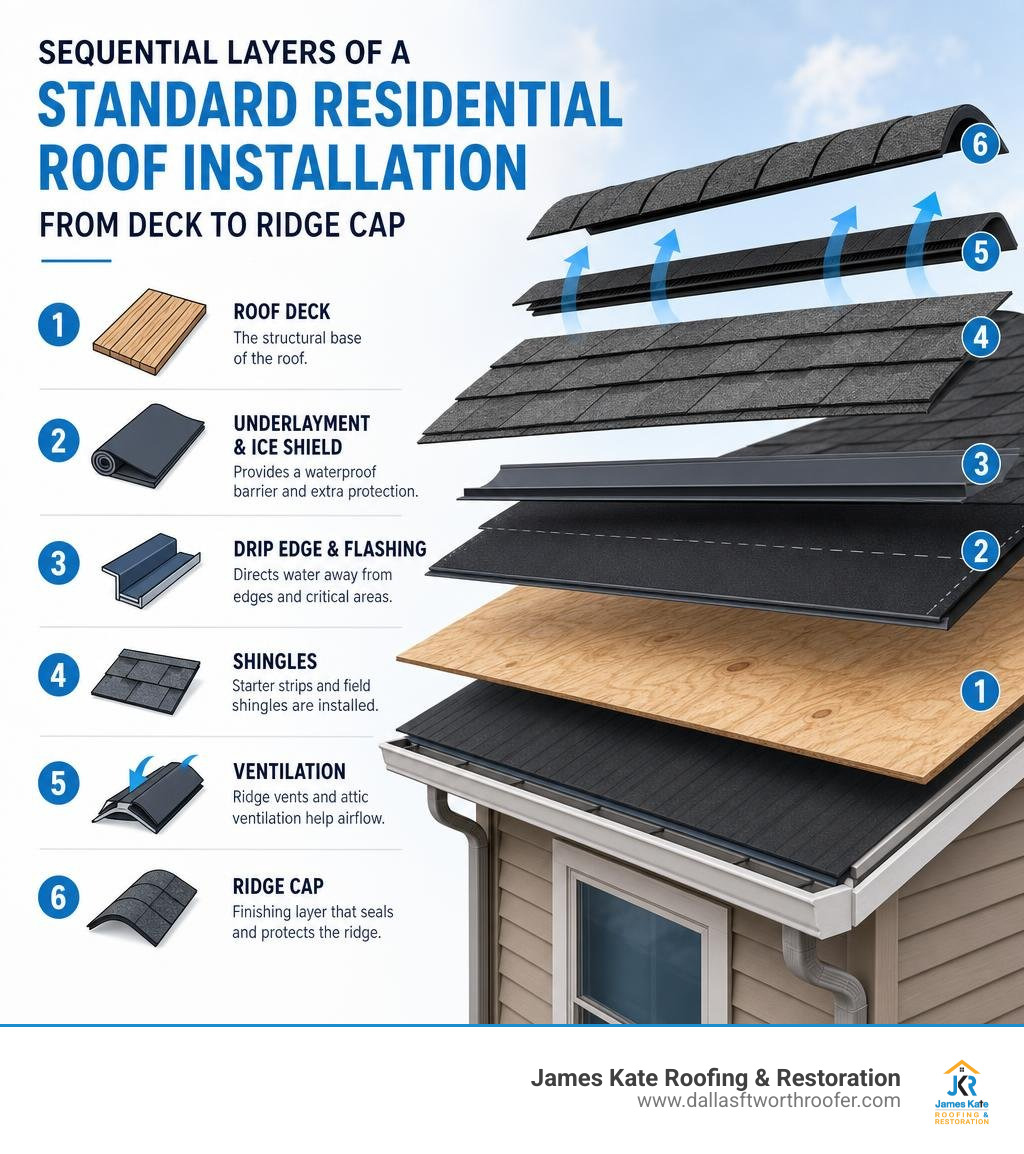
| 3. Underlayment & Flashing | Drip edge, ice-and-water shield, and synthetic underlayment are installed |
| 4. Shingle Installation | Starter strips, field shingles, and ridge caps are applied |
| 5. Ventilation | Ridge vents and attic ventilation are installed or updated |
| 6. Cleanup & Inspection | Debris is removed, a magnetic nail sweep is done, and work is inspected |
Average cost: $5,500–$11,000 for most homes, with a national average around $8,000. Most residential roofs are completed in one to three days.
A properly installed roof protects your home from the elements, supports structural integrity, and can return around 60% of its value when you sell. Get it wrong, though, and the consequences are serious — improper installation is responsible for more than 70% of all roofing failures, outpacing weather events and material defects combined.
That stat isn’t just industry trivia. At James Kate Roofing & solar, we see it play out in real inspections across the DFW area. The leaks, the premature wear, the voided warranties — most of it traces back to how the roof was put on, not what it was made of.
I’m Dustin Eatman, owner of James Kate Roofing & solar, and I’ve spent years in the field diagnosing failed roof installations, guiding homeowners through insurance claims, and building systems that hold up to North Texas weather. In this guide, I’ll walk you through every step of the process — from evaluating your current roof to choosing materials and understanding what a quality installation actually looks like.
Repair vs. Replacement: Evaluating Your Roof’s Condition
Determining whether you need a complete roof installation or a simple repair is the first major hurdle for most homeowners. Nobody wants to buy a new roof prematurely, but waiting too long can turn a minor leak into a structural catastrophe.
When we inspect properties in Mansfield, Arlington, and Grand Prairie, we look at several critical indicators to determine the health of your roof:
- Roof Age: Most standard asphalt shingle roofs are designed to last roughly 20 to 25 years. If your roof is approaching its 20th year, its materials are likely nearing 80% to 85% of their useful lifespan. At this stage, shingles become brittle, making repairs less effective because the surrounding shingles are too fragile to handle the physical stress of being nailed down again.
- DFW Storm Damage: North Texas is notorious for intense hail and severe windstorms. Hail can bruise the shingle matting, while high winds can tear shingles completely off the deck. If storm damage is widespread across multiple roof slopes, a full replacement is usually the most practical option and is often covered by homeowners insurance.
- Granulation Loss: Shingle granules act as a protective shield against harmful UV rays. If you notice a heavy collection of dark, sand-like granules in your gutters or at the base of your downspouts, your shingles are losing their weatherproofing capability. Once the asphalt under-layer is exposed, the sun will rapidly dry out and crack the shingles.
- Active Leaks and Moisture Damage: Water stains on your ceiling, damp spots in your attic, or mold growth are clear signs of system failure. While a single localized leak might be fixable, multiple active leaks across different areas of the roof indicate that the underlayment has failed.
If you only have a few damaged shingles from a fallen branch or minor wind damage, you can often handle it with targeted repairs. In fact, you can learn How to Replace Damaged Shingles Like a Pro to address minor, isolated issues yourself. However, if the underlying decking is soft or the damage covers a large percentage of your roof, a complete roof installation is the only way to guarantee your home remains dry and secure.
Key Factors Driving Roof Installation Cost
When planning a roof installation, understanding where your money actually goes can help you budget effectively. On average, a standard residential roof replacement ranges from $5,500 to $11,000, with labor accounting for 50% to 60% of the total installed cost.
Several key variables drive these numbers:
- Roof Size: Roofing projects are measured in “squares.” One roofing square equals 100 square feet of roof surface area. A larger home naturally requires more squares of material and more hours of labor.
- Roof Pitch (Slope): The steepness of your roof heavily impacts labor rates. Steep roofs require specialized safety gear, harnesses, and slower, more meticulous footwork. If a roof is too steep to walk on comfortably, the crew must work from scaffolding or roof brackets, which increases the labor cost.
- Labor Rates: Local labor markets dictate a significant portion of your estimate. In the DFW metroplex, labor rates are highly competitive, but hiring licensed, fully insured professionals who adhere strictly to safety guidelines is worth the investment to avoid liability and ensure quality.
- Material Selection: The material you choose has the biggest impact on both your upfront cost and the long-term lifespan of your roof.
| Material Type | Average Cost (per Square Installed) | Expected Lifespan | Key Benefit |
|---|---|---|---|
| Asphalt Shingles | $350 – $600 | 20 – 25 Years | Most affordable, classic look, easy to install and repair |
| Composite/Synthetic Shingles | $800 – $1,400 | 30 – 50 Years | Highly durable, mimics slate/wood, excellent wind resistance |
| Metal Roofing (Standing Seam) | $1,400 – $2,500 | 40 – 70 Years | Maximum durability, energy-efficient, sheds water perfectly |
Because a new roof is a major financial undertaking, many homeowners look for flexible payment structures. If you are wondering how to fit this project into your budget, you can read about How to Finance Your Roof Replacement or Repair to explore local financing options, payment plans, and insurance claim navigation.
Choosing the Right Materials for Your Climate
Our climate in North Texas is incredibly demanding. From scorching summer heat exceeding 100°F to sudden spring hailstorms and high-velocity winds, your roof takes a beating year-round. Choosing a material that can withstand these specific conditions is crucial.
Asphalt Shingles
Asphalt shingles remain the most popular choice for homeowners in Midlothian, Arlington, and Granbury. They offer an excellent balance of cost-efficiency and weather protection. Within this category, architectural (or dimensional) shingles are highly recommended over basic three-tab shingles. Architectural shingles are thicker, carry higher wind ratings (up to 130 mph), and provide a multi-dimensional look that boosts curb appeal. You can read more about making this choice in our guide on Choosing Your Roof: A Comprehensive Guide to Asphalt and Composite Shingles.
Composite and Synthetic Shingles
If you love the look of natural slate or cedar shakes but dread the maintenance and weight, composite shingles are an exceptional alternative. These engineered shingles are made from advanced polymers and recycled materials, offering incredible impact resistance (often Class 4, the highest rating against hail). Investing in Composite Shingle Installation can also lower your homeowners insurance premiums in Texas due to their superior hail resistance. For a deeper dive into these options, consult The Ultimate Guide to Picking Composition Roof Shingles.
Metal Roofing
For homeowners seeking the ultimate in longevity and storm protection, metal roofing is the gold standard. Standing seam metal roofs feature concealed fasteners, eliminating the risk of leaks around exposed screws. Metal roofs reflect solar radiant heat, keeping your attic cooler and reducing your summer cooling bills.
If you are considering a transition from traditional shingles to a metal system, it is important to review manufacturer-specific guidelines like the TimberSteel Installation Instructions – Version 2.2 to understand how these systems are engineered to handle thermal expansion and high winds.
The Step-by-Step Roof Installation Process
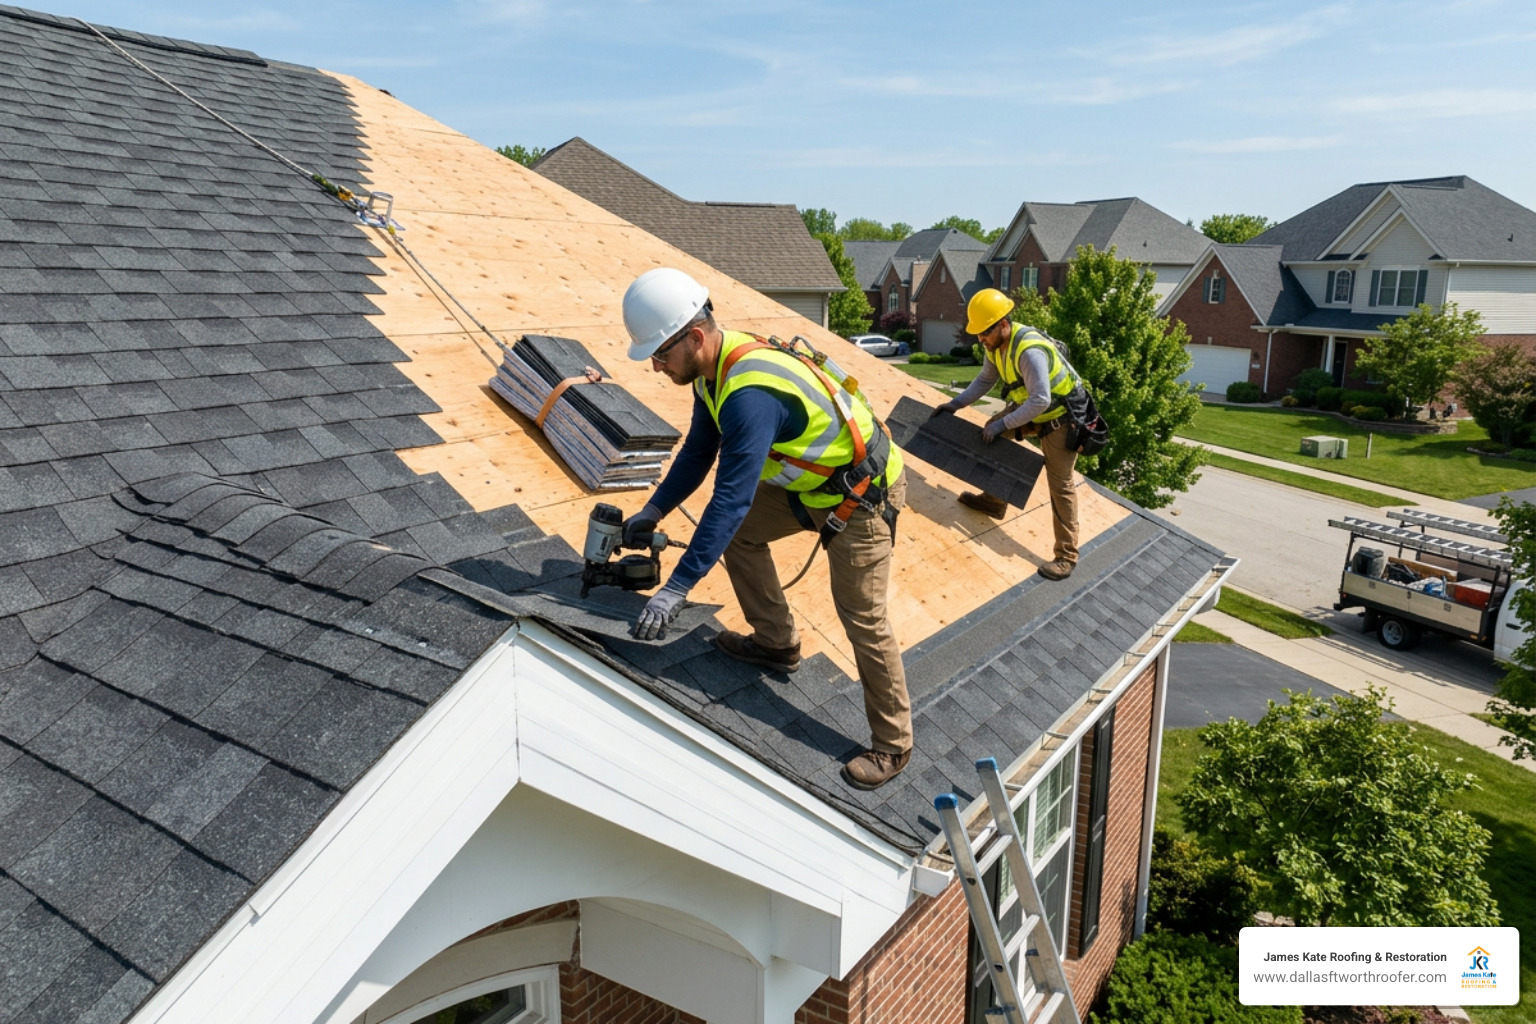
A successful roof installation is a highly coordinated logistical event. When our James Kate Roofing & solar crews arrive at your home, we follow a strict sequential process to ensure every layer of your new roof is installed to manufacturer specifications.
Before the first shingle is removed, site preparation is key. We ask homeowners to move vehicles out of the driveway and clear patio furniture, potted plants, and fragile yard decorations. Our crew will then lay heavy-duty tarps around the perimeter of your home to protect your landscaping, flowerbeds, and air conditioning units from falling debris.
Step 1: Tear-Off and Deck Preparation
The first active step of the installation is removing the old roofing materials down to the bare wood deck. Some contractors might suggest installing new shingles directly over your old ones to save on labor, but we strongly advise against this. A full tear-off is the only way to inspect the structural integrity of your roof deck.
Once the old shingles and underlayment are stripped away, we inspect the decking for signs of wood rot, water damage, or sagging. If we find soft spots or damaged wood, we replace the compromised sheathing immediately to ensure a solid foundation for the new materials. For a detailed look at how this structural phase is handled, you can read A Step-by-Step Guide to Replacing Damaged Roof Decking.
Step 2: Underlayment, Flashing, and Drip Edge
With a clean, sturdy deck prepared, we begin building the waterproof barrier system from the bottom up.
- Drip Edge: We install corrosion-resistant metal drip edges along the eaves and rakes. The drip edge prevents water from curling back under the shingles and rotting the fascia board.
- Ice-and-Water Shield: This self-adhering, rubberized membrane is installed in high-risk areas, such as valleys, roof penetrations (chimneys and pipes), and along the eaves. It seals tightly around roofing nails to prevent water backing up from ice dams or heavy downpours.
- Synthetic Underlayment: We roll out high-performance synthetic underlayment across the entire remaining deck. Synthetic underlayment has largely replaced traditional 15-pound felt because it is incredibly tear-resistant, does not absorb moisture, and provides a much safer walking surface for our crew.
To see how these foundational layers interact to create a watertight seal, you can refer to the comprehensive Roofing Installation Guide or the technical specifications outlined in this ROOFING INSTALLATION GUIDE.
Step 3: Professional Roof Installation and Ventilation
Now, the visible layers of your roof are installed.
We begin by applying a course of starter shingles along the eaves. Starter shingles are specifically engineered with a factory-applied adhesive strip that locks down the first course of field shingles, preventing wind uplift at the roof’s edge.
Next, the field shingles are installed in a staggered pattern to ensure water sheds naturally over the seams. For standard architectural shingles, we use a minimum of four corrosion-resistant roofing nails per shingle, increasing to six nails in high-wind areas. You can explore these techniques further in our guide on Mastering Roof Shingle Installation Tips and Tricks.
Finally, we address attic ventilation. A healthy roof must breathe. We install a continuous ridge vent along the peak of the roof, paired with intake soffit vents at the eaves. This configuration creates a natural convection system, allowing hot, humid air to escape from the attic, which prevents mold growth, reduces cooling costs, and extends the lifespan of your shingles.
Safety, Building Codes, and Contractor Selection
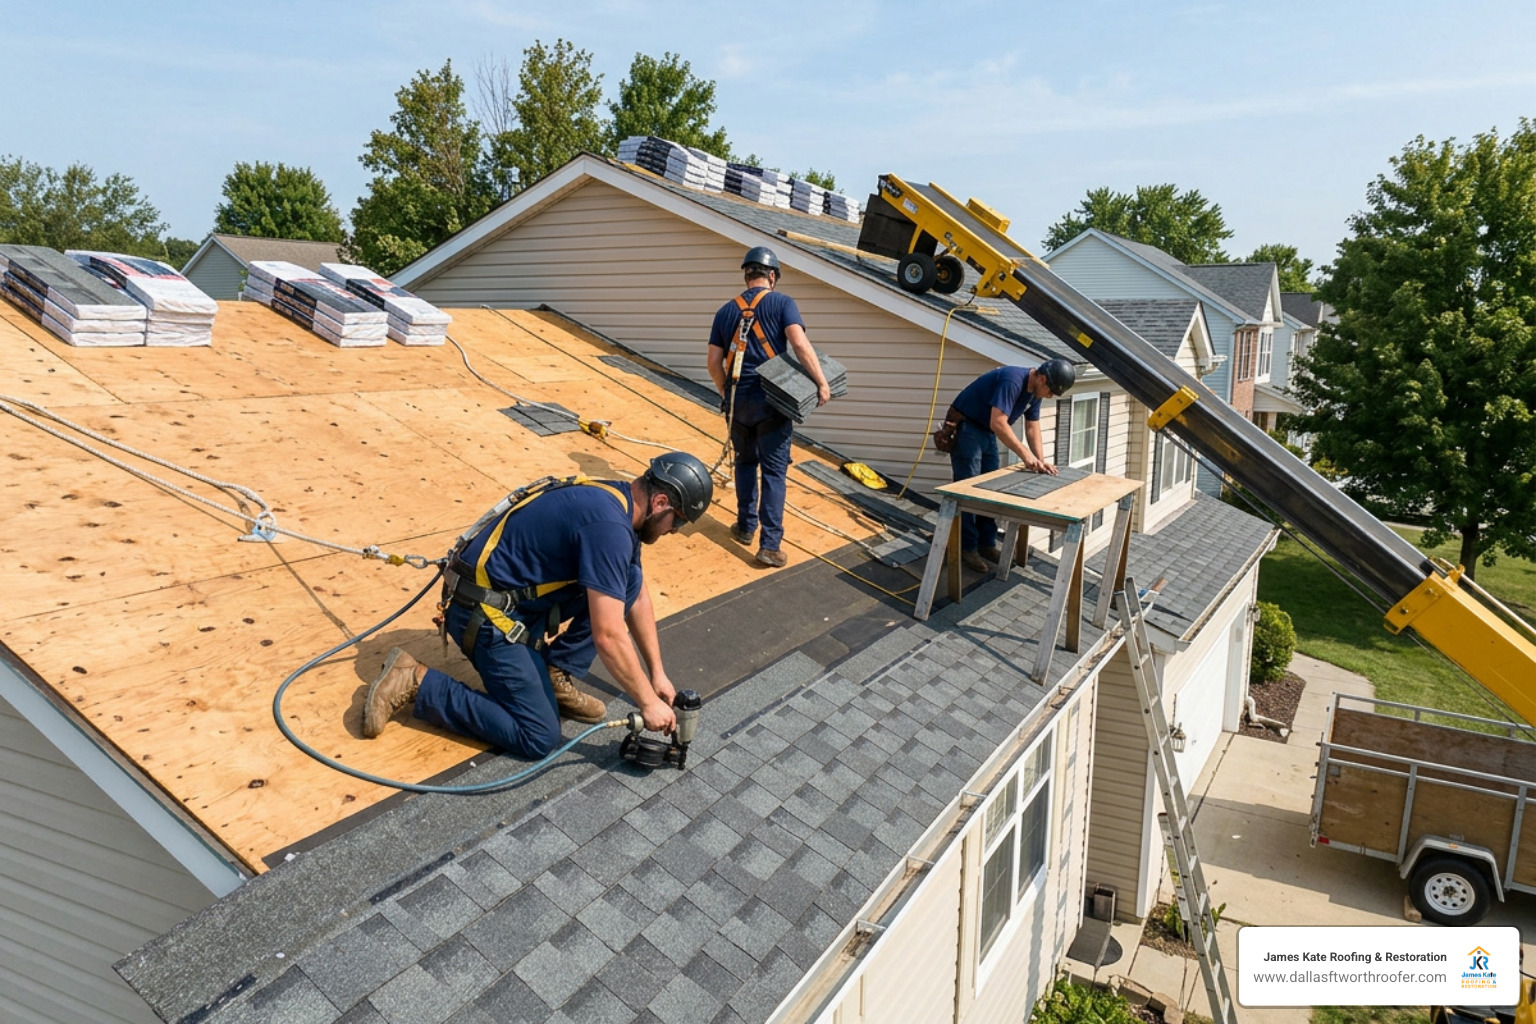
Roofing is consistently ranked as one of the most hazardous occupations in the construction sector. Because of this, safety should never be compromised. At James Kate Roofing & solar, we adhere strictly to OSHA fall protection standards, ensuring our crew members are always anchored with safety harnesses when working on sloped surfaces.
Choosing the right contractor is about more than just finding the lowest price; it is about verifying credentials, insurance, and local experience. Make sure any contractor you hire can provide:
- A valid state business registration.
- General liability insurance (to protect your property in case of accidental damage).
- Workers’ compensation insurance (to protect you from liability if a worker is injured on your property).
- Manufacturer-backed certifications (such as GAF President’s Club status, which allows us to offer extended warranties).
Navigating Permits and Local Building Codes
In almost every DFW municipality — including Mansfield, Arlington, Grand Prairie, and Midlothian — a building permit is required for a residential roof installation.
Permits ensure that the work complies with the International Residential Code (IRC), specifically Chapter 9, which governs roof assemblies. Skipping the permit process is a major red flag. A permitted job triggers a municipal inspection upon completion, verifying that the drip edge, underlayment, flashing, and ventilation meet local safety and structural load standards.
Avoiding Common Roof Installation Mistakes
A surprising 62% of roof leak calls we receive are traced back to installation defects rather than material failures. Some of the most common mistakes made by inexperienced or rushed crews include:
- Exposed Fasteners: Nails driven outside the self-sealing strip will eventually rust and back out, creating direct paths for water intrusion.
- Improper Shingle Offset: Shingles must be offset by a specific measurement (usually 6 inches) between courses. If the joints align vertically, water will seep straight down to the underlayment.
- Reusing Old Flashing: Rushing a job by reusing rusted, bent, or worn flashing around chimneys and valleys is a guaranteed recipe for future leaks.
- High-Wind Nailing Errors: If nails are placed too high on the shingle, they miss the double-coverage nail zone, making the shingles incredibly susceptible to blowing off in a storm.
Frequently Asked Questions
How long does a typical roof installation take?
For most standard residential homes (3,000 square feet or less), the physical installation process takes just one to two days. On day one, the crew tears off the old roof and prepares the deck. On day two, the new underlayment, flashing, shingles, and ventilation are installed, followed by a thorough yard cleanup. Extreme weather or highly complex roof designs can extend this timeline to three or four days.
Do I need a permit for a new roof installation?
Yes. Most cities in the DFW metroplex require a building permit for roof replacements. Pulling a permit ensures your project is registered with the city, complies with local building codes, and passes a final safety inspection. Professional contractors will always handle the permit pulling process for you.
Can I install new shingles over my existing roof?
While some building codes technically allow a maximum of two shingle layers, we strongly advise against an overlay. Installing new shingles over old ones traps heat and moisture, which accelerates shingle decay and voids most manufacturer warranties. Additionally, an overlay adds significant structural weight to your rafters and prevents us from inspecting the wood decking for hidden rot. If you are exploring your options, read more about Roofing Your Home Without Raising the Roof to understand why a clean tear-off is always the best path forward.
Conclusion
A professional roof installation is a complex system of interlocking components designed to shield your family and your single largest investment from the unpredictable Texas weather. From the initial tear-off to the final magnetic sweep for stray nails, every step requires precision, quality materials, and experienced hands.
At James Kate Roofing & solar, we are a family-owned DFW company built on honesty, integrity, and Biblical principles. As a GAF President’s Club contractor, we are proud to offer our clients up to a 25-year workmanship warranty, giving you complete peace of mind that your home is protected for decades to change. Beyond residential and commercial roofing, our team is fully equipped to handle complete solar services, including water mitigation, fire mitigation, mold mitigation, and full build-back construction.
Don’t wait for the next North Texas storm to test the limits of your roof. Schedule a professional roof consultation today and let our family protect yours.

Dustin Eatman is a seasoned roofing professional with deep, hands-on expertise that spans residential and commercial roofing, insurance solar, and long-term roof asset management. As the owner of James Kate Roofing & solar in the Dallas–Fort Worth metroplex, he’s built a reputation for diagnosing roof systems accurately, communicating clearly, and executing projects with a high standard of workmanship and documentation. Dustin understands the technical details that make roofs perform—proper underlayment selection, slope and drainage considerations, ventilation strategy, flashing and penetration detailing, and manufacturer-specific installation requirements—because he’s worked through the real-world challenges that cause leaks, premature wear, and warranty issues. He’s equally fluent in the operational side of roofing: jobsite planning, quality control, safety, material ordering, crew coordination, and customer experience from inspection to closeout. In insurance-related projects, Dustin brings practical knowledge of claim workflows, adjuster meetings, scope alignment, supplements, and the importance of photo evidence and thorough records, helping property owners navigate stressful situations with confidence. For commercial clients—especially property and facility managers—he emphasizes proactive maintenance and targeted repairs that reduce disruption, extend roof life, and prevent expensive interior damage. Dustin also stays focused on doing things the right way: educating customers on realistic options, setting expectations, and prioritizing solutions that hold up over time rather than quick fixes. That blend of technical skill, field experience, process discipline, and owner-level accountability is what makes Dustin Eatman a trusted expert in the roofing industry.