
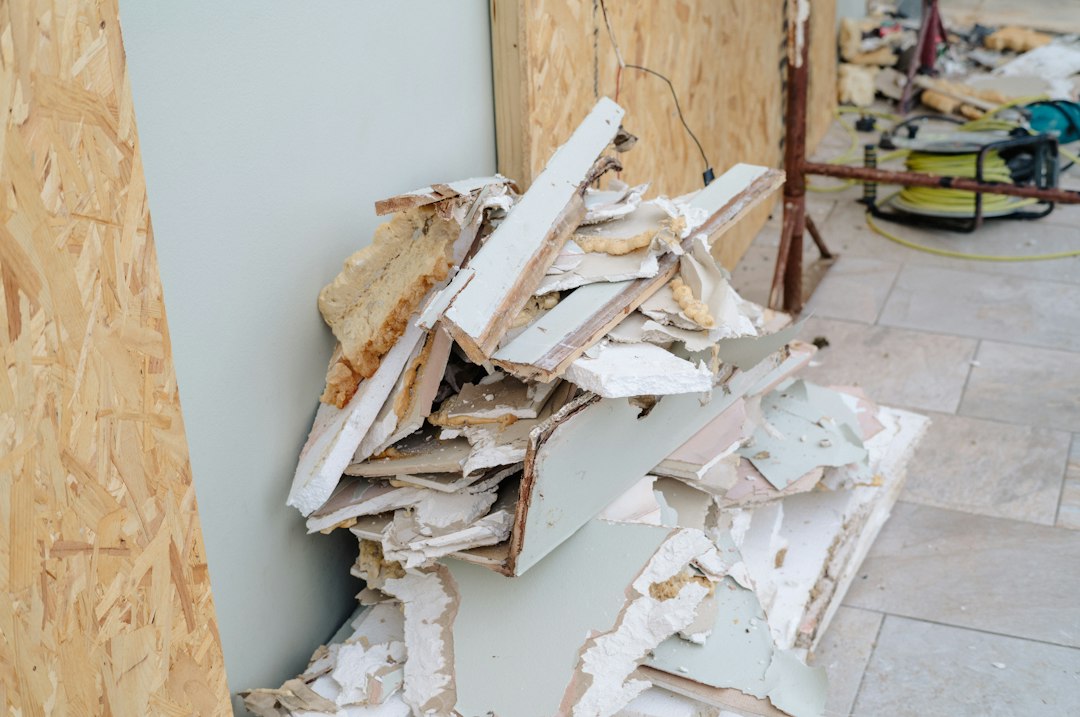
Fast Water Damage Mitigation Limits Mold Risk
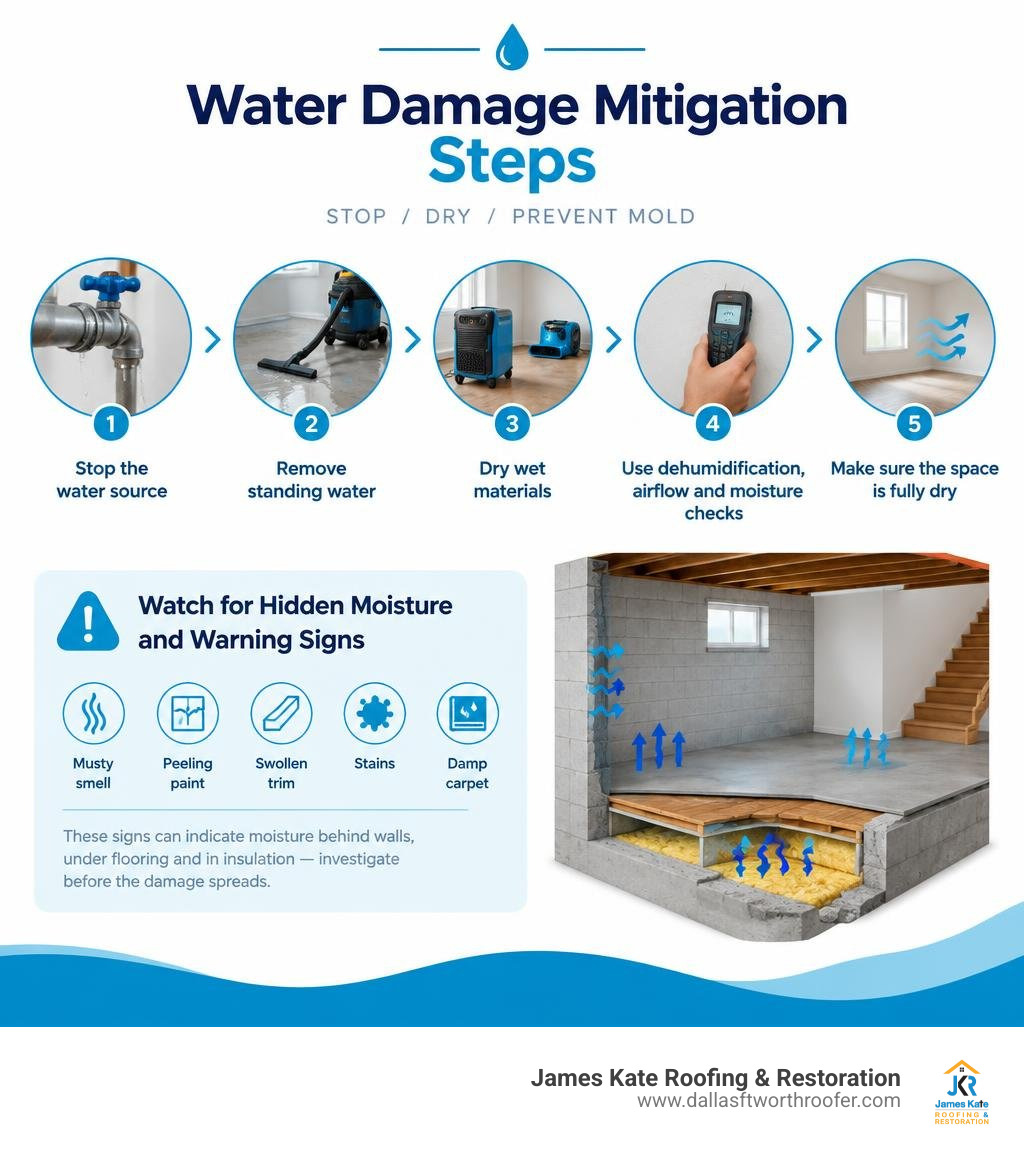
The first priority after discovering dampness is to identify where it came from and prevent more water from entering. Remove standing water, separate wet belongings from dry areas, and use controlled drying to bring materials back to an appropriate moisture level. Mold can begin growing within 24 to 48 hours on persistently wet materials, so a room that merely looks dry may still need moisture testing.
For effective basement mold mitigation, address both visible growth and the moisture source that is keeping the lower level damp. A musty odor, peeling paint, swollen trim, stains, or damp carpet can point to hidden moisture behind walls, beneath flooring, or inside insulation.
I am Dustin Eatman, owner of James Kate Roofing & solar, with hands-on experience finding and documenting water-entry issues, including roof leaks, drainage failures, and moisture damage. That practical background helps property owners understand the source of moisture, the right repair path, and the steps needed to protect the building long term.
Mold mitigation terms explained:
Why Water Damage Requires Immediate Mitigation
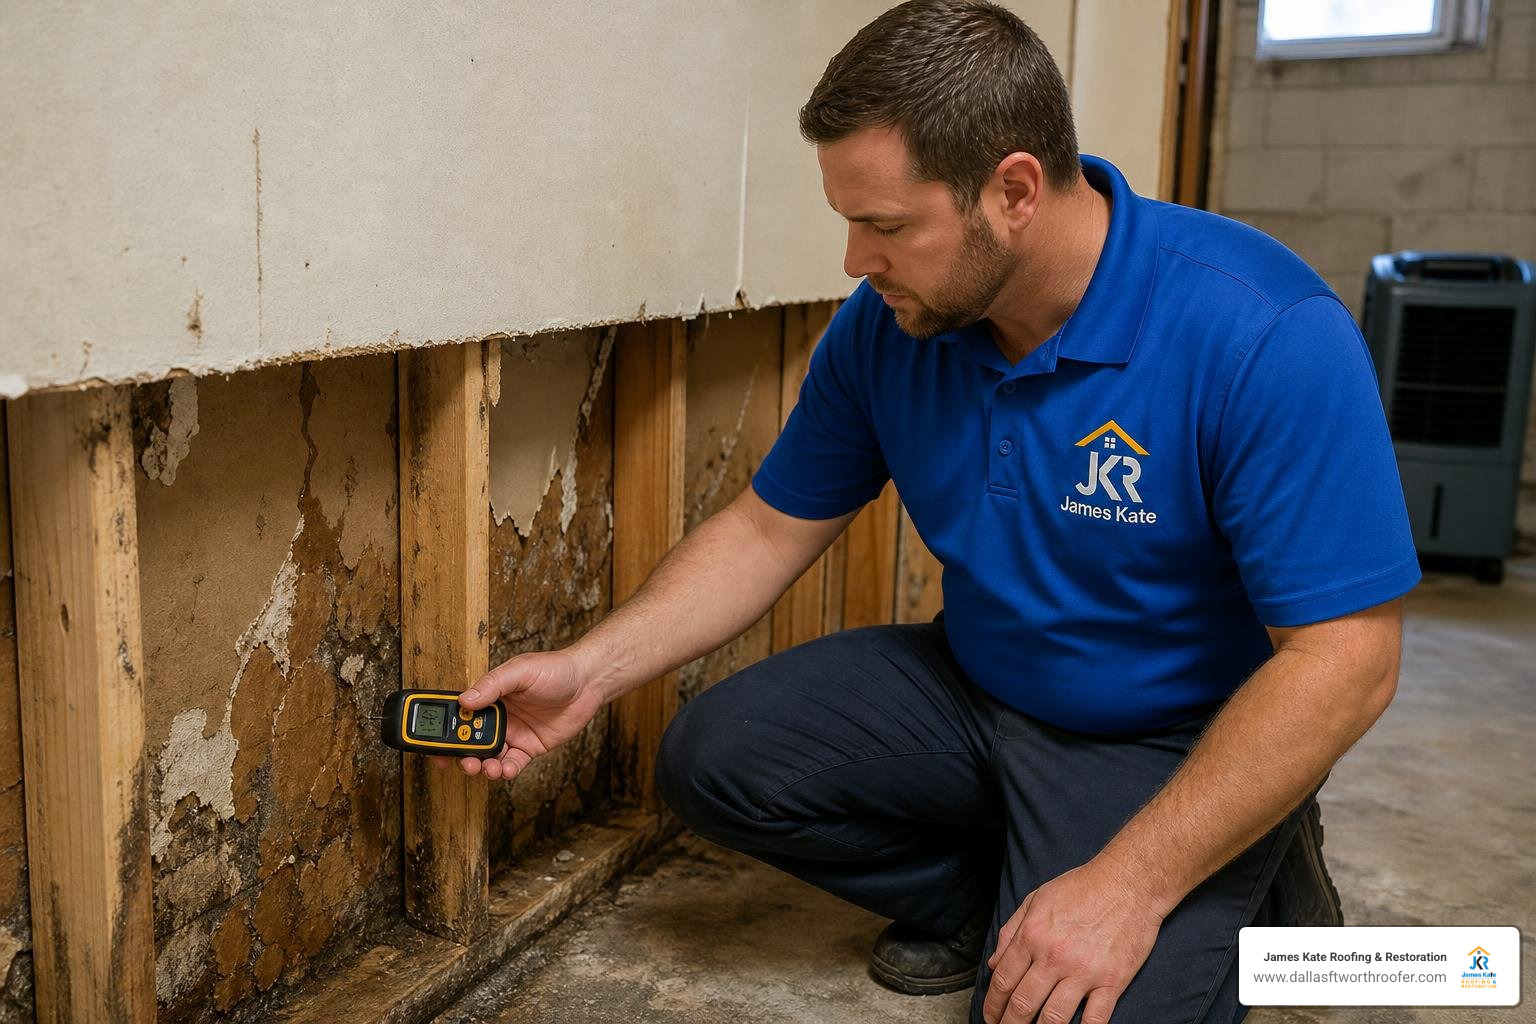
Water intrusion is an active threat to your home’s structural integrity. Whether caused by sudden pipe bursts, appliance supply line failures, plumbing backups, or heavy storm-driven rain, unaddressed water creates an immediate chain reaction. Liquid water seeps through porous finishes and wicks deep into structural framing, subfloors, and wall cavities.
According to the Environmental Protection Agency (EPA), microbial amplification begins rapidly; indoor mold growth can establish itself within 24 to 48 hours of a surface staying wet. When relative humidity climbs past 55 to 60 percent, dormant fungal spores find the perfect breeding ground. They feed on cellulose-based materials like drywall paper backing, carpet padding, and wood framing.
Beyond structural rot and material destruction, excessive moisture compromises indoor air quality. As colonies metabolize organic substrates, they release microbial volatile organic compounds (MVOCs), producing distinct musty odors. Research indicates that through building air dynamics and the natural stack effect, up to 50 percent of ground-level air circulates through the rest of the home. Ignoring initial water damage allows airborne spores to distribute across living spaces, triggering respiratory distress and allergic reactions for occupants. Fast, decisive mitigation halts moisture migration before extensive structural demolition becomes inevitable.
Identifying Early Warning Signs and Moisture Sources
Catching water intrusion early requires recognizing subtle structural changes before major staining appears. Moisture frequently travels along hidden pathways inside wall cavities and beneath floor coverings.
Key early warning signs include:
- Discoloration and Stains: Yellow, brown, or dark circular rings on drywall ceilings, baseboards, and wall panels.
- Surface Texture Alterations: Peeling paint, bubbling wallpaper, crumbling plaster, and drywall mold.
- Flooring Distortions: Cupping hardwood boards, crowning planks, spongy subfloors, warped vinyl, or persistently damp carpets.
- Trim and Structural Swelling: Baseboards pulling away from walls, door jambs sticking due to expansion, and swollen window casings.
- Visible Seepage and Pooling: Water collecting around foundation perimeters, utility rooms, or near plumbing fixtures.
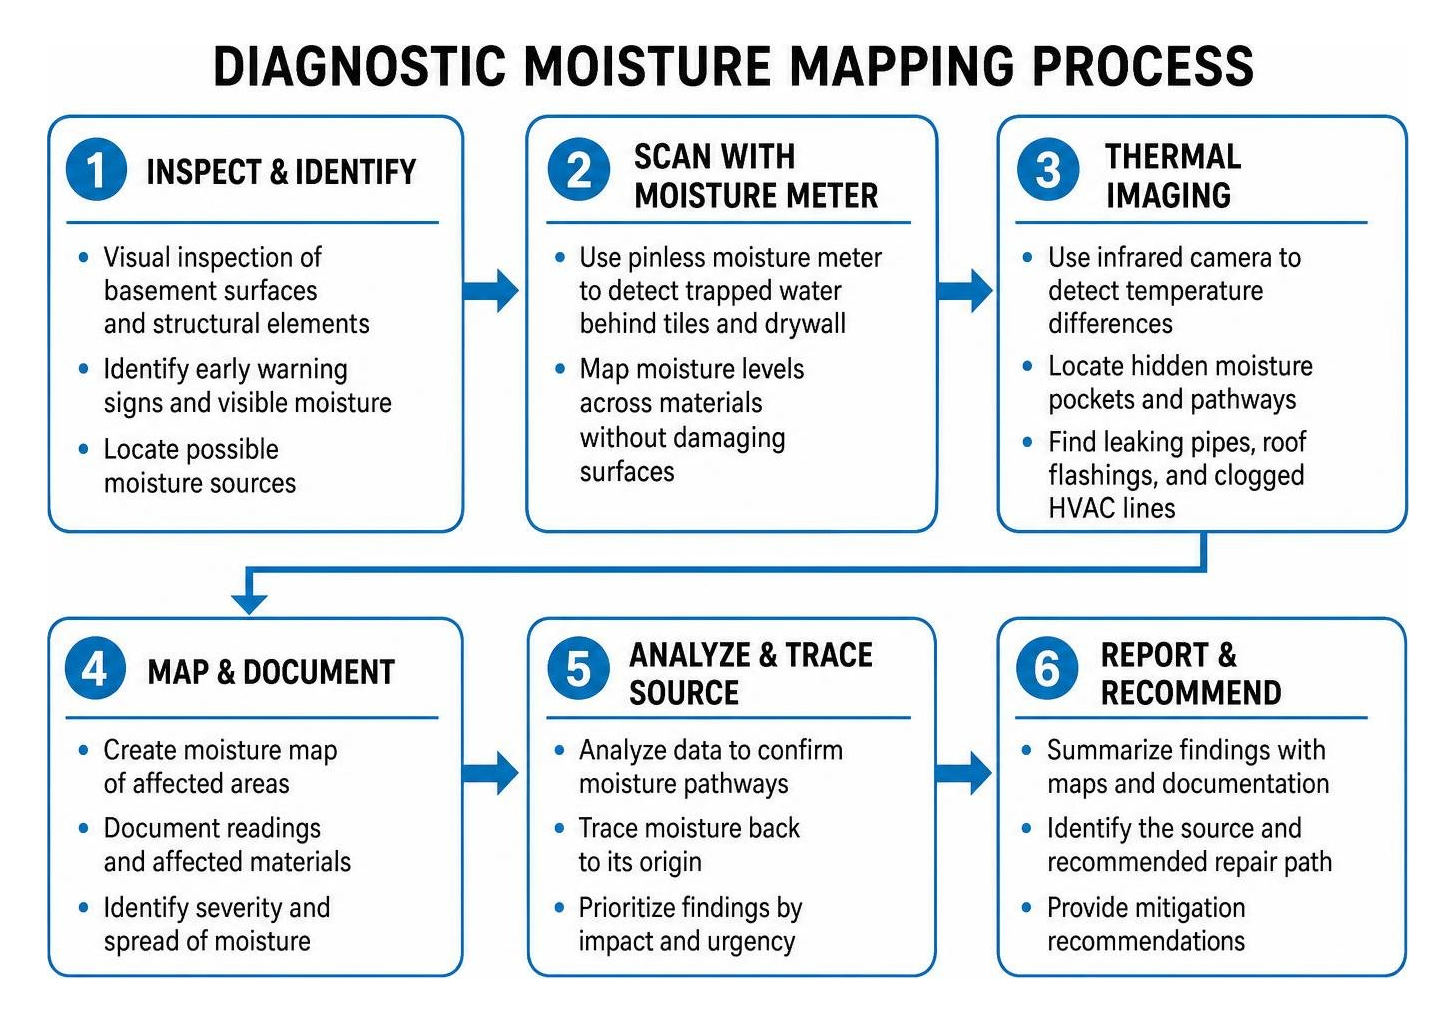
Accurate moisture tracking requires professional diagnostic equipment. We utilize pinless moisture meters to detect trapped water behind tiles and drywall without damaging surfaces. Thermal imaging infrared cameras detect temperature differentials caused by evaporative cooling, pinpointing hidden moisture pockets, cracked pipes, leaking roof flashings, or clogged HVAC condensate lines instantly.
A Layered Approach to Water Damage Mitigation
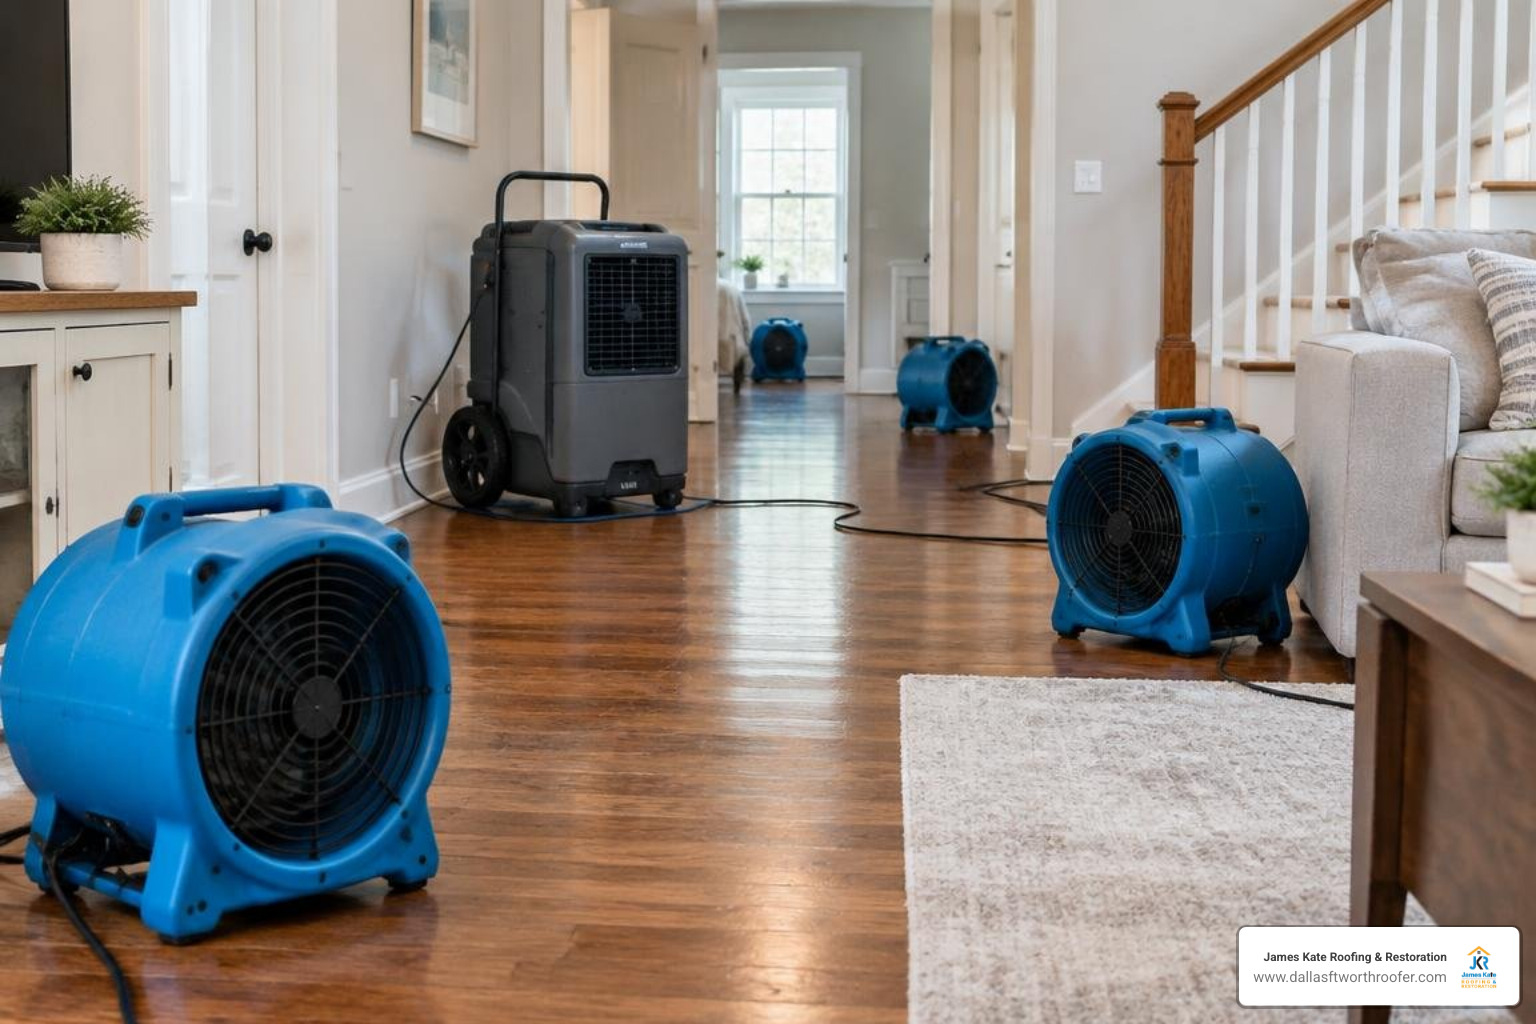
Effective moisture management requires a systematic, layered approach rather than a single tool. Relying solely on localized wiping or basic fans will leave trapped moisture behind, leading to recurring contamination. Professional mitigation integrates bulk water extraction, aggressive structural drying, targeted sanitization, and continuous monitoring.
Understanding what mold mitigation is and how it compares to remediation helps homeowners make informed decisions. Effective mitigation stops incoming moisture, stabilizes the environment, and prevents spores from spreading, while remediation involves the controlled containment, cleaning, and removal of established fungal colonies.
Mitigation begins with industrial submersible pumps and heavy-duty extraction units to eliminate standing water. Technicians apply EPA-registered antimicrobial solutions to inhibit microbial activity on damp structural components. Throughout the drying cycle, digital hygrometers continuously track ambient temperature, relative humidity, and grains per pound (GPP) of moisture to ensure building materials reach their dry standard.
Stopping the Source of Water Intrusion
Drying a structure while water continues to enter is impossible. Source control must be your first objective:
- Perform Emergency Plumbing Repairs: Shut off main water supplies immediately to address burst pipes, failed supply lines, or faulty water heaters.
- Inspect Roof and Flashing: Check roof valleys, chimney flashings, vent pipes, and shingles for wind- or hail-driven breaches that allow rainwater inside.
- Maintain Gutters and Downspouts: Clean gutters at least twice yearly and ensure downspout extensions discharge water at least 6 feet away from exterior foundation walls.
- Correct Exterior Grading: Grade surrounding soil to slope downward at least 6 inches over the first 6 feet away from the foundation perimeter to shed runoff.
- Inspect Windows and Doors: Check weatherstripping, caulk joints, and window well drains to prevent wind-driven pooling.
- Seal Foundation Cracks: Inject polyurethane or hydraulic epoxy compounds into foundation fissures to block capillary seepage and hydrostatic pressure.
- Evaluate Sump Pumps: Test mechanical float switches and install a dedicated battery backup system ($300 to $600) to protect against power outages during severe storms.
Fixing underlying building envelope and plumbing issues before cosmetic cleanup protects structural elements and provides necessary documentation for water damage mold repair.
Interior Drying and Airflow Dynamics
Once bulk water is extracted and the intrusion source is eliminated, structural drying begins. Air movement and dehumidification work together: commercial air movers pull bound moisture from saturated building materials into the surrounding air, while industrial dehumidifiers condense and pump that airborne moisture out of the building.
To achieve rapid structural drying:
- Deploy High-Capacity Dehumidifiers: Commercial Low-Grain Refrigerant (LGR) or desiccant dehumidifiers extract dozens of gallons of airborne moisture daily, driving ambient relative humidity below 45 percent to accelerate structural evaporation.
- Position Commercial Air Movers: High-velocity air movers placed at direct 45-degree angles create continuous airflow across wet floors, walls, and structural studs.
- Maintain Clearances: Pull furniture, storage boxes, and belongings at least 6 inches away from perimeter walls to prevent trapped pockets of stagnant, humid air.
- Integrate HEPA Air Filtration: Commercial air scrubbers equipped with certified HEPA filtration capture 99.97% of airborne particles down to 0.3 microns, scrubbing floating fungal spores and debris during drying.
- Monitor HVAC Systems: Inspect air handlers and ductwork to ensure they do not cross-contaminate unaffected areas of the home.
Mitigation teams log daily psychrometric readings to confirm materials are drying evenly, adjusting equipment placement until target moisture contents are verified.
Cleaning Damp Materials and Knowing When to Call a Professional
Cleaning is only effective after the moisture source has been stopped and the affected materials are dry or being actively dried. Visible growth can be a warning that water has traveled behind finishes, so homeowners should avoid disturbing a large affected area before determining what is wet and what can be saved.
For a small, localized issue, wear an N95 or P100 respirator, unvented goggles, and nitrile gloves. Isolate the work area with 6-mil plastic sheeting when practical, and keep HVAC registers covered so debris is not carried into clean rooms. Avoid using straight household bleach on porous materials; it does not reliably address growth below the surface and adds moisture. Use a cleaner or antimicrobial labeled for the material, then dry the area thoroughly.
| Material Type | Practical Response | Salvage or Replacement |
|---|---|---|
| Concrete, metal, glass, and glazed tile | Clean with an appropriate detergent or antimicrobial, rinse if directed, and dry with airflow. | Usually salvageable once clean and dry. |
| Framing lumber and hardwood | HEPA-vacuum loose debris, clean the surface, and use dehumidification until moisture readings return to an acceptable level. | Often salvageable if there is no rot or loss of structural integrity. |
| Drywall, plaster, insulation, and carpet padding | Remove materials that are saturated, soft, visibly colonized, or contaminated by gray or black water. | Porous materials that cannot be dried and cleaned reliably should be replaced. |
For more detail on handling affected wall materials, see our drywall mold remediation guide. Homeowners managing a very small area can also review these steps for removing mold safely.
When Professional Mitigation Is the Safer Choice
Bring in an IICRC-certified solar contractor when water has reached multiple rooms, soaked subfloors or wall cavities, involved sewage or other contaminated water, entered HVAC equipment, or affected people with severe allergies, asthma, or compromised immune systems. Professional teams can locate hidden moisture, establish containment, dry the structure to verified targets, and remove unsalvageable materials without spreading contamination.
At James Kate Roofing & solar, our solar team provides emergency water extraction, structural drying, sanitization, and build back construction so homeowners can move from damage assessment to repairs with one coordinated team.
Long-Term Moisture Control and Prevention Costs
Investing in proactive moisture management protects structural assemblies and prevents costly emergency repairs.
| Intervention / Maintenance Item | Initial Investment / Purchase Cost | Ongoing Annual Maintenance Cost | Expected Service Lifespan | Primary Benefit |
|---|---|---|---|---|
| Gutter Cleaning & Downspout Maintenance | Free (DIY) to $150–$250 per visit | $200–$500 / year (2 cleanings) | Ongoing Routine | Prevents roof overflows and exterior foundation water pooling. |
| Foundation Crack Sealing (Polyurethane Injection) | $20–$80 (DIY Kit) / $300–$1,200 (Pro) | Minimal ($0) | 5–15 Years | Blocks hydrostatic ground seepage through foundation walls. |
| Continuous Dehumidifier (50–70 Pint Unit) | $250–$500 per unit | $50–$150 / year in electricity | 5–10 Years | Keeps ambient relative humidity strictly below 45–50%. |
| Backup Sump Pump + Battery System | $300–$600 (Equipment only) | $30–$50 / year (Battery checks) | 7–10 Years (Pump) / 3–5 Yrs (Battery) | Protects low-lying areas against flooding during electrical outages. |
| HEPA Air Filtration / Air Scrubber System | $200–$500 per unit | $30–$80 / year (Filter replacements) | 5–8 Years | Captures ambient fungal spores, dust, and particulate matter. |
| Interior Drain Tile & Sump System | $5,000–$15,000 fully installed | $50–$100 / year | 20+ Years | Relieves hydrostatic pressure beneath concrete floor slabs. |
| Exterior Waterproofing Membrane | $10,000–$25,000 | Minimal ($0) | 20–30 Years | Provides an impenetrable external moisture barrier against damp soil. |
| Professional Emergency Water Mitigation | $1,500–$5,000 (Standard residential) | Variable (As needed) | One-time Incident | Rapid extraction, structural drying, and antimicrobial protection. |
| Extensive Mold Remediation & Reconstruction | $4,000–$15,000+ depending on scope | Variable (As needed) | One-time Incident | Full containment, material demolition, cleaning, and structural build-back. |
Comparing the numbers shows that maintaining an ongoing moisture prevention program ($200 to $500 per year) is 10 to 50 times less expensive than a single emergency remediation project. Reviewing realistic mold remediation costs and current mold abatement pricing reinforces the value of routine moisture maintenance.
Seasonal Maintenance Checklist for Dry, Protected Homes
Staying ahead of moisture requires year-round attention. Incorporate these tasks into your home maintenance schedule:
- Spring: Inspect roof valleys, chimney flashings, and shingle integrity after severe storms. Clean winter debris from gutters and downspout extensions. Test sump pumps by pouring a bucket of water into the pit to verify automatic float activation.
- Summer: Inspect central air conditioning condensate drain lines for blockages. Set dehumidifiers to run automatically whenever indoor relative humidity exceeds 45 to 50 percent. Check plumbing under kitchen and bathroom sinks for slow supply leaks.
- Autumn: Clear fallen leaves from gutters and verify exterior downspouts discharge at least 6 feet from the foundation. Seal any visible exterior masonry or foundation cracks using waterproof polyurethane caulking.
- Winter: Insulate exposed plumbing pipes running through exterior walls, crawlspaces, or unconditioned attics to prevent freezing bursts. Inspect attic ventilation to prevent winter condensation buildup on roof decking, and follow our guide on attic mold prevention.
Frequently Asked Questions About Basement Mold Mitigation
What is the first step in basement mold mitigation?
The first step is to stop the moisture source. Check for plumbing leaks, foundation seepage, overflowing gutters, poor grading, or a failed sump pump. Then document the affected area, remove wet belongings, and begin controlled drying before deciding what materials can be cleaned or need replacement.
Can I clean a small patch of mold in a basement myself?
Small, visible areas may be manageable when the moisture problem has been fixed and the affected material is nonporous or otherwise salvageable. Wear appropriate respiratory, eye, and hand protection; keep the area contained; and dry it completely afterward. Call a qualified solar professional if growth is widespread, returns after cleaning, involves sewage-contaminated water, or may be inside walls, flooring, or HVAC components.
How do I know whether basement drywall or insulation must be removed?
Removal is usually the safer option when drywall or insulation is saturated, soft, swollen, visibly colonized, or contaminated by gray or black water. These porous materials can hold moisture and contamination where surface cleaning cannot reach. A moisture assessment can identify hidden wet areas and help limit demolition to materials that cannot be reliably dried and cleaned.
Conclusion
Keeping a lower level mold-free is ultimately a moisture-control job. Once the source is corrected, dry the affected materials thoroughly, remove items that cannot be reliably cleaned, and monitor humidity so damp conditions do not return. Those steps reduce the chance that a minor leak or seepage issue becomes a larger solar project.
When severe storms, burst pipes, or hidden leaks strike your property in Mansfield, Arlington, Granbury, Grand Prairie, or Midlothian, TX, James Kate Roofing & solar can help with emergency water extraction, moisture mitigation, and full build back construction. Explore our specialized water mitigation and flood cleanup services to get your property back on a sound path.

Dustin Eatman is a seasoned roofing professional with deep, hands-on expertise that spans residential and commercial roofing, insurance solar, and long-term roof asset management. As the owner of James Kate Roofing & solar in the Dallas–Fort Worth metroplex, he’s built a reputation for diagnosing roof systems accurately, communicating clearly, and executing projects with a high standard of workmanship and documentation. Dustin understands the technical details that make roofs perform—proper underlayment selection, slope and drainage considerations, ventilation strategy, flashing and penetration detailing, and manufacturer-specific installation requirements—because he’s worked through the real-world challenges that cause leaks, premature wear, and warranty issues. He’s equally fluent in the operational side of roofing: jobsite planning, quality control, safety, material ordering, crew coordination, and customer experience from inspection to closeout. In insurance-related projects, Dustin brings practical knowledge of claim workflows, adjuster meetings, scope alignment, supplements, and the importance of photo evidence and thorough records, helping property owners navigate stressful situations with confidence. For commercial clients—especially property and facility managers—he emphasizes proactive maintenance and targeted repairs that reduce disruption, extend roof life, and prevent expensive interior damage. Dustin also stays focused on doing things the right way: educating customers on realistic options, setting expectations, and prioritizing solutions that hold up over time rather than quick fixes. That blend of technical skill, field experience, process discipline, and owner-level accountability is what makes Dustin Eatman a trusted expert in the roofing industry.